Creating engaging video projects in Canva can be a fun way to share ideas and tell stories.
To change the duration of slides in Canva, users can easily select a slide and adjust the timing using the clock icon on the toolbar. This simple feature allows for better control over how long each slide appears, making videos more dynamic and tailored to the creator’s vision.
Many users may find themselves wanting to adjust slide durations to better match their content. Whether it’s to emphasize a key point or keep the viewer’s attention, learning this skill can enhance the overall quality of a video project. As they explore Canva’s tools, they’ll discover just how user-friendly the platform can be.
With an understanding of slide duration adjustments, users can elevate their video presentations. This guide will cover the steps needed to change slide timing effectively. By the end, they will have the power to create polished and professional-looking videos.
Getting Started with Canva
Canva is a user-friendly design tool that offers a variety of features for creating stunning visuals and videos.
By learning to navigate its video editor and interface, users can efficiently design projects with ease.
Accessing Canva’s Video Editor
To start using Canva’s video editor, the first step is to create an account if one doesn’t already exist.
Users can sign up for free or choose to upgrade to Canva Pro for more features. Once logged in, they can select “Create a design” and then choose “Video” from the options available.
After selecting the video option, users will be taken directly to the video editor. This is where they can begin to add slides, upload videos, and incorporate images. Users can also explore templates which can serve as a great foundation for their projects. The process is straightforward, making it easy for anyone to jump right in.
Understanding the Canva Interface
The Canva interface is designed for simplicity. The toolbar is located on the left side of the screen, providing easy access to options like “Elements,” “Uploads,” and “Text.”
Users can drag and drop these elements directly onto the canvas.
Across the top, there are tabs for “File,” “Edit,” and “View,” which allow users to save their work or change settings.
In the center, the canvas shows the current slide or video frame being edited. Users can click and select the slide duration settings directly from the toolbar. Learning the layout helps users to quickly find tools as they design their video projects.
Adjusting Slide Duration
Changing the duration of slides in Canva is essential for creating smooth and effective video projects. Knowing how to select slides, adjust time settings, and manage transitions can greatly enhance the viewer’s experience.
Selecting Your Slide
To start, she needs to select the slide she wants to adjust. This is done by clicking on the slide in the timeline at the bottom of the screen.
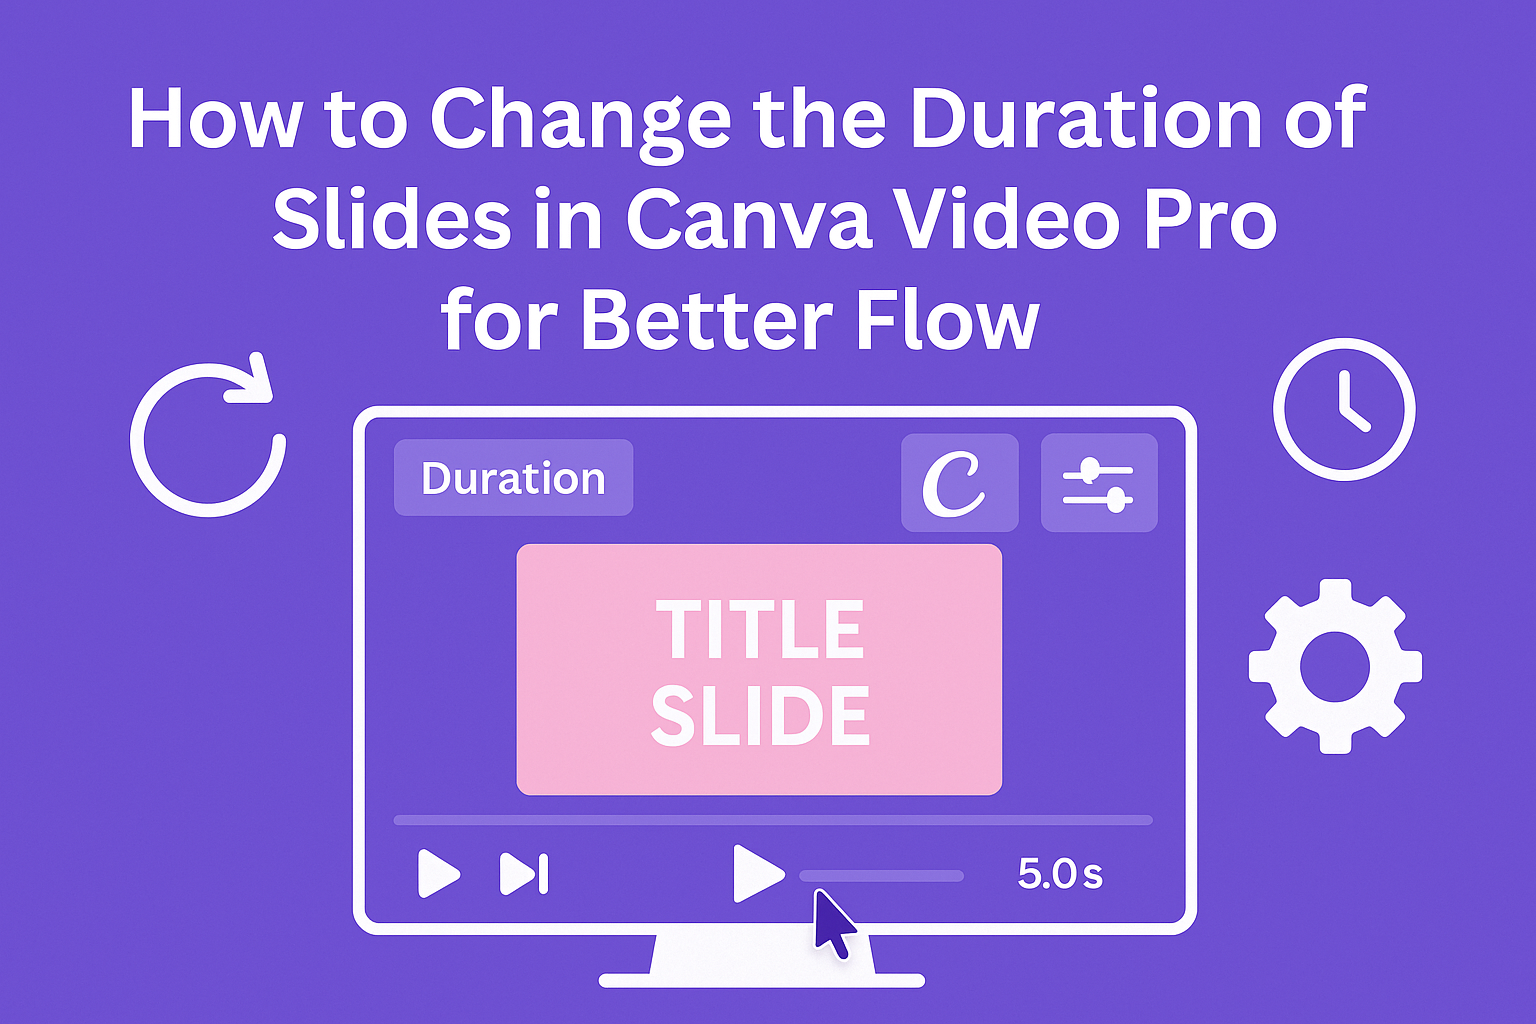
Once selected, a clock icon will appear, indicating that the slide’s duration can be modified. This selection is crucial because only the active slide will be affected by any changes made.
Changing the Time Settings
After selecting the slide, he can change the duration to fit the video’s needs.
Clicking on the clock icon opens a panel where the user can drag purple bars found at each end of the video clip. Moving these bars will shorten or extend the duration.
It’s important to strike a balance, ensuring each slide has enough time to convey its message while maintaining the pace of the overall project.
Timing for Video Transitions
Timing is key for transitions between slides. If she wants a seamless flow, setting the right duration is necessary.
Ideally, transitions should be quick enough to keep the viewer engaged but long enough for them to notice.
Adjusting duration not only applies to individual slides but also to how long viewers see the transition effects. A good rule of thumb is to aim for transitions of around 1 to 2 seconds for optimal flow.
Advanced Slide Timing Features
Canva offers advanced features that help users refine the timing of slides for video projects. Understanding these tools can enhance the overall quality of presentations and make them more engaging.
Synchronizing Voiceovers and Music
To create a polished video, synchronizing voiceovers and music with slide timing is essential.
Users can upload audio files and place them in the project. After that, they can adjust the duration of each slide to match the audio cues.
This means he or she can move the slide’s end time to align perfectly with key moments in the voiceover or background music. This precision helps maintain the viewer’s attention and makes the message clearer.
To adjust audio duration, users can click and drag the audio track’s edges within the timeline. Proper sync not only improves engagement but also enhances the overall effectiveness of the presentation.
Using Timeline View for Precision
The timeline view in Canva is a powerful tool for controlling slide duration. It provides a clear view of each slide and its timing.
Users can see the duration of each slide and make changes quickly. By dragging the edges of the slide bars, they can either shorten or extend the duration as needed.
The timeline also shows audio tracks, allowing users to see where voiceovers or music start and end. This feature is particularly helpful for maintaining the flow of the presentation.
By focusing on precise adjustments, the final product can be much more cohesive. It’s a vital aspect for those looking to create compelling video content.
Tips for Effective Slide Timing
Timing is key when creating a video in Canva. Here are some tips to help achieve the best results.
Know Your Audience:
Understanding who will view the video helps decide how long each slide should last. A younger audience might prefer quicker transitions, while older viewers may need more time.
Use Visual Cues:
Incorporate images or graphics to guide viewers. This helps keep attention and can provide context during pauses.
Practice with Duration:
Experiment with different slide lengths. Canva allows users to easily adjust slide duration. For example, dragging the purple bars on the timeline helps find the perfect timing.
Balance Text and Images:
Ensure there is enough time for viewers to read text. If a slide has a lot of information, it may need a longer duration.
- Short slides (1-5 seconds) work best for simple concepts or visuals.
- Medium slides (6-10 seconds) suit slides with moderate text.
- Long slides (11+ seconds) fit detailed information or important points.
Seek Feedback:
Asking friends or coworkers for their thoughts on timing can provide valuable insights. They might suggest adjustments that enhance viewer experience.