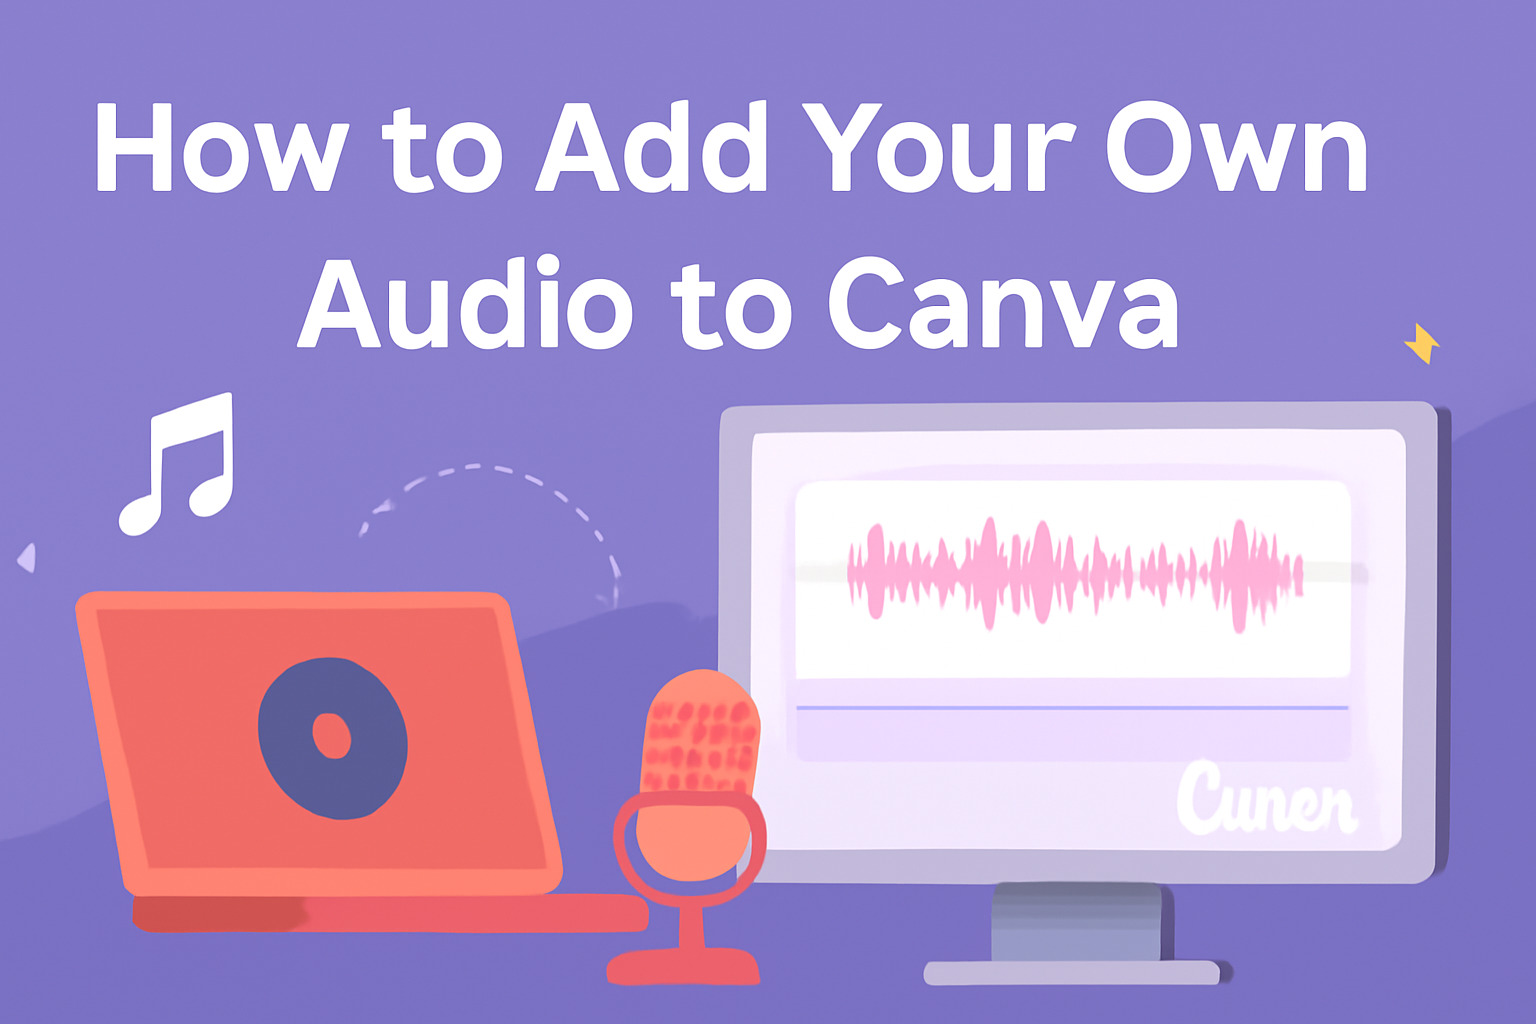
Adding audio to a Canva design can enhance its appeal and effectiveness.
Many people want to know how to add their own music or sound to personalize their projects.
To add your own audio to Canva, users can simply upload their audio files through the platform, making any design unique and engaging.
With the right audio, a design can come to life. Whether it’s for a presentation, social media post, or video, the right sound can create a lasting impression.
Canva allows for easy integration of personal audio tracks, enabling users to customize their projects with just a few clicks.
Shedding light on the process can help users of all skill levels confidently enhance their work. By exploring the steps to add audio, they will discover how simple it is to elevate their designs with their favorite tunes or sound effects.
Getting Started with Canva
To begin using Canva, a user needs to create an account and familiarize themselves with the interface.
Understanding the tools available is essential for successfully adding audio to projects.
Creating a Canva Account
Starting with Canva is simple. A user can sign up for free by visiting the Canva website.
They can use an email address, Google account, or Facebook to register. Once registered, they will receive a welcome email to confirm the account.
After verification, they can log in and explore different design options.
Canva also offers a Pro plan that provides additional features, including more templates and advanced tools.
Users can switch to Pro at any time if they need enhanced capabilities.
Overview of Canva’s Interface
Once logged in, the user will see the Canva dashboard.
The main section displays different design templates, including social media posts, presentations, and videos.
On the left side, there are tabs for creating new designs, accessing uploads, and viewing the user’s projects.
The editor interface is user-friendly. It includes a toolbar at the top for editing tools like text, photos, and elements.
The left sidebar allows users to access audio, templates, elements, and photos easily. This layout makes it easy to navigate and customize designs.
Understanding Canva’s Audio Features
Canva provides various audio features for users. It allows the addition of music and sound effects to enhance designs.
To access audio options, users need to navigate to the Audio tab in the side panel. Here, they can browse and search for available tracks.
Users can also upload their own audio files. Supported formats include MP3 and WAV.
This flexibility allows for a personalized touch in any project, making it easier to create engaging content.
Preparing Your Audio File
Before uploading audio to Canva, it’s important to know the formats that work best and how to optimize the files for better performance. This ensures that audio integrates smoothly with designs, enhancing the overall project.
Supported Audio Formats
Canva supports several audio formats for uploads. These are the main types:
- MP3: Widely used for music and podcasts.
- WAV: A high-quality format, typically larger in size.
- M4A: Often used with Apple products.
- FLAC: A lossless format that retains quality but results in larger files.
Using the correct format makes a big difference. For best results, it’s advised to choose a format that balances quality and file size. This allows for smoother playback in designs and avoids potential upload issues.
Audio File Optimization
Optimizing audio files can enhance their playback and integration. Important steps include:
- Trim Unwanted Sections: Remove silence or unnecessary parts before uploading.
- Adjust Bitrate: A lower bitrate can reduce file size while maintaining decent quality. A bitrate around 128 kbps is often sufficient for most uses.
- Check Volume Levels: Ensure the audio is not too quiet or too loud. Aim for a balanced level for a consistent listening experience.
Taking these steps helps ensure that audio files function well within Canva and meet the design needs effectively. It makes projects sound professional and cohesive.
Adding Audio to Your Canva Project
Incorporating audio into Canva projects can significantly enhance their impact. This section focuses on how to upload audio files, adjust settings, and set audio duration for a polished final product.
Uploading Your Audio
To start, the user can upload their audio files directly into the Canva project. They should navigate to the Uploads tab, which is located on the left side of the screen.
Once in the Uploads tab, clicking the Upload Media button allows them to select audio files from their device. Supported file types include MP3 and WAV formats.
After the upload is complete, the audio file appears in the user’s uploads library. They can click on the file to add it directly to their design.
This method is straightforward and opens the door to personalization, allowing users to choose sounds that fit their project best.
Adjusting Audio Settings
After adding audio, adjusting the settings becomes crucial for the desired effect. Clicking on the audio track will reveal options for customizing the sound.
Users can adjust the volume to ensure it complements other elements in the design. Canva also allows them to apply fade in and fade out effects, which help in making transitions smoother.
Additionally, they can trim the audio by dragging the ends of the track. This functionality ensures the audio only plays for the needed duration in the design, preventing any unwanted sound overlap or length.
Setting Audio Duration
Setting the duration of the audio is essential for matching it with the visuals.
Users need to select the audio track and look for the duration settings in the toolbar.
Adjusting the duration can involve trimming the audio clip or looping it if the design requires continuous sound.
For looped audio, users should ensure that the loop feature is enabled. This approach creates an uninterrupted audio experience that fits seamlessly within the project.
Enhancing Your Design with Audio
Adding audio can make a design more engaging and impactful. It helps create a connection with the audience and adds emotional depth.
Synchronizing Audio with Visual Elements
Synchronizing audio with visual elements is crucial for creating an effective presentation.
When audio aligns with visuals, it enhances the viewer’s experience. For example, if there is a transition in the visuals, the audio can change too. This helps to maintain the audience’s focus.
To sync audio, users can place markers in their timeline. This ensures that key actions in the visuals match specific sounds.
They can also adjust the length of the audio clips to fit the design perfectly. This technique keeps the audience engaged and can help convey the intended message.
Using Audio to Elevate Storytelling
Audio can significantly elevate storytelling in designs. It adds atmosphere and mood, influencing how the audience feels about the content.
For instance, background music can create tension, excitement, or calmness.
Users can choose tracks that resonate with their message. Sound effects also provide emphasis on important moments within the design.
When combined, these audio elements can transform a simple presentation into a memorable experience.
Selecting the right audio is essential. It should complement not overwhelm the visuals. Effective use of audio can turn an ordinary design into something extraordinary.
Finalizing and Sharing Your Canva Creation
Once the audio is added to the design, it’s time to finalize and share the creation. This process includes previewing the design, exporting it with the audio, and exploring the different sharing options available.
Previewing Your Design
Previewing the design is an essential step. It ensures everything looks and sounds just right.
To preview, the user can click on the play button located in the top right corner of the editor. This will show how the audio plays with the visuals in real-time.
They should pay attention to the timing of the audio and how it matches the visuals. Adjustments can be made if something feels off.
It is also useful to check the overall volume levels to avoid any surprises later.
Exporting Your Design with Audio
After the design is perfected, exporting is the next step. This process allows the user to save the project with all elements included, like audio.
When ready, the user should click the download button. For designs with audio, choosing the right file type is crucial.
MP4 is a good choice as it supports both video and audio. After selecting the desired file format, they can click the download option to save it to their computer.
Waiting for the file to export might take a few moments, so patience is key.
Sharing Options for Your Audio-Enhanced Design
Sharing the completed design can be very easy. Canva provides several options to do this.
The user can directly share via social media platforms like Facebook or Twitter.
They can click the share button and choose their preferred platform.
Another option is to generate a link. This allows others to view the design without needing a Canva account.
Additionally, exporting the file for email or file sharing services is also possible.
This flexibility ensures the audio-enhanced design reaches the audience effectively.