Managing a team can be tricky, especially when it comes to making purchases.
Editing Canva team purchasing restrictions is a simple way to gain control over how team members use the organization’s payment methods.
To adjust these restrictions, team owners or administrators can access the billing settings and specify who is allowed to make purchases using the team’s payment options.
Understanding these settings helps prevent unauthorized spending and ensures that only selected members can make financial decisions.
With just a few clicks, he or she can protect the team’s budget while keeping necessary tools accessible.
This guide offers clear steps to help anyone navigate the process easily and confidently.
Staying organized and secure with spending can improve teamwork and trust. Readers will find helpful tips on how to customize purchasing permissions while keeping the team dynamic efficient and focused.
Understanding Canva Team Plans
Canva offers different team plans that provide a variety of features for collaboration and creativity. These plans help users manage their teams effectively and control purchasing decisions.
Exploring Team Plan Features
Canva’s team plans come with unique features designed for group projects.
Users can access shared folders, templates, and brand kits, making it easier to maintain a cohesive design.
Each team member has designated roles, which ensures that everyone’s contributions are organized.
Administrators can also set permissions to control who can edit or view specific designs. This flexibility helps maintain privacy and keeps projects secure.
Additionally, Canva provides tools for real-time collaboration, allowing team members to communicate effortlessly while working on designs.
Benefits of Managing Team Purchasing
Managing team purchasing in Canva offers essential benefits for teams of all sizes.
By setting purchasing restrictions, administrators can control who has access to the team’s payment options. This step helps prevent unauthorized expenses and keeps budgets in check.
Another benefit is the ability to manage subscriptions easily. Teams can adjust plans based on their needs, ensuring they only pay for what they use.
This control not only saves money but also streamlines financial management. Utilizing these features contributes to a more efficient and organized workflow within teams.
Accessing Your Canva Team Settings
To manage team purchasing restrictions, it’s essential to first access the team settings in Canva. This involves navigating to the team page and differentiating between team members and administrators. Both are crucial for making informed decisions regarding team management.
Navigating to the Team Page
To reach the team page in Canva, the user should start by logging into their account.
Once logged in, they should look for their account icon in the top corner of the homepage.
After clicking on this icon, a dropdown menu will appear. Here, they can select their team name. If there are multiple teams, it’s important to confirm they are in the correct one. A check icon next to the team name confirms this.
If not, they should click on the appropriate team name, which will refresh the page and direct them to the designated team settings. This simple process sets the stage for effective team management.
Team Members vs. Administrators
Understanding the difference between team members and administrators is vital for a smooth operation.
Team members typically have limited access to settings and features. They can work on designs but may need permission for certain administrative tasks.
Administrators, on the other hand, have full control over team settings. They can set purchasing restrictions, invite new members, and manage permissions for everyone.
This distinction helps in delegating responsibilities effectively. For an organization to function well, clarity in these roles must be maintained, ensuring that team members can focus on their tasks while administrators manage the broader team settings.
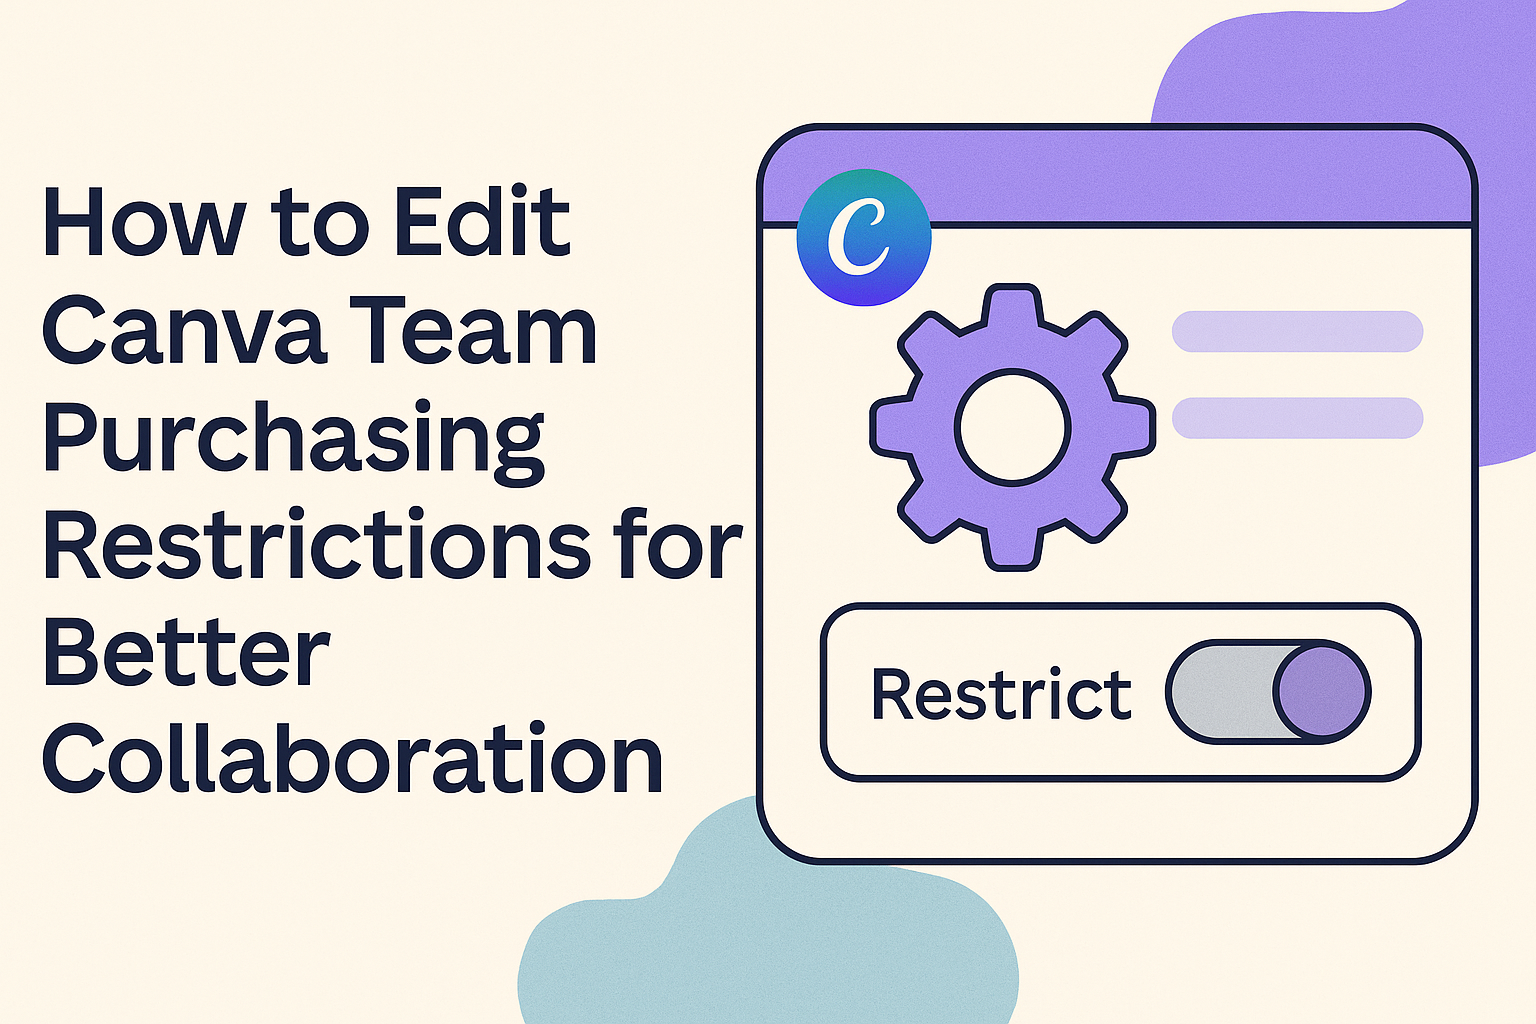
Setting Up Purchasing Restrictions
Setting up purchasing restrictions in Canva helps ensure that only authorized team members can make financial decisions. This is essential for managing costs and preventing unauthorized charges. Here’s how to effectively implement these restrictions.
Enabling Restrictions
To start enabling purchasing restrictions, the team owner or administrator needs to access the Settings menu. This can be done by clicking the gear icon found in the top corner of the homepage.
Once in Settings, select the “Billing & Plans” tab.
Under the “Team Purchasing Restrictions” section, there is a dropdown menu. Here, the owner can choose to restrict or allow various team members to use the payment options available.
Setting these restrictions is a straightforward process. It not only helps manage the team’s budget but also ensures that purchases are made only by those who should have that authority.
Configuring Allowance for Team Members
After enabling restrictions, the next step is to configure the allowance for team members.
The owner can decide which members have purchasing power by selecting the appropriate individuals from the list.
In the dropdown menu, there are options to allow specific team members to make purchases using the team’s payment methods.
It’s helpful to regularly review these permissions to reflect any changes in team roles or responsibilities.
Keeping the team updated on who has purchasing rights can further prevent misunderstandings and potential unauthorized purchases.
These actions ensure that the team operates smoothly and within budget, while still allowing access to necessary materials.
Managing Payment Methods
Managing payment methods in Canva is essential for team efficiency. Understanding how to add new payment options and select a default option can help ensure seamless transactions for team members.
Adding a Payment Method
To add a payment method, users need to start in the Canva homepage. First, they should click the gear icon located in the top corner to access the Settings.
Once in Settings, they can navigate to the Billing & Plans tab.
Here, they will see the option to add a new payment method. Clicking on this option allows them to enter card details, such as the card number, expiration date, and security code.
It’s crucial to double-check for any errors in the entered information to prevent issues later.
After entering the details, they can click Save Changes to confirm the new payment method. This ensures that it is now linked to the team’s account.
Choosing the Default Payment Option
Selecting a default payment option is a straightforward process.
In the Billing & Plans tab, users will see a list of their added payment methods.
To choose a default option, they need to find the preferred payment method and click the Set as Default button next to it.
This action will ensure that this card is used for any upcoming team purchases automatically.
It’s also good practice to review payment methods regularly. This ensures that they are up-to-date and aligned with the team’s needs.
By managing payment methods effectively, teams can avoid interruptions during their creative projects.
Reviewing and Approving Purchases
In managing team purchases, it is essential to monitor spending effectively and approve requests promptly. This ensures that the team stays within budget while fulfilling its needs.
Monitoring Team Spending
To keep track of team expenses, monitoring tools in Canva are invaluable.
Team leaders can regularly check spending patterns and identify areas where costs may be rising. This can be done through:
- Monthly Reports: Review monthly summaries to understand where funds are allocated.
- Set Budgets: Establish clear budgets for different projects or departments to prevent overspending.
- Track Individual Purchases: Use reports to monitor specific transactions and verify if they align with the team’s goals.
By creating transparency in finances, team members remain accountable, fostering a responsible spending culture.
Approving Purchase Requests
When team members submit purchase requests, timely approvals are crucial. To streamline this process, consider the following steps:
- Establish Criteria: Set guidelines for what purchases require approval. This may include items over a certain cost or services impacting the entire team.
- Use Approval Features: Canva has options where team admins can set specific approvers. This helps manage who can greenlight purchases efficiently.
- Communicate Clearly: Ensure that team members understand the approval process. Regularly remind them of the criteria and expected response times.
By implementing structured methods for approving requests, teams can facilitate smoother operations and maintain budget control.
Updating Purchasing Settings
Editing purchasing settings in Canva is crucial for managing team expenses. This process allows team leaders to set limits and permissions to prevent unauthorized spending while ensuring smooth operations.
Adjusting Limits and Permissions
To adjust limits and permissions, team administrators must first access the settings. This starts by clicking on the gear icon in the top corner of the homepage.
Once in Settings, look for Team Purchasing Restrictions.
Here, administrators can choose who has the power to make purchases with team funds. Options typically include settings for “All Members” or “Administrators Only.”
It’s important to save any changes made to ensure that new limits take effect.
Administrators can also periodically review these settings to adapt to changes in team size or project needs, keeping budgeting on track.
Communicating Changes to Your Team
After making changes to purchasing settings, clear communication is essential.
The team leader should inform all members about what changes were made and why.
This could be done through a team meeting or a simple email. A transparent discussion helps everyone understand the new policies and encourages compliance.
It’s also helpful to provide a brief guide summarizing the changes, which can serve as a quick reference.
This guide might include who can make purchases, any new limits, and the process for requesting approvals if needed.
Troubleshooting Common Issues
Editing team purchasing restrictions in Canva can sometimes lead to issues. Understanding how to resolve purchase errors and handle access problems can make the process smoother.
Resolving Purchase Errors
Sometimes, users may encounter errors when trying to make purchases through their team account. Common reasons include insufficient permissions or payment method issues.
To fix this, the team owner should check who has purchasing rights.
They can do this by going to Settings, then Billing & Plans. Under Team purchasing restrictions, ensure the correct members are allowed to make purchases.
If the payment method is not working, it might be linked to an expired card or insufficient funds.
The billing contact should verify the payment details by clicking on the payment method and updating it if needed.
Always click Save changes to confirm any adjustments.
Handling Access Problems
Access issues can prevent team members from utilizing Canva’s purchasing features effectively.
This can be due to incorrect role assignments or permissions settings.
To resolve this, check the roles assigned to team members.
The team owner can navigate to the Teams section, then select Members to review roles. They should ensure that the members who need purchase access are assigned the correct roles.
If a team member still cannot access purchasing options, it may help to log out and log back into the account.
This often refreshes permissions.
Access can also be verified by checking if team members are on the correct plan that allows purchasing features.