Adobe Camera Raw 8 offers handy tools to enhance photo editing, and one such powerful feature is the Straighten Tool.
This tool allows users to quickly and effortlessly straighten crooked images, making photo adjustments smooth and effective.
By using the Straighten Tool, photographers and designers can easily improve the aesthetics of their visuals.
Located conveniently in the toolbar, the Straighten Tool is placed right next to the Crop Tool.
Unlike other tools with complex settings, selecting this tool is straightforward, providing a seamless editing experience.
This simplicity ensures that even beginners can start refining their images without confusion or hassle.
Understanding how to efficiently use Adobe Camera Raw’s features can greatly enhance photo editing projects.
Whether you’re fixing uneven horizons or refining the composition of your shots, mastering the Straighten Tool opens up new possibilities for creative expression in photography.
Getting Started with Adobe Camera Raw
Adobe Camera Raw is an essential tool for photographers who want to enhance their images. This guide explains how to install the Camera Raw plugin, the nature of raw files, and how to navigate the Camera Raw interface effectively.
Installing the Camera Raw Plugin
To use Adobe Camera Raw, it’s important to ensure the plugin is installed correctly.
For users with Photoshop, the plugin often comes pre-installed. If not, it can be manually installed through the Creative Cloud app.
Users need to open the app, navigate to the “Apps” tab, and look for updates for Photoshop. If there’s a Camera Raw update, it should be installed right away. This guarantees compatibility and access to the latest features.
Having the latest version gives users the best tools for image editing. It also ensures any potential bugs are fixed.
Regular updates improve performance and add new tools. Adobe frequently rolls out improvements, so keeping the plugin up-to-date is vital for an enhanced editing experience.
Understanding Raw Files
A raw file contains all the data captured by a camera sensor, providing more flexibility to edit and enhance photos. Unlike JPEGs, raw files are unprocessed and preserve uncompressed image data. This results in larger file sizes but allows for better adjustments in post-processing.
Raw files give users the advantage of making significant edits without losing quality.
When photographers shoot in raw, they capture more detail, especially in highlights and shadows. This means they can recover lost details in overexposed or underexposed areas.
This level of detail allows for adjusting white balance, contrast, and brightness with greater accuracy.
Navigating the Camera Raw Interface
The Camera Raw interface is where most of the editing happens. Users see a toolbox on the right, which contains all the basic and advanced editing sliders like exposure, contrast, and color balance.
The left side typically features a preview of the image being edited.
New users might find the array of options overwhelming, but each tool is designed for intuitive use.
Exporting images and undoing changes are also straightforward in Camera Raw. By right-clicking, users can see a history of edits and undo or redo steps as needed.
With frequent updates, the interface remains similar to Lightroom, creating a familiar environment for those who use multiple Adobe products. This seamless design enhances the editing experience, making workflows efficient.
Basics of the Straighten Tool
The Straighten Tool in Adobe Camera Raw 8 is easy to locate and use. It helps align crooked images quickly, making them appear more professional.
Where to Find the Straighten Tool
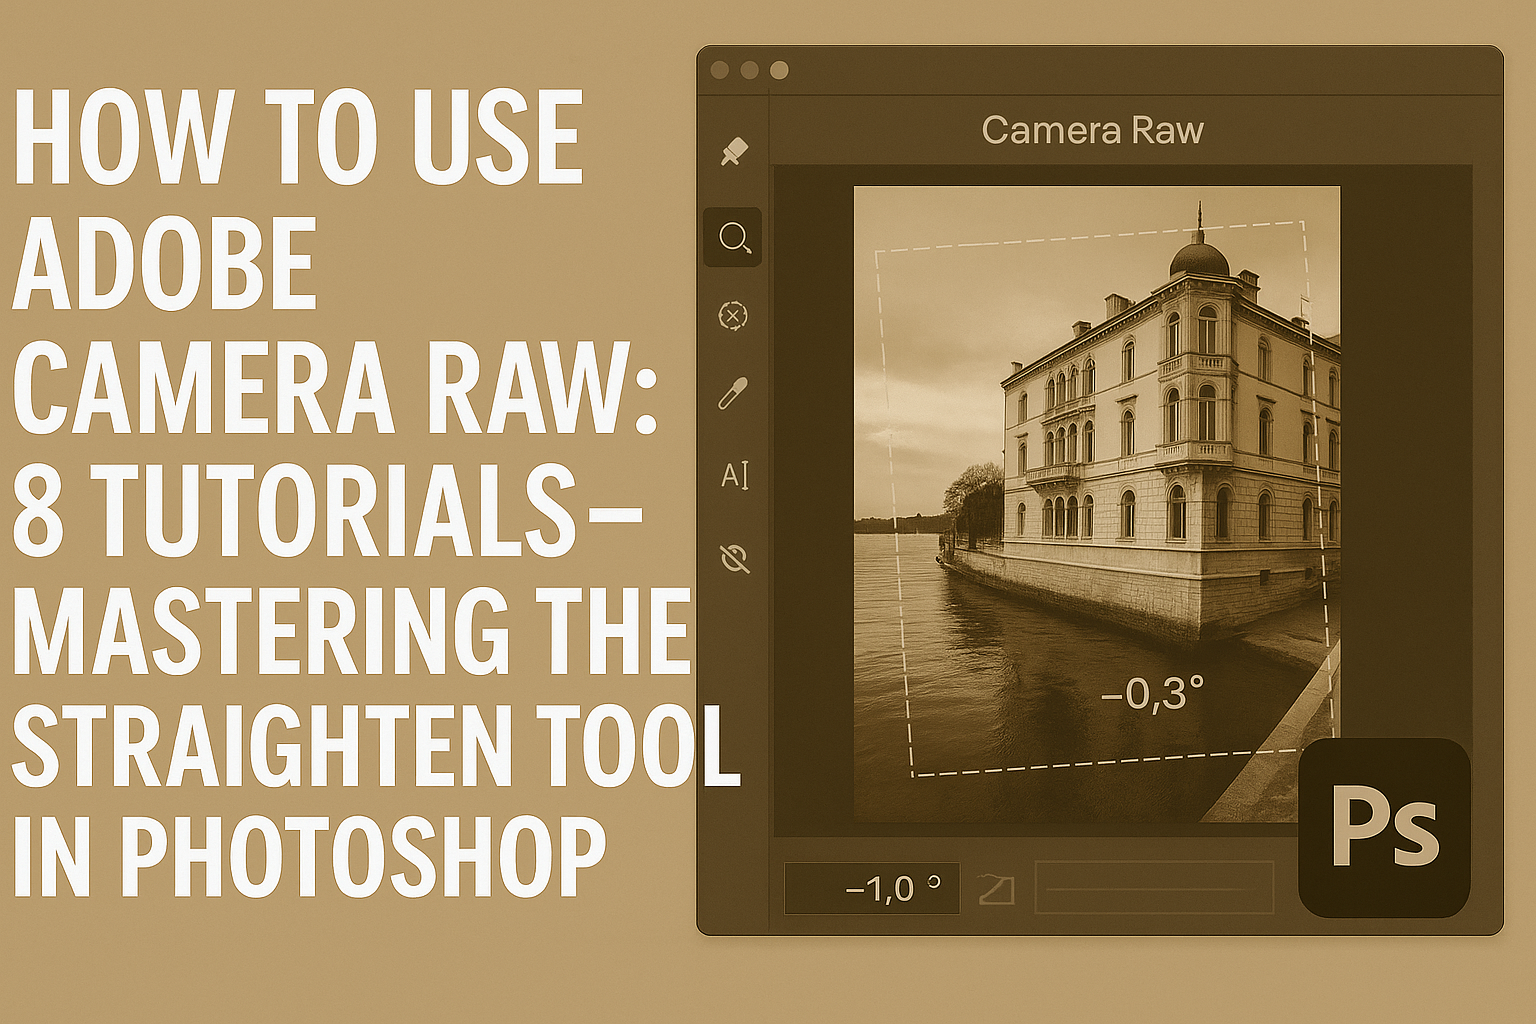
The Straighten Tool is found in the toolbar at the top left of the Camera Raw dialog box. It’s directly next to the Crop Tool. This positioning makes it convenient for users familiar with Adobe interfaces.
Unlike some tools in Photoshop, the Straighten Tool doesn’t have a hidden menu.
This simplicity means users can simply click its icon to activate it.
Using this tool requires the image to be open in Adobe Camera Raw. Learning where tools are placed can help streamline the editing process, saving time and effort.
How the Straighten Tool Works
To use the Straighten Tool, users need to draw a line along the horizon or any other element they want aligned. This line acts as a guide for the software to adjust the image accordingly.
When the line is drawn, Adobe Camera Raw automatically rotates the image based on the adjustment made.
This can be particularly useful for landscape shots where a level horizon is essential.
The tool is designed to simplify the process of correcting tilted images without the need for manual adjustments. By straightening the image, it enhances visual appeal and aligns with professional standards. For those interested, more in-depth tutorials are available for rotating and adjusting images.
Using the Straighten Tool in Your Workflow
The Straighten Tool in Adobe Camera Raw 8 is perfect for fixing tilted photos and ensuring images have a balanced alignment. It’s a fast and easy way to enhance the professional quality of your work.
Straightening an Image Step-by-Step
To use the Straighten Tool, start by opening your image in Adobe Camera Raw.
Locate the Straighten Tool icon in the toolbar, which is usually next to the Crop Tool. Click on this icon to activate it.
Once selected, drag the tool across the part of your image that should be level. The software will automatically adjust your image based on this line, helping you get that perfect, straight look.
This method is especially helpful for horizon lines or architectural images where alignment is crucial.
If you’re not satisfied with the result, don’t worry. You can easily readjust and drag the line again. This flexibility allows you to experiment and perfect your results without any hassle. If you need more details, check out this tutorial on the Straighten Tool.
Adjusting Straightening Parameters
After straightening, you may want to tweak some parameters to ensure everything looks just right.
In the adjustment panel, there’s an Angle slider. This lets you make minor corrections if the automatic adjustment doesn’t meet your expectations.
Additionally, look at the crop borders created during the straightening process. Make sure the important parts of your photo are not cut off.
If they are, you can drag the crop borders to include more of your image. Be careful not to include too much as it might reintroduce tilt.
Experimenting with different angles and crop settings can help you achieve the desired outcome. Keep an eye on maintaining the right balance between keeping essential elements in the frame and achieving a perfect alignment.
Applying Final Touches After Straightening
Once your image is straightened to your satisfaction, it’s time to add some final touches.
Consider adjusting the brightness and contrast to make the image pop. These tweaks can enhance the overall clarity and detail, making the image more engaging.
Another useful touch might be to make color corrections if needed. Balancing colors can further improve the aesthetic quality.
Finally, review the edges of your image. Ensure that none of the key elements are unintentionally cropped out during straightening.
These finishing steps ensure your image not only looks level but also visually appealing and well-composed. By adding these touches, the Straighten Tool becomes an integral part of an effective post-processing workflow.
Advanced Techniques and Tips
Exploring advanced techniques can help users achieve more creative results with the Straighten Tool. It’s also important to know how to address common problems that might arise during the editing process.
Creative Uses of the Straighten Tool
The Straighten Tool is not only for correcting horizons. It can also be used to give a unique perspective to photographs. By rotating images slightly, users can add dynamism and interest. For architectural photos, adjusting lines can enhance the depth and create more visually striking images.
For artistic effect, consider using the tool to create tilted angles deliberately. This can produce a sense of motion or excitement.
Another creative idea is to combine the Straighten Tool with the Crop Tool for custom framing. This combination allows photographers to experiment with new compositions.
Troubleshooting Common Issues
Sometimes, the Straighten Tool might not align images perfectly. One common reason is incorrect angle estimation.
To fix this, check the horizontal or vertical lines in your image and adjust manually if needed.
Another issue could be the unintentional cropping of important parts of the image.
Make sure to adjust the crop handles after straightening. If the image becomes pixelated, it could be due to excessive adjustments.
Always zoom in to check for any drop in quality or unintended effects. By understanding these potential issues, users can easily optimize their editing process in Adobe Camera Raw.
Efficiency and Shortcuts
Adobe Camera Raw offers several features that can save both time and effort when editing images. Understanding how to use keyboard shortcuts and batch processing can greatly improve workflow efficiency.
Keyboard Shortcuts for the Straighten Tool
One of the best ways to work faster is by using keyboard shortcuts. In Adobe Camera Raw, several shortcuts can speed up the image straightening process.
While the Straighten Tool itself does not have many hidden options, accessing it quickly can still save time.
Users can press the “A” key to select the Straighten Tool.
Navigating between tools and commands using shortcuts lets editors focus more on visual adjustments rather than clicking through various toolbars. These shortcuts help in resizing the canvas and rotating the image for perfect alignment.
Efficient use of shortcuts results in a smoother workflow, keeping the creative process flowing without unnecessary interruptions.
Batch Processing with Camera Raw
Batch processing is a powerful feature in Adobe Camera Raw that allows editing multiple images at once. This capability significantly reduces repetitive tasks.
By adjusting settings, users can apply the same corrections, like straightening and color adjustments, to an entire batch of photos. This method ensures consistency across all images in the batch.
To engage batch processing, editors can open multiple images and apply standard adjustments simultaneously. This process is ideal for photographers working with large collections, offering a streamlined workflow. Using these tools and techniques effectively can improve both productivity and the quality of the final images.
Integrating with Photoshop Workflow
Integrating Adobe Camera Raw edits into Photoshop can streamline the editing process. This involves transferring adjustments seamlessly and using smart objects for more control.
Transferring Adjustments to Photoshop
After editing in Adobe Camera Raw, it’s important to efficiently transfer these adjustments into Photoshop for further refinement.
When a user applies settings in Camera Raw, they can open the image directly in Photoshop. To do this, they simply click “Open Image” after completing their edits. This action preserves the adjustments made in Camera Raw.
For those looking to keep a non-destructive workflow, they can choose the “Open as Smart Object” option. This way, any changes can be revisited later by double-clicking on the smart object layer in Photoshop.
This method is particularly useful when dealing with complex adjustments or when multiple images require consistent editing.
Using Smart Objects with Camera Raw Edits
Utilizing smart objects is a powerful feature when working with Camera Raw and Photoshop.
When an image is opened from Camera Raw as a smart object, non-destructive editing is ensured. This allows for flexible changes and modifications without sacrificing the original quality of the image.
Smart objects allow users to apply transformations, adjust filters, or perform other edits seamlessly.
They can revisit the Camera Raw settings anytime by double-clicking the smart object.
This feature is ideal for photographers who need to make iterative edits or adjust their initial settings as they progress with their project. It adds a layer of flexibility and ensures high-quality output throughout the editing workflow.