The GIMP Perspective Clone Tool is a powerful feature that enables users to create advanced edits with ease. By allowing users to clone parts of an image while maintaining the correct perspective, it offers more precise control over image manipulation. This makes it an invaluable tool for artists and photographers who want to enhance their images without distorting their perspective.
The tool is especially useful for tasks such as editing architectural photographs, where maintaining the correct angles and lines is crucial. With a few clicks, users can apply changes quickly, making it a versatile option for various projects. Those looking to explore creative edits will find the Perspective Clone Tool a handy addition to their digital toolkit.
Understanding how to activate and effectively use this tool opens up new possibilities in digital editing. Some resources suggest accessing the tool through the menu by navigating to Tools → Paint Tools → Perspective Clone or by clicking the tool icon in the Toolbox, as shown in the GIMP Documentation. This offers straightforward ways to start experimenting with this capability and enhance your image editing skills.
Getting Started with GIMP
GIMP is a powerful tool for photo editing and graphic design, offering a budget-friendly alternative to other pricey software. To make the most of GIMP, start by downloading and installing it, then explore the interface. Learning the basics of key tools like the Perspective Clone Tool can greatly improve your editing skills.
Downloading and Installing GIMP
To get started with GIMP, head over to the official GIMP website, where you can safely download the latest version for your operating system. GIMP supports Windows, macOS, and Linux, making it accessible to many users. Simply choose the version that matches your system and follow the instructions for installation.
After downloading, run the installer and follow the prompts. The process asks for permission to make changes to your device. Click “Yes” to continue. Once installed, open GIMP to begin exploring. The software is free and regularly updated, so check back for the latest features.
Understanding the GIMP Interface
When you open GIMP, you’ll see a layout with several docks and panels. The main window displays your workspace, where you’ll edit images. On the left, the Toolbox contains essential tools like move, crop, and paintbrush. Above the workspace, you’ll find menus for various functions like file operations and image filters.
On the right side, there’s usually a “Layers” panel, where you can manage different elements of your project. Tabs for Brushes, Patterns, and more can be added through the “Windows” menu. Familiarize yourself with these components to navigate GIMP more efficiently.
Setting Up the Perspective Clone Tool
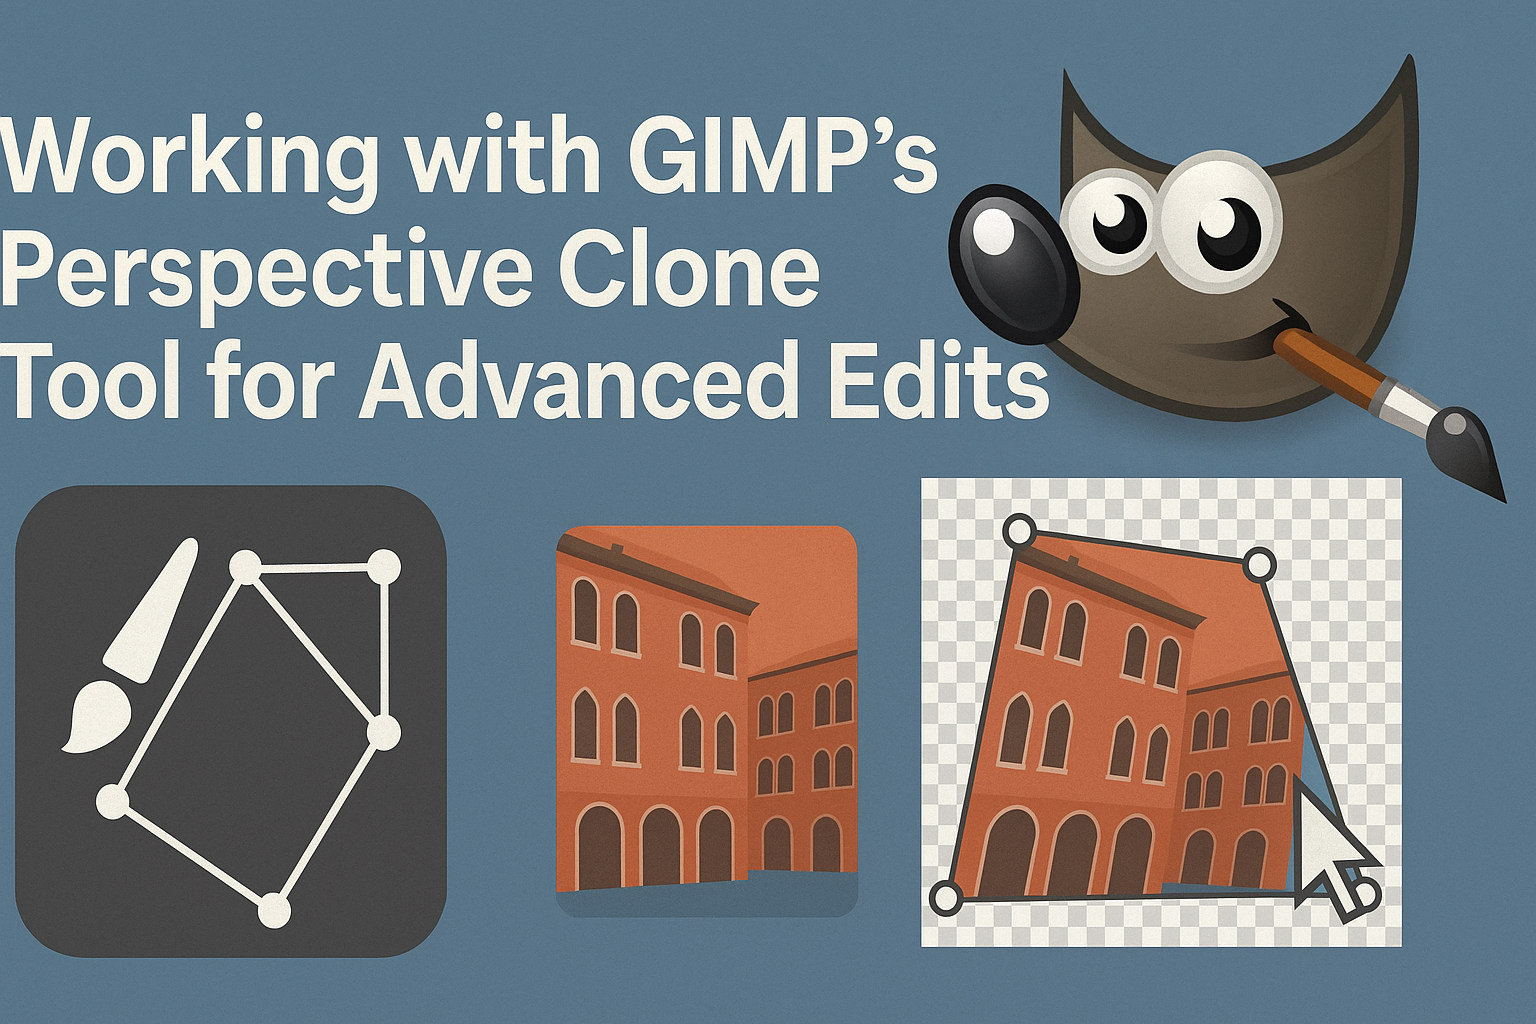
The Perspective Clone Tool in GIMP is ideal for copying parts of an image while maintaining perspective. To use it, first activate the tool from the menu: Tools → Paint Tools → Perspective Clone or by selecting its icon in the Toolbox.
Before using the tool, click on the image to define a perspective grid. This sets the area for cloning. Choose the source point by holding “Ctrl” and clicking. Drag the tool over the area you want to clone, and GIMP will automatically adjust the perspective. For detailed guidance on using this tool, visit the GIMP documentation.
The Basics of the Perspective Clone Tool
The Perspective Clone Tool in GIMP allows users to clone objects while maintaining perspective, creating more realistic edits. This section covers how to access the tool, configure it initially, and how to define the source area for cloning.
Accessing the Tool
To access the Perspective Clone Tool, users can navigate through the image menu by selecting Tools > Paint Tools > Perspective Clone. An alternative is to click on the tool icon in the toolbox.
Keyboard shortcuts can also be used to activate it. These methods ensure users can quickly start working with the tool without hassle. Learning these options empowers users to choose the most convenient way to get started.
Initial Tool Configuration
Before using the tool, configuring some settings is important. Users should decide on the cloning alignment, which can affect how the cloned area aligns with the existing image. Options like Aligned, Non-Aligned, or using a fixed reference point are available.
These settings are typically found in the tool options dockable dialogue. Adjusting the opacity and brush size is crucial for blending cloned areas smoothly.
Understanding these initial configurations can help achieve seamless edits that blend well with background elements.
Defining the Source
Defining the correct source area is a vital step. Users must select where the clone will copy from, ensuring the source matches the desired perspective. This is usually done by holding the Ctrl key and clicking on the source area to be cloned.
It’s essential to carefully choose this area to maintain consistency in the final edit. By defining a precise source, users ensure that the perspective matches, resulting in a natural-looking cloned area.
Advanced Editing Techniques
In GIMP, advanced editing techniques allow users to creatively modify images with precision. This includes manipulating perspectives, correcting distortions, and crafting realistic reflections, which are all pivotal for producing polished edits.
Cloning from Different Perspectives
Cloning from different perspectives is a key feature in GIMP, especially with the Perspective Clone Tool. This tool allows users to copy pixel data from one part of an image and apply it in a different perspective.
To begin, users select an area with the desired content. By adjusting brush size and hardness, they can blend the cloned section seamlessly. GIMP’s documentation suggests experimenting with opacity levels to ensure the cloned content matches its new location. Careful alignment is essential to maintain the illusion of depth and space.
Correcting Distortions
Correcting distortions involves aligning and reshaping parts of an image that appear skewed due to lens effects or awkward angles. GIMP users often rely on the Perspective Clone Tool to address such problems.
This process starts by identifying the distorted areas and using transformation tools to adjust them. Adjusting grid and guides can be helpful when maintaining proportions. By comparing the altered parts with the original image, editors ensure consistency in visual storytelling. Successful distortion correction enhances image quality and viewer experience, making it a core task in photo editing.
Creating Reflections
Creating reflections adds depth and realism to images. In GIMP, reflections can be crafted by duplicating a portion of the image using cloning tools.
Once the clone is placed, editors flip it vertically or horizontally depending on the reflective surface. Adjusting layer opacity creates the effect of light interaction. Positioning and scaling the reflection to align with the image’s perspective further enhances realism. By adding subtle blurs or gradients, artists mimic how reflections naturally fade. This technique is especially useful for water surfaces or mirrors, and it showcases image editing as an art form.
Practical Tips and Tricks
Mastering the Perspective Clone Tool in GIMP can greatly improve the efficiency and precision of your edits. By using shortcuts, managing layers wisely, and employing paths effectively, you can enhance your workflow and achieve professional results with ease.
Maximizing Efficiency with Shortcuts
Using keyboard shortcuts can significantly speed up your workflow in GIMP. The Perspective Clone Tool can be quickly accessed through the menu, but using a shortcut can save you time. Assigning custom shortcuts or using default ones for frequently used tools allows you to switch between them without moving the mouse away from your work area.
It’s essential to familiarize yourself with the default shortcuts. For instance, the “C” key is often used for quickly selecting the Clone Tool. Customizing these shortcuts to fit your habits can make your editing process smoother and more intuitive.
Shortcut keys are also useful for actions like undoing edits or switching between layers. Mastering these will let you focus more on the creative aspects of your project, rather than the technical.
Using Layers for Non-Destructive Editing
Non-destructive editing is crucial for maintaining the quality of your work while making changes. By using layers in GIMP, you can clone objects and apply edits without permanently altering your original image. This flexibility allows you to adjust or remove changes easily.
Start by creating a new transparent layer above the image you want to edit. Use the Perspective Clone Tool on this layer. This way, the cloned content is separate from the original, letting you make adjustments or delete the layer without affecting the underlying image.
Incorporating layer masks can provide even more control, allowing you to blend cloned areas seamlessly. Layers also enable you to adjust the opacity, giving you more creative control over how the cloned elements interact with the image.
Leveraging Paths for Accurate Cloning
Paths can enhance your accuracy when using the Perspective Clone Tool. By setting paths, you guide the direction and flow of the cloned material, ensuring it follows the perspective accurately. This is especially helpful for complex shapes or angles.
To utilize paths, activate the Paths Tool from the toolbox. Plot points along the edges of the area you want to clone. When you apply the Perspective Clone Tool, ensure it aligns with these paths for precise results.
This method reduces the risk of errors and inconsistencies, allowing for cleaner and more professional edits. Utilize paths to guide the cloning onto curved or irregular surfaces effectively, maintaining the right perspective and proportion.
Project Workflow
Mastering GIMP’s Perspective Clone Tool involves careful planning and execution. Following a clear workflow can help achieve realistic edits. This section covers planning, executing the cloning process, and refining the final work.
Planning Your Edit
Before starting with the tool, a well-thought-out plan is key. Understand the final look you want to achieve and identify the areas in the image that need modification. Consider the lighting and perspective to ensure that the cloned sections blend seamlessly.
Sketching or outlining on a piece of paper or digitally can help. This step helps visualize the changes without affecting your original image.
Gather reference images if necessary. They can guide how components should align in edited perspectives. With these preparations, the cloning will be more precise and efficient.
Step-by-Step Perspective Cloning
With planning complete, it’s time to use the Perspective Clone Tool. Start by selecting the tool from the toolbox. Set the vanishing point by clicking on the desired area in the image. This helps in aligning the cloned part accurately.
Next, identify and set your source area by pressing the “Ctrl” key and clicking. Then, begin cloning by painting over the target area. Use smooth strokes for better blending and keep the brush size appropriate for the level of detail required.
If a mistake happens, GIMP allows you to undo using “Ctrl + Z.” This helps in correcting any off-alignment quickly without affecting your workflow. GIMP Documentation offers more tips on activating and using the tool.
Reviewing and Refining Your Work
After cloning, reviewing the edits is crucial. Zoom in to check if all areas blend well and if the perspective is correct. Pay attention to lighting and shadows, as they crucially affect realism.
Use adjustment tools like brightness and contrast to match the cloned parts with the original image. This step ensures seamless integration. If needed, repeat the cloning process to refine areas that look off.
Getting feedback from peers or using your own critical eye can also enhance the final output. Minor tweaks often make the difference between a good and great edit.
Challenges and Solutions
Working with GIMP’s Perspective Clone Tool can be tricky, especially when trying to match complex patterns and maintain textures. Users often face challenges such as aligning patterns properly and preserving the natural look of textures. Overcoming these common issues is key to achieving professional results.
Dealing With Complex Patterns
When working with detailed patterns, aligning the cloned area can be tough. Complexity increases when patterns have multiple colors or shapes. It’s useful to start by selecting smaller sections of the pattern to clone. This helps reduce errors in alignment. Guidelines can be set within GIMP to assist with alignment, helping users achieve a seamless look.
Another tip involves adjusting the size of the brush. Smaller sizes allow for more precise adjustments. If symmetry is part of the pattern, leveraging GIMP’s grid can help maintain consistent spacing. By being patient and methodical, users can effectively manage the intricacies of complex patterns.
Maintaining Realistic Textures
Preserving the appearance of textures is crucial for realistic edits. Users often struggle with maintaining texture continuity across the cloned areas. This requires careful blending and an understanding of the original texture’s properties.
Using soft-edged brushes in GIMP can make transitions appear smoother. Adjusting the opacity of the clone tool can also help in gradually merging textures. It might be necessary to adjust layers, which can be done easily using GIMP’s layer panel. These techniques ensure that the changes do not disrupt the overall texture flow.
Overcoming Common Pitfalls
Some frequent issues include distorted images or a visible seam between the cloned and original areas. A common cause is the improper use of key modifiers. Understanding these modifiers can prevent unwanted results. Reviewing GIMP’s documentation on the tool shortcuts may help.
Regularly zooming in and out during editing can help spot imperfections early. Using the undo feature liberally can also save time by quickly reversing mistakes. Simple persistence combined with the right techniques allows users to bypass typical frustrations.
Use Cases for Perspective Cloning
The Perspective Clone Tool in GIMP helps create visually appealing edits. It’s particularly useful for manipulating architectural images, enhancing landscape photos, and exploring creative graphic design options.
Architectural Photomanipulation
The Perspective Clone Tool is a great choice for working with architectural photos. When photos are taken from an angle, buildings and structures can appear distorted. By using this tool, users can straighten and adjust these angles, making everything look perfect.
This tool lets users select a vanishing point. From there, they can clone parts of the image in a way that matches the natural perspective. This can be especially handy for fixing warped lines in skyscraper photos.
Correction of perspective gives a more realistic depiction of the structures. This can be crucial for architects or designers who need accurate portrayal in their digital work. Using the tool effectively can help maintain the aesthetic of historical buildings while adjusting any flawed angles caused by the camera.
Enhancing Landscape Photos
Landscape photos can benefit greatly from perspective cloning. By correcting perspective distortions, photographers can make images appear more balanced and proportional. Sometimes, elements like trees or mountains may look tilted in wide-view shots. This tool helps align these elements seamlessly.
When editing large outdoor scenes, the Perspective Clone Tool can simulate depth by cloning elements while maintaining correct alignment. This can bring more life and vibrancy to scenic views, making them more captivating.
Photographers often use this tool to blend elements naturally into the environment. By doing so, they can create harmonious and immersive scenes. This is particularly useful for panoramic images where the perspective may shift along the wide expanse of the photo.
Creative Graphic Design
In the field of graphic design, the Perspective Clone Tool opens doors to creativity. It allows designers to clone elements in a way that aligns with the intended perspective, making compositions look more dynamic.
Designers may use it to add or modify features in digital artworks. Whether it is creating futuristic environments or imaginative scenes, the tool ensures that every element fits perfectly in perspective.
By using perspective cloning, artists can experiment with surreal scenes, transforming ordinary photos into innovative art pieces. Combining creative ideas with this tool’s functionality leads to visually compelling and thought-provoking works.