Creating a distortion effect in Canva can transform ordinary images or text into something unique and eye-catching.
To achieve this effect, users can explore Canva’s built-in tools like Liquify, Dispersion, and Ripple. These tools allow for easy manipulation of visual elements to produce stunning designs.
For those who are new to Canva, the platform provides a user-friendly interface that makes experimenting with distortion effects a breeze.
By adjusting distortion parameters, anyone can create dynamic visuals without needing advanced design skills. The variety of options available means users have creative freedom to tailor their projects to their vision.
Utilizing these features can breathe new life into projects, whether for personal or professional use. With Canva’s accessible design capabilities, anyone can add flair to their images or text, making content stand out in a crowded digital space.
Understanding the Distortion Effect
The distortion effect in Canva allows users to transform images or text with visual manipulation. It’s popular in creative fields and offers a range of aesthetic options to enhance design projects.
Definition and Use Cases
A distortion effect alters the appearance of images or text to create an unusual or artistic result. This manipulation can involve stretching, twisting, or skewing visuals to produce dynamic changes.
Designers often use distortion for projects that require eye-catching elements, such as advertisements, social media graphics, or artistic portfolios.
For example, in branding, distorted text can help logos stand out. In digital art, image distortion adds depth and intrigue. These effects also enhance presentations by making slides more memorable. Through creative adjustments, the distortion effect provides versatility and impact in various design scenarios.
Types of Distortion Effects
Several types of distortion effects are available in Canva, each offering unique visual transformations.
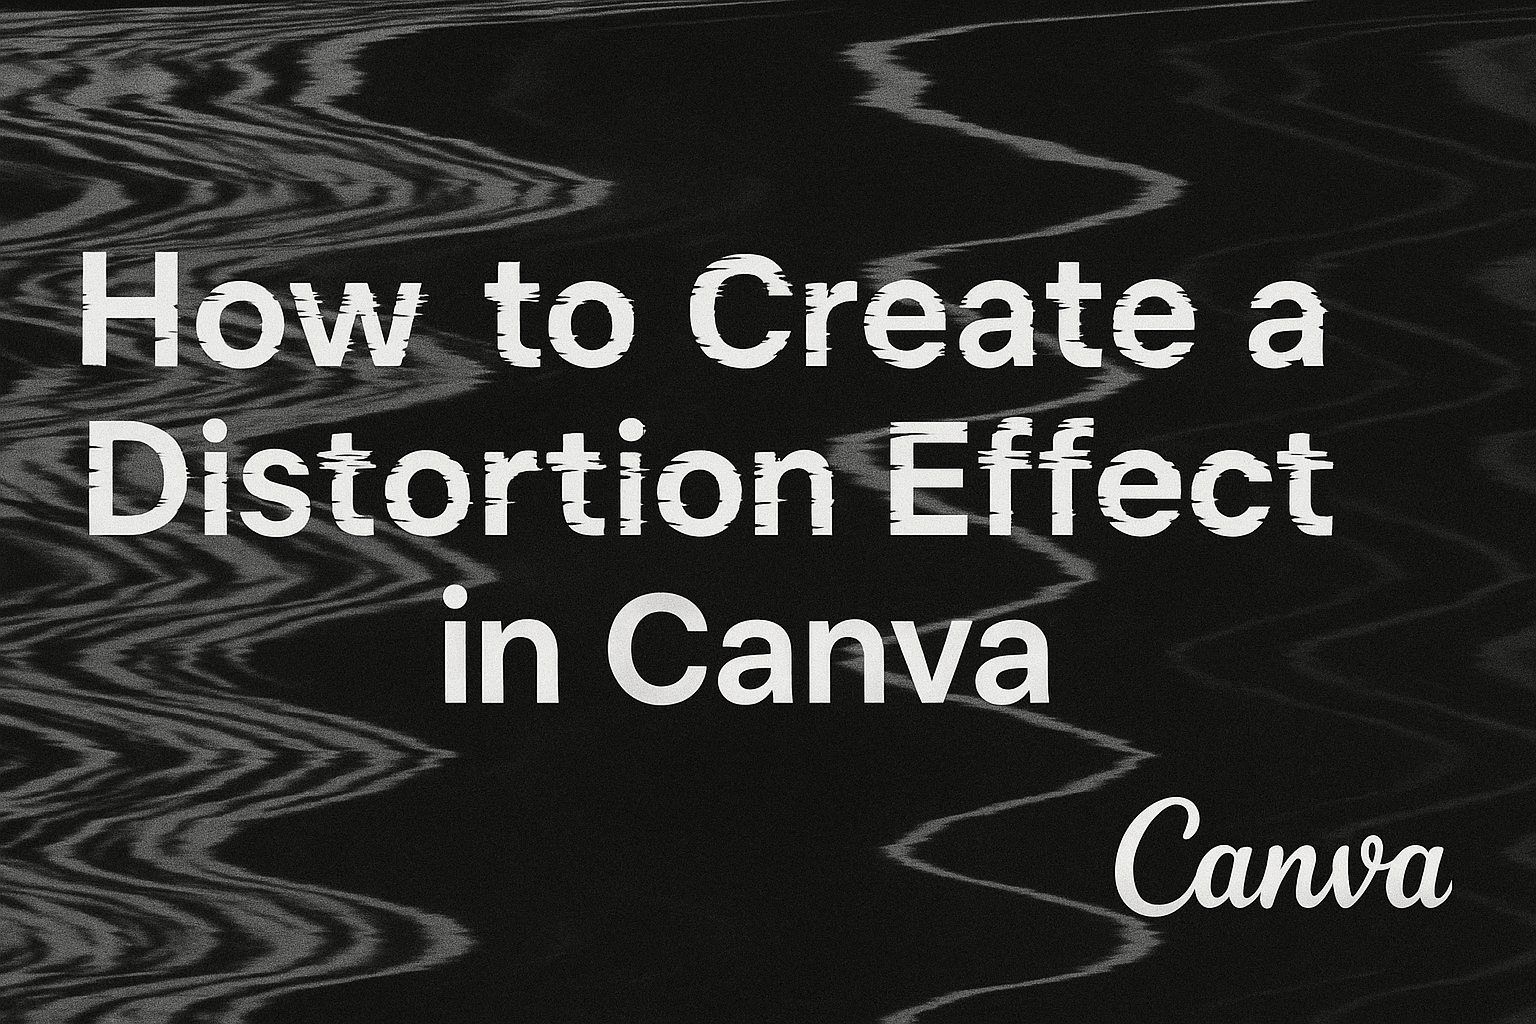
Some common examples include the “Wave” effect, which creates a wavy look on text or images, ideal for creating a sense of motion. Another popular choice is the “Glitch” effect, producing a digital error-like appearance reminiscent of old televisions or computers.
Additionally, Canva includes a “Slice” effect, which can creatively divide and rearrange an image or text. These distortion options allow greater artistic expression and can be applied to various design elements. Users can easily explore these effects through the Canva interface and modify their creations with precision for desired results.
Getting Started with Canva
Starting with Canva is simple and can be completed in a few steps. From creating an account to navigating the interface and choosing the right templates, these basics will help anyone use Canva effectively.
Creating an Account
To use Canva, first, create an account. Users can sign up with an email, Google, or Facebook account. It is a simple process that only takes a few minutes.
Once signed up, they can choose between a free account or explore paid options for additional features.
The free version of Canva offers many tools and elements, while paid subscriptions provide access to more customizable features and templates. Having an account is the first step to unlocking Canva’s design capabilities.
Navigating the Interface
Canva’s interface is designed to be user-friendly.
Upon logging in, users will see a dashboard where they can access design tools, templates, and their past projects. The menu on the left side allows quick navigation to various sections like templates, elements, and text.
Each tool is clearly labeled, making it easier to find and use. The drag-and-drop feature is intuitive, allowing users to move elements around with ease. It is simple enough for beginners yet offers enough depth for more advanced users.
Choosing the Right Template
Choosing the right template is crucial for creating a professional-looking design.
Canva offers a wide variety of templates for different purposes like social media posts, presentations, and flyers. The templates are organized into categories, helping users find what they need quickly.
When selecting a template, consider the purpose and audience of the design. Customize it to fit personal style and brand needs. Elements like fonts and colors can be adjusted easily to match the desired look. Using templates ensures a polished result without starting from scratch.
Preparing Your Canvas
Getting your canvas ready in Canva is a crucial first step in creating stunning distorted image effects. It involves selecting the best images or graphics for your design and using basic editing tools to set the foundation.
Selecting Images or Graphics
Choosing the right image or graphic is essential for a successful design.
Users should look for images that have clear subjects and distinct color contrasts. High-resolution images ensure that quality is maintained even after editing. Canva’s library offers a wide range of free and paid images suitable for various projects.
When users upload their own images, it’s recommended they ensure these images are in a supported format like JPEG or PNG. This ensures compatibility with Canva’s editing features.
Users should also consider the purpose of the design. For example, creating a poster may need a bold image, while social media graphics might require something more dynamic. Selecting an image that aligns with the intended message ensures that the final design will communicate effectively.
Basic Editing Tools
After selecting an image, basic editing tools in Canva help lay the groundwork for distortion effects.
The effects panel is where users can start experimenting with tools like Slice or Pixelate, which modify the image’s appearance. These effects can be accessed by clicking “Edit image” and then navigating to “Effects.”
Cropping is also an important step to focus on the main subject. Adjusting brightness, contrast, and saturation helps enhance colors, making effects more visible and impactful. Users might also find the grid or guidelines useful for positioning their images precisely.
Users should always preview changes to see how edits impact the overall design, ensuring that the distortion effect stands out and complements the image.
Applying the Distortion Effect
Creating a distortion effect in Canva involves using built-in tools and adjusting settings to achieve the desired look. Experimenting with these options can help in transforming ordinary images into something more dynamic and engaging.
Using Canva’s Built-in Tools
Canva offers a variety of tools for adding distortion effects to images.
Users start by selecting an image and accessing the Effects menu. One of the most popular options is the Liquify tool, which bends and twists parts of the image. This tool is ideal for creating wave-like distortions or a melting effect.
Another feature to consider is the Warp tool, which allows users to alter the shape of an image. It is especially helpful for creative display text or abstract designs. Users can preview changes with the Preview button, offering a clear before-and-after view. For detailed guidance, check out how to use different Canva tools effectively.
Adjusting Intensity and Scale
When applying distortion, adjusting intensity and scale is crucial.
Users can find these settings under the Effects menu by selecting the chosen tool, such as Liquify or Warp. Sliders allow fine-tuning of each effect to find the perfect balance.
For subtle changes, lower intensity levels work well, while higher settings create dramatic alterations. By adjusting the scale, users can determine the size of the distorted area on the image, offering further customization. Experiment with different levels to discover what suits the project best. For more guidance on adjusting these settings, explore this detailed tutorial.
Enhancements and Creative Touches
Creating a distortion effect in Canva can be even more engaging with personal touches. By adding text, incorporating design elements, and using filters, anyone can make their designs stand out. These enhancements allow for more creativity and ensure the final product is unique and eye-catching.
Adding Text and Fonts
Adding text is a great way to give personality to your design.
Users can choose from a variety of fonts in Canva to match the mood of their image. They may opt for bold fonts for a dramatic effect or cursive for a softer look.
Once they choose a font, they can change the size, color, and alignment to create interest and contrast. Layering text over images can also add depth, especially when paired with the distortion effect.
Adjusting the spacing between letters or words is possible, too, offering more control over the visual flow. By experimenting with these text options, designers can elevate their work to capture the viewer’s attention.
Incorporating Other Design Elements
In addition to text, incorporating other design elements like shapes and lines can further enhance the image’s impact.
Shapes can be used to create frames or patterns that complement the distorted image. Lines can guide the viewer’s eye or add texture to the design.
Users can also add illustrations or icons, available in Canva, to supplement and highlight certain aspects of their project.
These elements should be strategically placed and resized to maintain balance in the composition. When used thoughtfully, these components enrich the overall aesthetic and make the design more dynamic.
Final Touches and Filters
Once the main design is complete, applying filters can add the finishing touches that tie everything together.
Canva offers a range of filters that can change the mood of the project, from vintage to modern.
Users can adjust the intensity of these filters to suit their vision, ensuring they enhance rather than overpower the original design. They may also manually tweak settings like brightness, contrast, and saturation for a custom look.
These final touches help in fine-tuning the atmosphere and coherence of the design, making it polished and professional.
Exporting Your Design
After creating an exciting distortion effect in Canva, it’s essential to know how to export your design properly. This includes understanding different file formats and ensuring the quality, as well as how to share your creation with others.
File Formats and Quality
When exporting a design, selecting the right file format is crucial.
Canva offers several options like PNG, JPG, PDF Standard, and PDF Print. Each has its own advantages. For designs with transparency, PNG is ideal. Pictures needing higher quality and smaller file sizes benefit from JPG. For documents or printing, PDF Print ensures the best resolution.
While exporting, users can adjust the quality by selecting the resolution. For web use, 72 DPI is suitable. If printing is the goal, it’s better to choose 300 DPI. This ensures clear and sharp output without pixelation. Being aware of these settings helps keep your design looking its best, whether online or in print.
Sharing Your Creation
Once a design is ready, sharing it is simple in Canva. Easily share a link to your design through the “Share” button.
This way, others can view or collaborate on the same design. For social media enthusiasts, direct sharing to platforms like Facebook or Twitter is possible, making it convenient to showcase creations instantly.
For more personal or professional needs, downloading the design and sending it via email or as an attachment provides flexibility.
Providing options like a direct link or downloadable file ensures that your audience can appreciate or provide feedback on your creative work without any hassle.