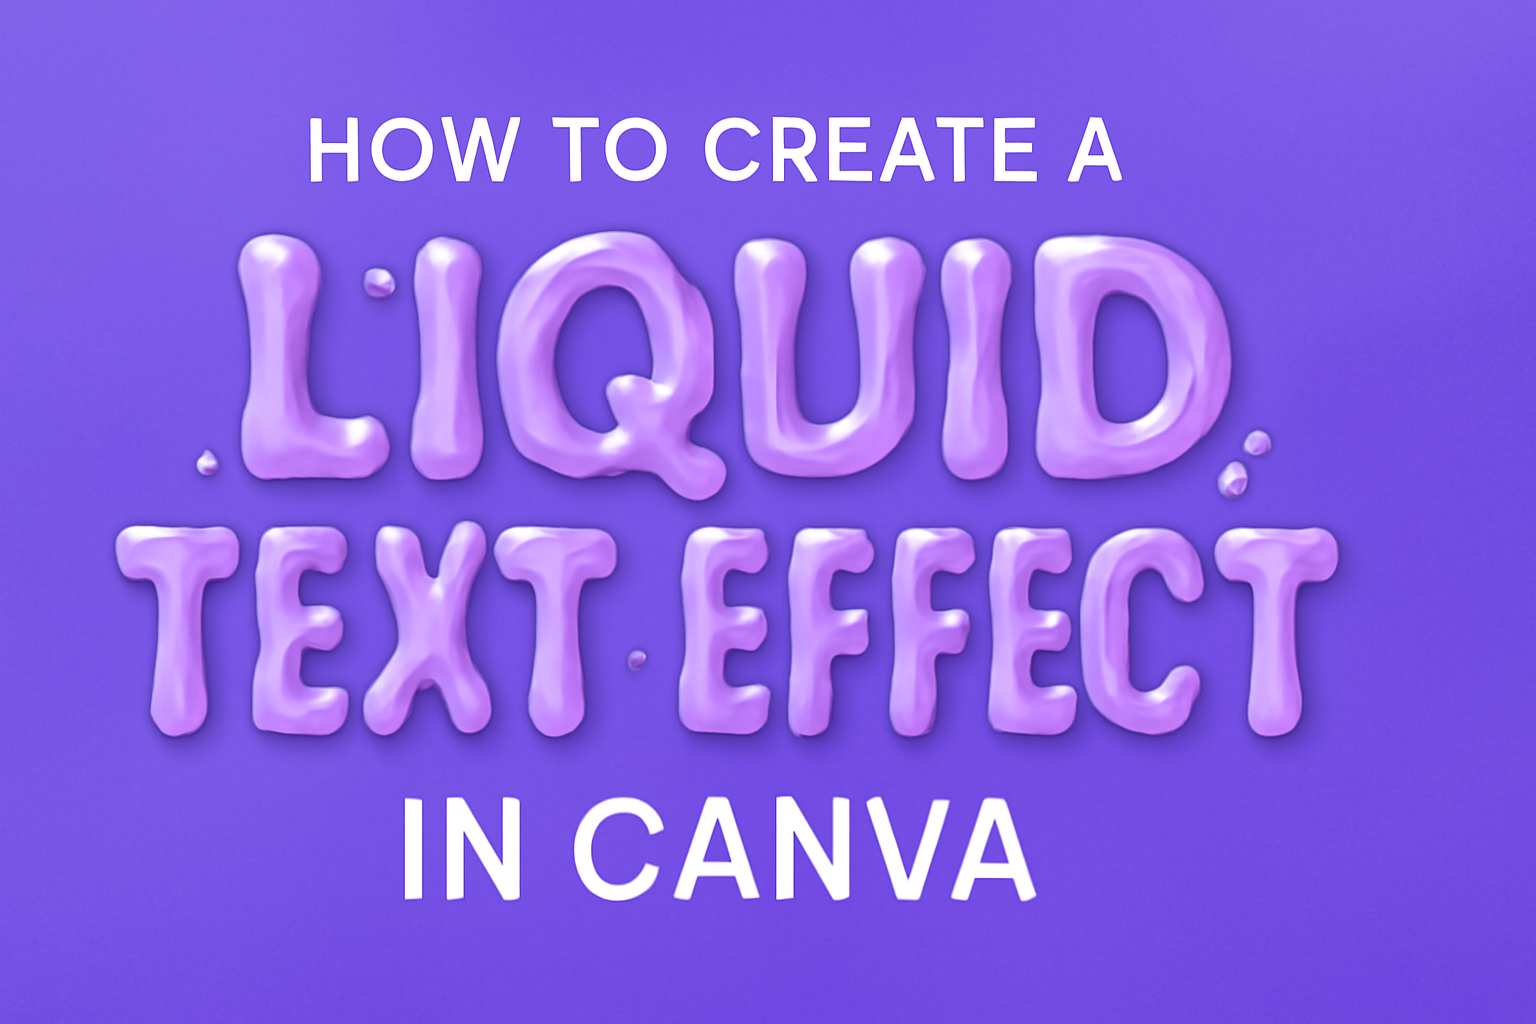
Creating a liquid text effect in Canva can add a dynamic touch to any design project.
The key to achieving this effect is using Canva’s Liquify tool, which allows the user to distort and manipulate text, giving it a fluid, wave-like appearance. It’s a fun and creative way to make text stand out, whether for social media posts, flyers, or presentations.
For those new to design or experienced creators alike, mastering this effect doesn’t have to be complicated. Canva provides an intuitive platform where users can explore different fonts, colors, and settings to customize their liquid text.
With just a few steps, anyone can transform ordinary text into something eye-catching and unique.
By following some straightforward guidelines, designers can unlock a world of possibilities. Helpful tutorials and guides are available online, making it easy to learn how to create a liquid text effect in Canva. This opens up new opportunities for creativity and expression in any visual project.
Setting Up Your Canva Account
Creating a liquid text effect in Canva starts with setting up your account. This involves registering or logging in and selecting the best template for your design needs.
Registering or Logging In
To get started, users need to access Canva’s website.
New users can create an account by clicking the Sign Up button. Options include signing up with an email address, Google account, or Facebook.
Existing users simply click Log In and enter their credentials. Canva offers a free version, but users can also explore Canva Pro for additional features. Signing up for the newsletter offers helpful tips and updates.
Security is important, so users should select a strong password combining letters, numbers, and symbols. This ensures account safety and protects design work.
Choosing the Right Template
After logging in, users can choose a template appropriate for their project. Canva provides a vast library with options such as social media posts, presentations, and flyers.
It is important to focus on the specific design requirements, like size and format.
Once a template is chosen, users can modify various aspects to fit their vision. Canva offers customization options for fonts, colors, and layouts, making it easy to match any design theme.
Users should consider using templates that allow for easy adjustments to achieve the desired liquid text effect.
Navigating the Canva Interface
When starting with Canva, it’s crucial to get comfortable with the design dashboard and tool panels. These illustrate the features that will help transform ideas into stunning visuals.
Exploring the Design Dashboard
The design dashboard in Canva is the central hub where projects begin and end. Users can start by logging into their account and selecting a design type suited for their project.
On the main screen, they can find templates, elements, and upload options neatly organized. The search bar at the top enables quick access to specific designs.
On the left side, users will notice a menu offering various options to add text, images, and backgrounds. This area allows for easy navigation between different categories such as photos, graphics, and videos.
Additionally, there is a button to access previously created designs, enabling users to continue working on unfinished projects without hassle. This straightforward setup ensures that artists spend more time designing and less time searching for the right tools.
Getting Familiar with Tool Panels
The tool panels in Canva offer a versatile array of features to edit and refine designs. Located mostly at the top of the screen, these panels contain options for adjusting fonts, colors, alignments, and more.
Users can click on text within the canvas to reveal a toolbar, which allows changes to font size, style, and effects like bold or italics. The transparency slider is also there; perfect for creating subtle blends or overlays in designs.
On the right, the panels can open up more advanced settings, such as spacing and position adjustments. This precision control is essential for ensuring that elements align perfectly, creating a balanced and professional look.
By understanding these tools, users can customize their projects fully, turning initial ideas into polished and creative designs effortlessly.
Starting Your Design
Before beginning, users should consider the size of their canvas and choose a suitable background. These steps provide a solid foundation for creating dynamic designs.
Selecting a Canvas Size
Choosing the right canvas size is crucial. He or she should think about where the final design will be used.
For social media posts, sizes like 1080×1080 pixels for Instagram or 1200×628 pixels for Facebook work well.
Users can set a custom size if needed by selecting “Create a Design” in Canva and entering the desired width and height in pixels, inches, or centimeters. This flexibility ensures that the design fits the intended purpose without unnecessary adjustments later.
Remember, it’s always better to start with the correct dimensions than to resize later, which might distort the design.
Applying a Background Color or Image
After setting the canvas size, it’s important to choose a suitable background.
A simple color can be selected from Canva’s color palette. If he or she wants something more dynamic, consider using a gradient from the “Backgrounds” tab.
For a personalized touch, users can upload an image by clicking on “Uploads,” then “Upload Media.” Once uploaded, dragging the image onto the canvas applies it as a background.
Whether using a solid color or image, the background should not clash with the text. Instead, it needs to enhance readability and help the liquid text effect stand out.
Creating the Text
Creating liquid text effects in Canva involves adding text boxes and choosing the right fonts and sizes. These steps help to create a visually appealing design that stands out.
Adding Text Boxes
To start, log in to your Canva account. Click on the Create a design button and select the design type you need. Once your canvas is ready, locate the Text tab on the left menu. Select Add a heading to get a blank text box on your design area.
Positioning is key. Drag the text box to where you’d like your text to appear. You can use Canva’s guides to help center and align your text accurately. If you need more than one text box, simply repeat the steps to add additional boxes.
Text boxes in Canva are easily adjustable. You can click and drag the corners to resize the box to fit your text perfectly. This flexibility allows for different text arrangements to enhance visual interest.
Choosing Fonts and Sizes
Once your text box is in place, click inside it to type your text.
Select a font from Canva’s vast collection. Fonts like Pacifico or Lobster work well for liquid text effects due to their smooth and fluid styles.
Font size matters. Choose a size that makes your text readable yet eye-catching. If you want a bold effect, go for larger sizes. Canva allows users to manually adjust the font size using either the dropdown menu or by typing the desired size.
Additionally, explore different font weights like bold or italic to add variety. Experiment with combinations until you find the perfect look that captures the essence of a liquid text style.
Applying the Liquid Effect
Creating a liquid text effect in Canva involves using and customizing pre-designed elements. By layering these elements, users can add depth and style to their designs.
Using Pre-Designed Liquid Elements
Canva offers a variety of pre-designed elements that can give text a liquid look. These elements, available in the “Liquify” section of Canva’s app, can be dragged and dropped onto the canvas. The wide range of styles includes wavy, drippy, and water-like appearances.
These preset elements make the process simple, even for beginners. Adjusting their size and position can transform any design. For those unfamiliar with designing, these tools provide an easy start, offering professional results without complications.
Customizing the Liquid Shapes
Once the pre-designed liquid elements are in place, customization is key to achieving the desired effect. Users can alter the color, opacity, and size of these shapes to match their creative vision. By selecting the element, a toolbar appears offering various options.
For instance, changing the color can enhance the text’s visibility against the background. Adjusting the opacity can create a softer, more integrated look.
Experimenting with these customization options allows for unique and personalized designs that stand out.
Layering Elements for Depth
Layering is another effective technique to enhance the liquid text effect. By stacking different elements on top of each other, users can add depth and complexity to their designs. This can be done by selecting an element and using the position tool to bring it forward or send it backward.
Using various opacity levels for different layers adds to the illusion of depth. This creates a more dynamic and captivating design.
Thoughtful layering not only enhances the text but can also form a cohesive and eye-catching visual experience.
Adjusting Your Text
Adjusting your text helps you create a visually appealing design that attracts attention. Key aspects to focus on include selecting the perfect color scheme and ensuring proper spacing and alignment.
Color Tuning
Color plays a critical role in design. To achieve an eye-catching look, experiment with different shades. Canva offers a color wheel for precise selection. You can use it to choose complementary or contrasting colors, enhancing the text’s appeal. Try applying gradients for a dynamic effect.
Consistent color schemes across your design will also create harmony.
Applying texture as a layer of color can add depth. This can make the text more dynamic, engaging the viewer further. Be mindful of readability; ensure enough contrast between text and background to keep it clear and easy to read.
Spacing and Alignment
Proper spacing and alignment can transform the overall look of your text.
In Canva, adjusting letter spacing allows each character to breathe, improving readability. Larger spaces give your text an open feel, while tighter spaces create intensity.
Alignment options include left, center, and right. Use these to guide the viewer’s eye naturally. Canva’s grid lines help ensure precise alignment.
Consistent spacing between words and lines ensures clarity and professionalism.
Experiment with vertical and horizontal alignment for different text pieces. This technique can create interest and add structure to the design.
Keeping margins balanced ensures that the text doesn’t appear crowded, maintaining a polished look.
Final Touches
After creating the base of your liquid text effect in Canva, it’s all about adding the perfect finishing details. This final stage involves enhancing your text with effects and filters and incorporating graphic elements to complete the look.
Adding Effects and Filters to Text
Adding effects and filters can make your text pop.
Start by selecting your text and exploring the Effects panel. Here you can choose from options like shadows, glows, and outlines to give your text some extra flair.
Experimenting with filters can also change the mood of your design. Adjust the contrast, brightness, and saturation to better fit your theme.
Remember to balance the text with the background. It’s important to make sure that it stands out, but not too aggressively.
Consider using the Liquify tool in Canva, which is handy for achieving that liquid effect. Zoom in to fine-tune the shapes and patterns in your text. Small adjustments can lead to a big difference in the final appearance.
Incorporating Graphic Elements
Supporting graphic elements can complement your liquid text effect. You can add shapes, icons, or illustrations that align with your design’s theme. Search the Canva library to find graphics that fit well with the overall look you’re aiming for.
Position these elements thoughtfully around your text. They should enhance, not distract from, the main focus. Try grouping similar graphics together for a cohesive design.
Playing around with layering can add depth. Place some graphics behind the text to give a sense of space and dimension.
Make use of Canva’s alignment and spacing tools to keep everything neat and visually appealing. A well-balanced design will hold the viewer’s attention and make your text effect truly stunning.
Saving and Exporting Your Design
Once you’ve finished creating your liquid text effect in Canva, you’ll want to make sure it’s saved and exported correctly. Choosing the right file format and downloading your design are important steps to ensure it looks great when shared.
Choosing the Right File Format
Choosing the correct file format is crucial for getting the best quality and functionality for your design.
Canva offers a variety of file formats such as PNG, JPEG, PDF, and SVG. PNG is ideal for designs requiring a transparent background or high-quality images.
JPEG works best for simple images, mainly for web use, because it’s a smaller file size. For print purposes, consider saving your design as a PDF. This ensures the highest quality with all elements preserved.
If you plan to use your design in different sizes or applications, SVG is the preferred option for designs that need to be easily resized without losing quality.
Downloading Your Design
After selecting the appropriate file format, downloading your design is the next step.
In Canva, click on the “Download” button located at the top right of the screen. This will open a menu where you can choose from the file formats you’ve decided on.
Check the “Size” and “Quality” options to ensure your design exports at the right resolution.
For social media, a smaller size might be acceptable, while high-resolution is essential for prints.
With everything set, click “Download” to save the file to your device.
Make sure to organize your files in folders with meaningful names for easy retrieval. This process will help ensure your design is easy to find and ready to use when you need it.