Designing visuals is much easier with tools like Canva. This platform simplifies graphic design, making it accessible to everyone.
One of the neat features Canva offers is the ability to change the shape of your pictures, which can enhance your designs significantly.
For those looking to add flair to their images, learning this feature can be a game-changer.
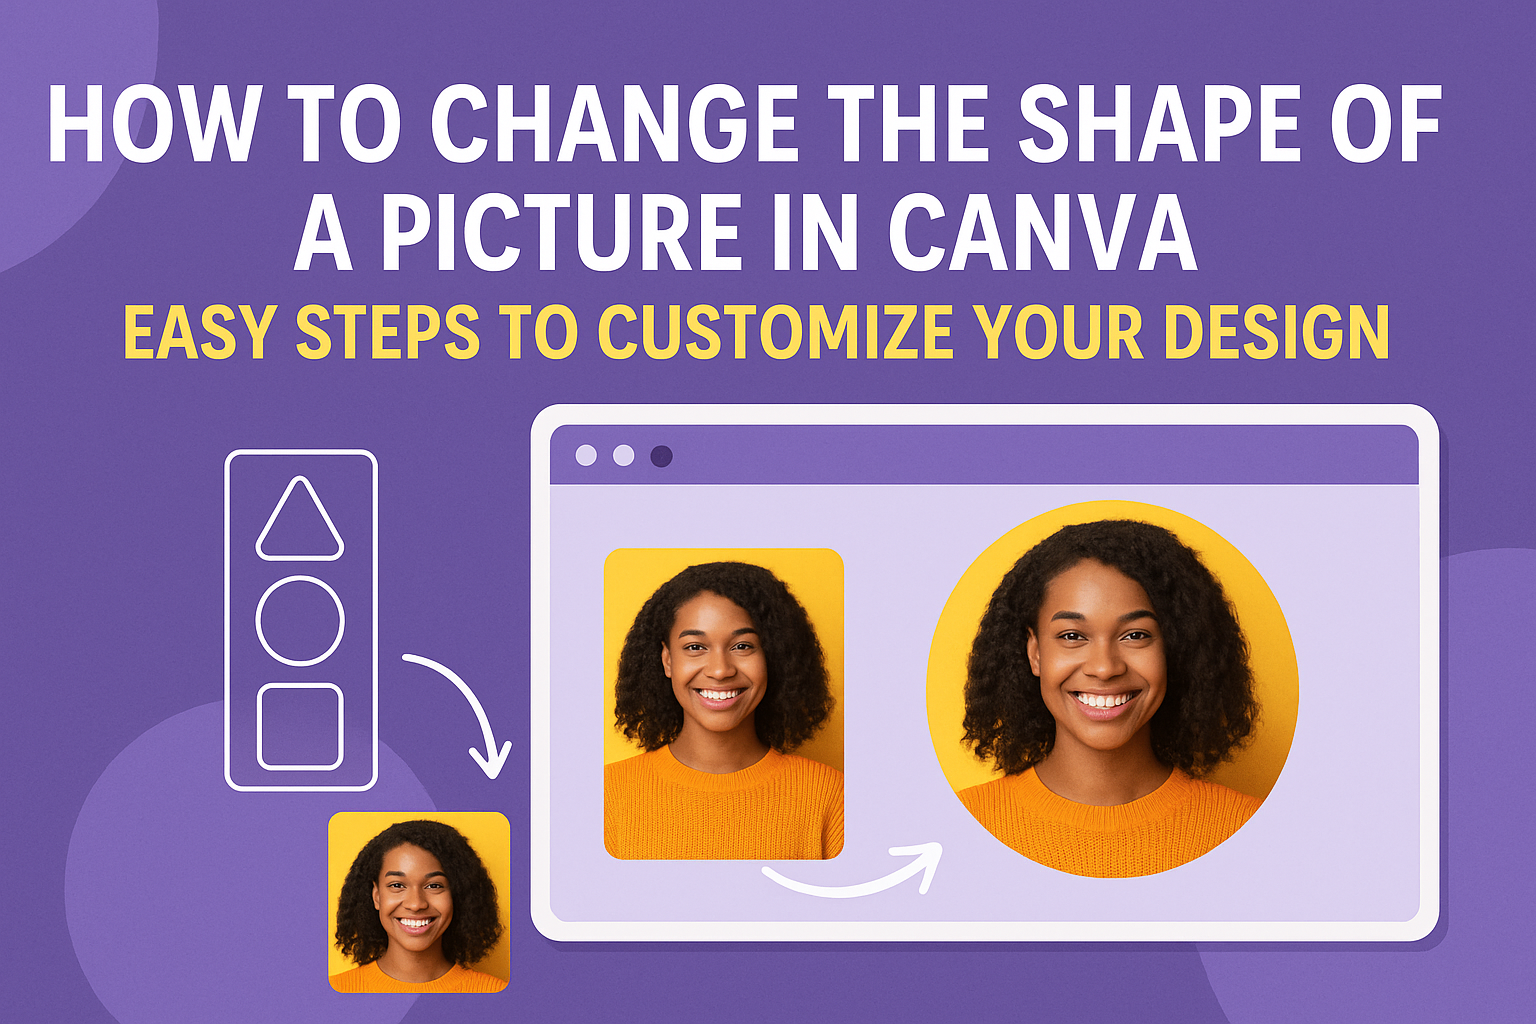
In Canva, you can easily change the shape of a picture by using frames or cropping tools to fit your creative vision. This option helps in creating unique and engaging graphics, whether they are for personal projects, social media, or business use.
The process is user-friendly and intuitive, which is why Canva remains a popular choice among both beginners and pros.
By experimenting with different shapes and frames, users can transform ordinary photos into eye-catching visual content. For more detailed steps on using this feature, check out guides like Canva’s help page on using frames and shapes.
Getting Started with Canva
Canva offers a user-friendly platform for graphic design, making it easy for beginners and experienced designers alike. Understanding its interface and how to access the editor is key to creating stunning designs.
Overview of Canva’s Interface
The Canva interface is designed to be simple and intuitive. The dashboard is the first thing users see, offering shortcuts to start new projects, view recent designs, or explore templates.
Along the left side, there’s a menu with options like Templates, Projects, and Tools.
The top toolbar includes options to filter, sort, and search designs. This helps users find everything they need quickly. Canva also offers a variety of templates, allowing users to pick predefined layouts or custom dimensions for their projects.
In the main workspace, users can add elements like text, images, and shapes. These tools appear in panels on the left, making it quick to drag and drop content into the design area.
A learning section provides tutorials and tips to help newcomers get the most out of Canva.
Accessing the Canva Editor
To access the Canva editor, users first need to log into their account.
Creating a new design starts by clicking the “Create a design” button. This offers options for different formats like social media posts, flyers, or custom sizes.
Users can also choose to edit an existing design by selecting it from their dashboard.
Once inside the editor, the main design area appears. Here, users can drag elements onto the canvas. Above, there is a menu to modify each element, such as resizing or repositioning.
The right-click menu offers additional functionalities like duplicate, lock, or delete.
Saving changes happens automatically, ensuring work is never lost. Users can also download their designs in various formats by clicking the download button in the top-right corner. This flexibility helps users manage their creations efficiently.
Selecting Your Image
Choosing the right image is the first step in shaping your picture in Canva. Whether you want to use a personal photo or explore Canva’s library, this guide will help you decide which option fits your needs.
Uploading Custom Images
When you have a specific image you want to work with, uploading it to Canva is straightforward. First, log into your Canva account. Then, look for the Uploads tab on the sidebar.
Click on it, and you’ll see an option to upload media from your device.
Select the image you want by clicking on it in your files. Once uploaded, it will appear in your Upload folder, ready for use.
This method is perfect for when you want to use personal photos or specific graphics not found in Canva’s library.
Custom images give you complete control over what you’re working with and ensure that your image aligns with your design vision. This approach is great when personal or brand-specific images are needed.
Using Canva’s Image Library
Canva offers a vast collection of images, making it easy to find the perfect picture for your design. To explore these options, look for the Photos tab on the left sidebar once you’re in the editor.
Search using keywords related to what you need. For example, if you need a sunset, type “sunset” in the search bar. You’ll get a range of images to choose from.
The library includes a mix of free and paid images, which gives you flexibility based on your project’s budget.
This feature is especially handy for those seeking high-quality stock images without needing external subscriptions. It also saves time if you don’t have custom images ready.
Modifying Image Shape
Changing the shape of a picture in Canva allows users to creatively present images. They can apply predefined shape frames or create custom shapes to fit their design needs.
Applying Predefined Shape Frames
Canva offers a variety of shape frames to make photo editing easier. Users can start by selecting a frame from the “Elements” menu. Frames include circles, squares, and other geometric shapes.
To use a frame, drag it onto the canvas. Next, users can easily insert an image by dragging it into the frame, where it will automatically adjust to fit the shape.
This is great for quickly achieving a polished look.
For added style, users can edit the frame’s border. By clicking the frame, they can adjust color, size, and rounding.
These features help in tailoring the image’s appearance without needing complex graphic design skills. Frames are perfect for projects where a quick and neat presentation is essential.
Creating Custom Shapes
For more personalization, Canva also enables custom shapes. Users can fashion a unique look by combining different elements and backgrounds.
To start, they can layer basic shapes from the “Elements” section, like rectangles and circles.
By adjusting these shapes, they can create a new design. It’s important to use Canva’s alignment tools to ensure neatness and precision.
Images are then placed inside these custom shapes. Users do this by arranging layers, sending the image backward to appear behind the shape.
This method is flexible, allowing for creativity while maintaining control over the final look. Custom shapes are ideal for creating standout images, making the design truly unique.
Adjusting Image Within Shapes
Adjusting images within shapes in Canva allows users to create eye-catching designs. This involves resizing and repositioning the image to fit perfectly within the chosen shape.
Resizing Your Image
To resize an image within a shape in Canva, users need to click on the image to activate the adjustment tools.
Once selected, they can drag the corners or edges to alter the size. Holding down the Shift key maintains the aspect ratio.
Resizing helps ensure that the image doesn’t appear stretched or squished while fitting perfectly within the frame.
Too large an image may crop essential elements, whereas too small a fit can appear awkward in the given shape.
Pro Tip: If the image becomes blurry when enlarged, consider using a higher-resolution version or a different image from Canva’s library.
Repositioning Your Image
Repositioning is crucial for obtaining the desired focal point.
By clicking and dragging the image within the frame, users can move it around until the main subject is perfectly centered or aligned as needed.
Sometimes the subject might need to be off-center for creative reasons. The nudge feature, using arrow keys, offers precision in movement.
If it’s necessary to start over, the Reset Position option can revert to the default placement.
This is especially helpful when experimenting with different alignments within the shape.
These adjustments make the image look natural and keep the design balanced and appealing.
Enhancing Your Picture
Make your pictures stand out by using filters and adding unique effects. These elements can transform simple images into eye-catching visuals.
Using Filters and Adjustments
Filters are a fantastic way to change the mood of an image. In Canva, there are various filters that can make colors pop or give a vintage feel.
Adjusting brightness, contrast, and saturation can also improve your picture’s appearance.
For example, increasing the brightness can make a dark photo look vibrant. Tweaking the contrast can highlight details that might otherwise be missed.
Adjust the saturation to make colors either more vivid or muted.
Experimenting with these settings can help users find the perfect balance for their pictures.
Adding Effects and Textures
Textures and effects add depth and interest to images. Canva offers a range of textures like grain, blur, or vignette, which can enhance the photo’s style.
Applying a soft blur effect can give a dreamy look, while a vignette can draw focus to the center of the picture.
Layering textures can also add dimension. For example, a grunge texture can make an image look rugged or edgy.
Users can try different combinations to see what works best for their design. Adding these creative elements makes pictures more engaging and visually appealing.
Saving and Exporting Options
Once satisfied with the preview, it’s time to save or export your design.
Canva offers several export options, catering to different needs. For high-quality prints, PDF Print is often recommended.
If the design is for digital use, options like PNG or JPEG might be more suitable.
Users can choose the file type that best matches their intended purpose.
Canva also allows images to be saved directly to a device or shared through links. This flexibility ensures that the design can be effortlessly shared with clients or friends.
Adjusting the export settings based on the intended use is key to maintaining quality and accessibility.