Creating visually appealing designs can be a game-changer, whether it’s for social media, presentations, or any other purpose.
Textures can add depth and character to images, making them stand out and resonate better with the audience.
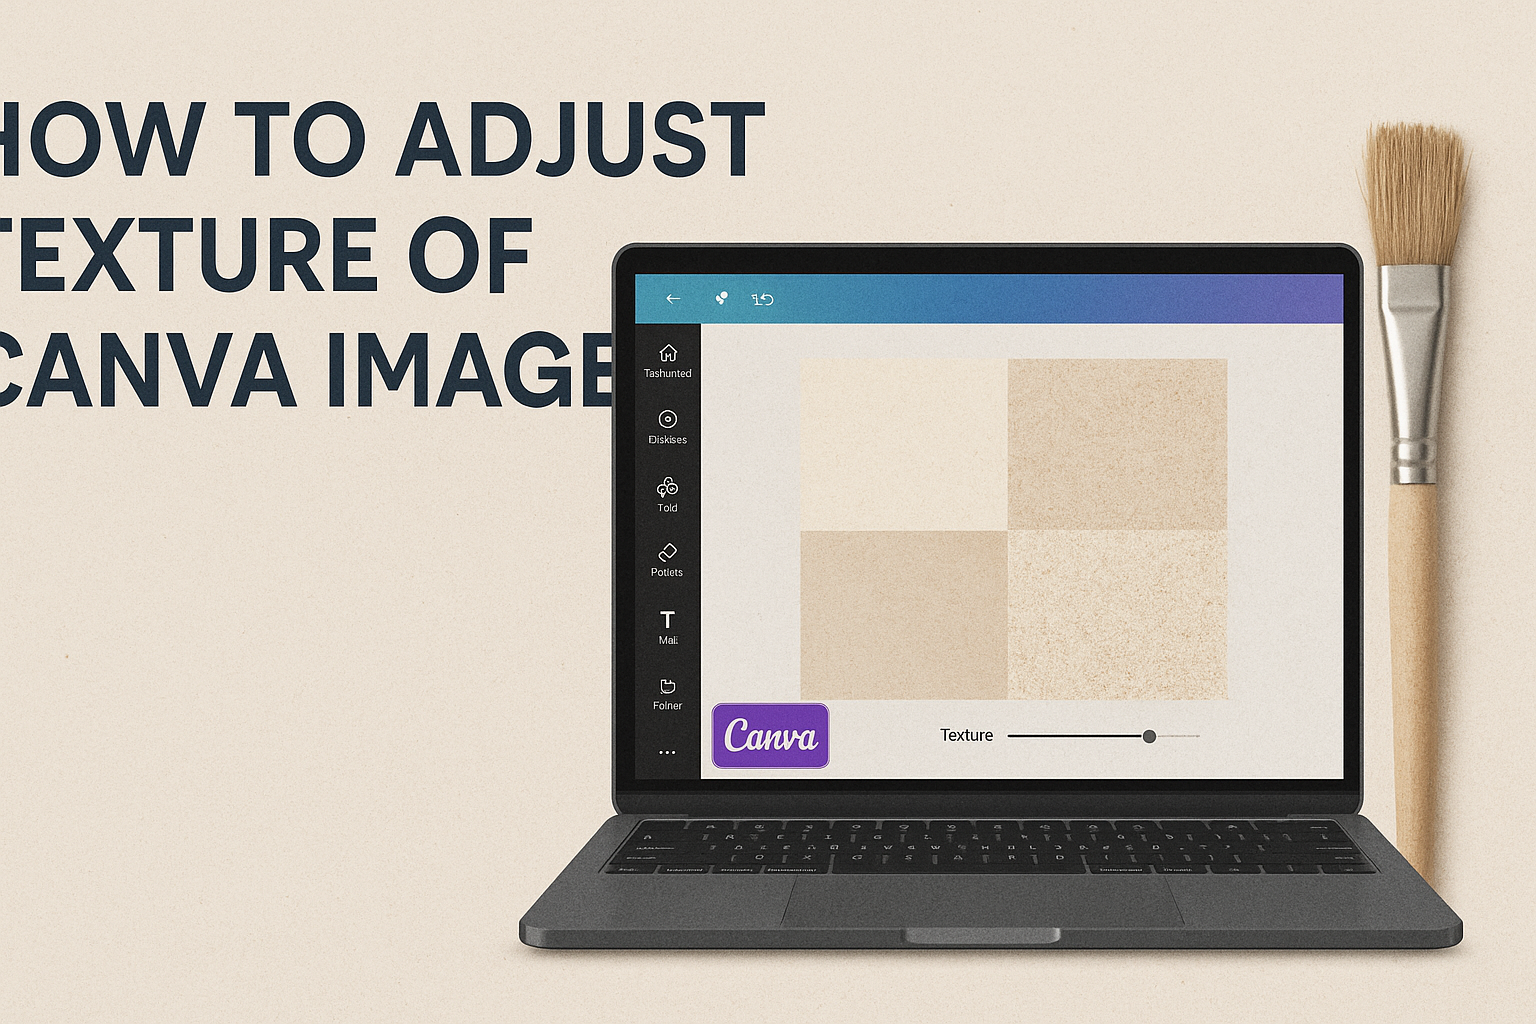
To adjust the texture of an image in Canva, the viewer can simply select the image, click on the ‘Adjust’ tab on the left-hand side, and choose the ‘Texture’ option to customize the scale and intensity.
By learning a few simple steps, even beginners can easily tweak their designs and apply unique textures to make their images pop.
Whether it’s adding a touch of grunge, making photos look vintage, or giving them a modern flair, understanding how to adjust textures can transform the way designs are perceived.
This guide not only offers clear instructions but also highlights quick tips for achieving the desired effects effortlessly.
With sites like CanvaTemplates offering a wealth of resources, anyone can master this skill in no time.
This post is here to ensure that readers get the most out of Canva’s features while having fun experimenting with textures.
Getting Started with Canva
Starting with Canva is simple. Gain a grip on the platform by setting up an account, exploring its user-friendly interface, and choosing the right image template for your project.
Creating an Account
To begin, one needs to create a Canva account, which can be done effortlessly.
Visit Canva’s homepage and click on Sign Up. Users can register using an email address, Google, or Facebook.
Once registered, Canva offers a tour of its features, helping familiarize new users with different design tools.
It provides great flexibility, offering both free and premium subscriptions. The free version is packed with plenty of design tools, templates, and resources.
A premium account unlocks more features, like an extensive library of stock photos and exclusive templates. This step is essential for those who desire access to Canva’s full potential.
Navigating the Interface
Navigating Canva’s interface is straightforward. On their dashboard, users find the Menu Bar, which houses options like Home, Templates, Projects, and more.
Under Projects, one can organize designs in folders, making it easier to manage work.
The Templates section is key for beginning a design. Canva organizes templates into categories like social media, presentations, and print materials.
This organization aids in speedy template selection. A Search Bar at the top helps find specific designs quickly.
Essential tools, like the toolbar, are on the editor screen providing functions like text, images, and elements. It’s designed to simplify adding or editing design components.
Selecting the Right Image Template
Choosing the appropriate image template is vital for creating designs that meet specific needs.
Canva offers a vast selection of templates catering to various purposes, such as social media posts, flyers, and invitations.
To select a template, users should identify their design goals first. For social media, Canva provides options optimized for different platforms, ensuring images fit perfectly.
The templates are customizable, allowing changes in style, color, and font to match a personal or brand aesthetic.
By filtering templates through categories and themes, users ensure their designs are tailored to their specific requirements, streamlining the creative process while achieving professional results.
Basic Image Adjustments
Basic image adjustments help enhance photos in Canva. These changes can improve the size, shape, and orientation of images.
Resizing Images
Resizing an image in Canva is simple yet effective for fitting it into various design needs.
The process starts by selecting the image, then dragging the corners while holding down the Shift key to maintain the aspect ratio.
It’s important to ensure that the image doesn’t stretch or distort, keeping the quality intact.
Canva allows users to use preset dimensions for quick changes. These options include typical sizes for social media posts, presentations, and more.
This feature saves time and ensures the correct size for different platforms. Reducing the size may lead to faster load times, which is crucial for online content.
Cropping for Composition
Cropping an image helps focus on the essential parts. In Canva, users can crop by clicking on the image and selecting the crop option.
This tool allows dragging the borders to frame the image just right.
Effective cropping can enhance an image’s composition and visual impact. By removing unnecessary elements, the main subjects stand out more.
It can also help fit the image in a particular layout, ensuring harmony with other design elements. With careful cropping, backgrounds can be adjusted, and distracting elements can be removed.
Rotating and Flipping
Rotating and flipping images are handy tools in Canva for creative adjustments.
By selecting the image and using the rotate handle, users can tilt the image at various angles. This tool is useful when trying to align an image with text or other design elements.
Flipping an image can be done vertically or horizontally. This option is useful for achieving a mirrored effect or adjusting the image’s direction.
For instance, flipping might make an image better fit a layout. Both rotating and flipping are stylistic choices that can make designs more dynamic.
Enhancing Image Textures
Enhancing image textures in Canva involves using a combination of features to create standout images. The process includes applying filters, tweaking brightness and contrast, and sharpening details for clarity and impact.
Applying Filters
Filters in Canva can dramatically change the tone and mood of an image.
By selecting the right filter, users can bring out the best in their images. Filters range from black-and-white effects to vibrant color enhancements.
To apply a filter, open your image in Canva, and locate the Effects tab. Click on it and browse the various options. Adjust the intensity slider to fine-tune the effect.
Filters can be stacked for unique combinations, adding depth and interest to photos. Such customization allows users to fully tailor their visuals to their desired aesthetic.
Adjusting Brightness and Contrast
Brightness and contrast adjustments are crucial for improving the visibility and allure of your textures.
In Canva, navigate to the Adjust section once your image is open. Here, you can slide controls to modify brightness and contrast.
Increasing contrast makes textures pop by enhancing differences between light and dark. Adjust brightness only enough to maintain natural-looking images, since over-adjustment may wash out details or make the image too dark.
Sharpening Details
For clearer and crisper image textures, sharpening is key. This feature enhances edges, making the texture stand out more prominently in the image.
To sharpen an image in Canva, go to the Adjust settings. Use the sharpness slider to make edges more defined.
Be cautious, as too much sharpness can lead to unnatural effects like halos or noise. The goal is to find the right balance where details are clear without losing quality. Sharpening can make a significant difference, particularly in textures with intricate details.
Advanced Texture Adjustments
In Canva, there are several advanced options to enhance your image textures. Users can experiment with effects to transform designs, layer textures creatively, and control the transparency and blur to achieve unique visual outcomes.
Using Advanced Effects
In Canva, advanced effects allow users to modify textures. Effects like “Duotone” or “Glitch” provide an artistic touch to images.
These effects can be accessed by selecting the image and navigating to the “Effects” tab on the toolbar. Adjusting effects can change the mood of your design.
These changes enable creative individuality. By applying various effects, designers can tailor their images to suit a project’s theme, making them unique.
The intensity of these effects is easily adjustable, which allows for diverse creative possibilities without overwhelming the image.
Adding Texture Overlays
Texture overlays offer another way to add depth to designs. Users can layer textured elements over images to enhance visual interest.
This involves selecting a texture from the library, placing it appropriately, and adjusting the size and position.
By using the “Position” tool, a texture overlay can align with your image. Canva’s library offers a plethora of textures, ranging from subtle paper effects to bold geometric patterns.
These overlays can transform a simple image into something visually exciting. This method is useful for highlighting certain areas or creating different themes within a project.
Working with Transparency and Blurs
Transparency and blur settings are essential for achieving certain effects in Canva designs.
By adjusting transparency, designers can create a layered look. This method makes textures appear as part of the original image without overshadowing it.
For blur, users may apply it to either the whole image or selected areas. This effect can simulate depth of field or draw attention to specific parts of the image.
Adjusting these settings in combination can result in a dynamic composition. By balancing transparency and blur, textures become a subtle enhancement rather than a distraction.
Applying Final Touches
In this part, readers will learn how to enhance their Canva images using color correction, adding vignettes, and reviewing the final result. These steps ensure images look professional and polished.
Color Correction
Color correction is key to making images look just right.
In Canva, users can adjust brightness, contrast, and saturation to bring out the best in their photos.
Start by selecting your image and clicking the “Adjust” option.
Use the sliders to tweak each setting until the colors appear natural and vibrant. For example, increasing brightness can highlight details, while adjusting contrast sharpens the image.
Remember, subtle changes are often more effective. Experimenting with small adjustments helps achieve the perfect balance without over-editing.
Adding Vignettes
Adding vignettes is an easy way to draw attention to the central part of an image. Vignettes create a soft shadow effect around the edges, guiding the viewer’s focus.
To add a vignette in Canva, use the “Edit photo” option and look for vignette effects under the “Effects” tab.
Adjust the intensity and size of the vignette to fit the image’s style. A gentle vignette can create a cozy or dramatic feel, depending on its use.
Keep in mind that vignettes work well with a wide range of images, but using them sparingly is important so they don’t distract from the main subject.
Final Image Review
Before finalizing, it’s important to review the image as a whole.
Look closely at each adjustment made during editing. Check if the color corrections and vignette create the intended effect. Ensure that the image remains true to its original purpose.
Consider showing it to someone else for feedback.
Fresh eyes can catch details that may have been overlooked. They can also provide insight into how the adjustments impact the image’s overall perception.
Once satisfied with the adjustments, the image is ready for use.
Whether for personal or professional projects, these finishing touches help create a standout piece.