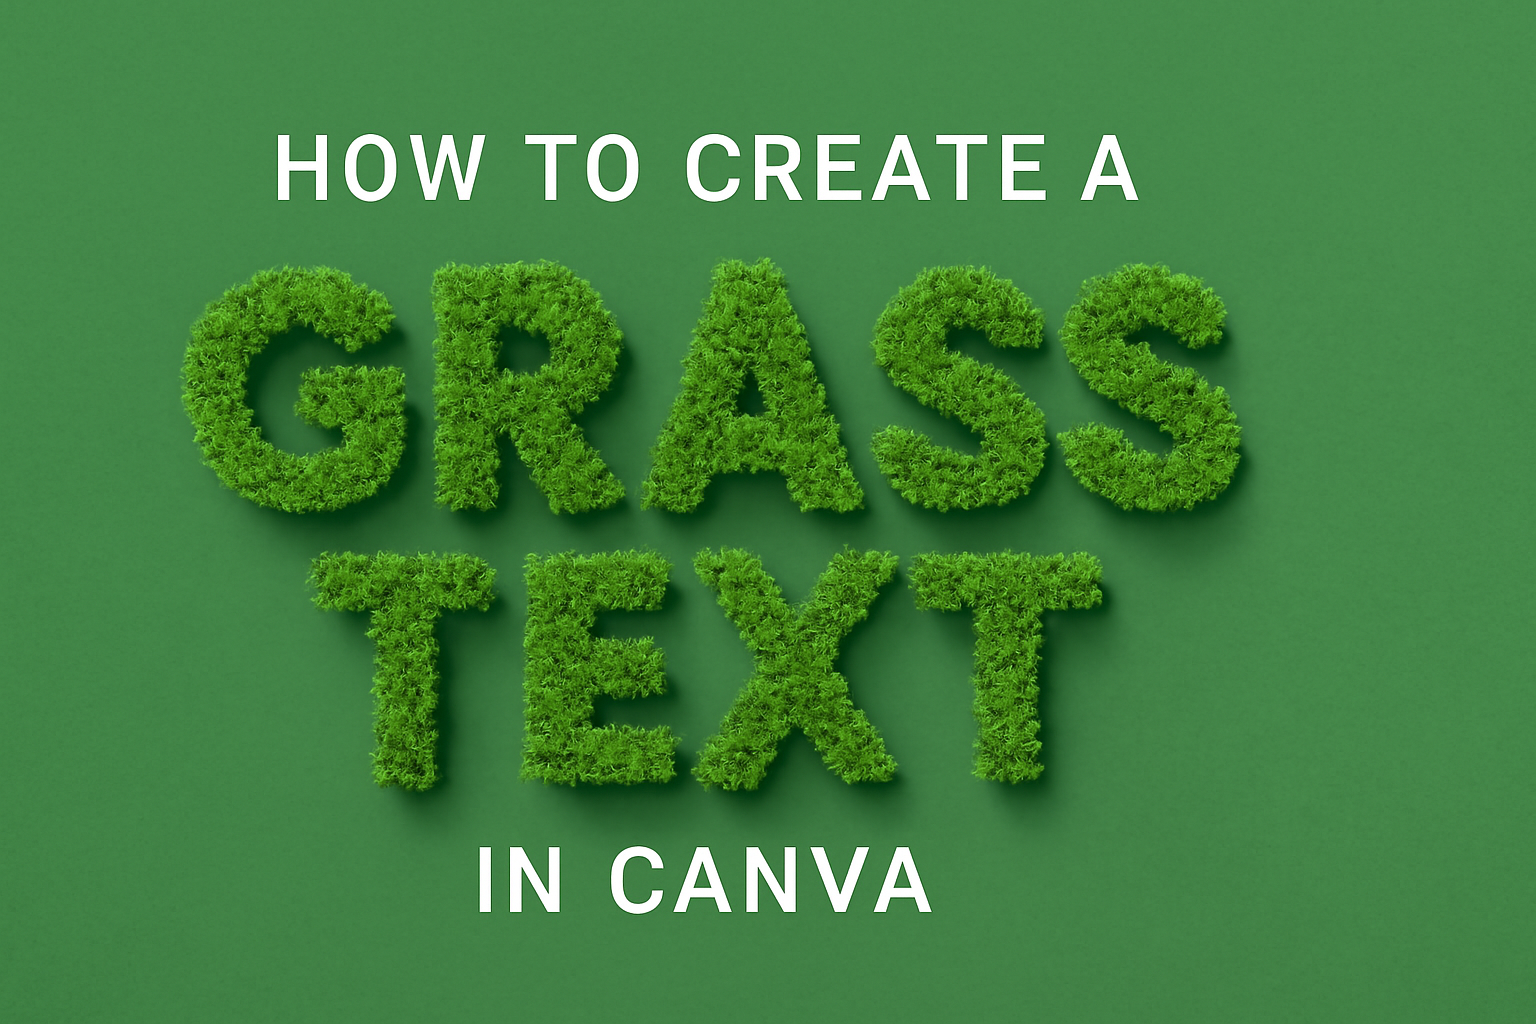
Creating unique designs can add a personal touch to digital projects. A popular feature is the grass text effect, which transforms ordinary text into something eye-catching and vibrant.
To apply the grass text effect in Canva, simply select your text, open the “Text Effects” panel, and click on the “Grass” option.
This feature offers flexibility for customization, allowing creators to shape their designs to fit any theme. By adjusting colors and intensity, users can craft a look that resonates with their vision.
The ease of use in Canva makes it accessible for both beginners and experienced designers alike.
For those looking to add a fresh, nature-inspired twist to their work, the grass text effect is perfect. It enhances the visual appeal and stands out, making designs more engaging. With just a few clicks, anyone can elevate their design skills and impress viewers.
Getting Started with Canva
To begin with Canva, users need to create a new design by selecting a template that suits their needs.
Navigating Canva’s interface involves understanding its various features and tools. Choosing the right template is crucial to kickstart any creative project confidently.
Creating a New Design
Creating a new design in Canva is simple and user-friendly. Users start by logging into their Canva account. Once logged in, they see the Home page, where they can choose from a variety of design options.
To start, click on the Create a design button. This opens a dropdown menu with numerous design options like social media posts, presentations, and more.
For those with a specific dimension in mind, there’s an option to input custom size by choosing Custom Size in the dropdown. Canva provides flexibility, allowing users to adjust the design dimensions to meet specific project requirements.
With the design type selected, the user is taken to the editing canvas where they can begin their creative process.
Understanding Canva’s Interface
Canva’s interface is intuitive, making it easy for users to find what they need. On the left side, there is a tool panel that includes options for adding text, elements, and photos. Each tool opens further sections for specific features, like font types or image collections.
The top menu bar provides options to adjust design features such as file saving, sharing, and resizing.
Central to the interface is the editing area, where all components are brought together. Users can drag and drop elements directly onto this canvas. Above the editing area, a toolbar appears depending on the item selected, showing customization options like color, transparency, and more.
This layout ensures users have everything they need at their fingertips.
Selecting the Right Template
Templates are essential in Canva to help users get started. The platform offers a vast range of templates across various categories, from business presentations to personal invitations.
To select a template, users click on Templates in the left toolbar, then browse using the search bar or by category filters.
Choosing a suitable template depends on the specific purpose of the design. Each template can be fully customized, allowing users to change fonts, colors, and layouts while retaining a professional look and feel. This flexibility allows users to create a unique design tailored to their needs without starting from scratch.
Preparing Your Text
Preparing your text is an important step when creating a grass text effect in Canva. This involves setting up the text box, selecting a fitting font, and adjusting both the font size and color to make your design pop.
Adding Text Boxes
Adding a text box is the first step. Open Canva and create a new design or choose a template. Click on the Text tool in the side menu. You can either pick a heading, subheading, or body text. Click the option that best suits your design needs.
Once you click, a text box will appear on your canvas. Drag the text box to position it wherever you like on the page. You can resize the text box by clicking and dragging the corners.
Adding multiple text boxes allows for varied styling and adjustments for different parts of your text.
Choosing Fonts
Choosing the right font is crucial for creating an attractive grass text effect. Canva provides a vast selection of fonts. They can be accessed by clicking the font name on the toolbar at the top.
Look for a font that complements the grass effect, like bold or earthy styles.
To find the perfect font, consider fonts that are sans serif for a modern look, or serif for a classic touch. Explore Canva’s categories, like handwriting or display, for something unique. Try different fonts until you find the one that feels right for your design.
Adjusting Font Size and Color
Adjusting the font size ensures your text fits well and is readable. Click on the text box, and use the size dropdown in the toolbar to choose a size. You may need to experiment with different sizes to see what looks best.
Choosing the right color is also key. You can change the font color by selecting the text and clicking the color icon in the toolbar.
Consider using shades of green to match the grass effect you’ll apply later. Testing various shades might help find the one that works best with your overall design theme.
Creating the Grass Effect
Creating a grass text effect in Canva involves adding textures, layering different elements, and enhancing the design with depth and shadows. Each of these steps contributes to creating a realistic and eye-catching grass effect.
Applying Textures
Applying textures is a key step in making the text look like it’s covered in grass. In Canva, users can begin by selecting the text element they wish to enhance.
Once selected, they can access the “Effects” panel to find various texture options. Choosing the “Grass” texture will give the text a natural, grassy look.
After applying the texture, users can adjust its intensity. This is done through settings like opacity and saturation, which help in making the grass effect either bold or subtle.
Fine-tuning these settings gives the text a more realistic appearance, allowing it to blend seamlessly with the rest of the design.
Additionally, exploring different shades of green can add variety to the grass effect. By experimenting with colors, users can customize the text to match their overall design theme or desired style.
Layering Elements
Layering elements can enhance the grass effect by adding depth and dimension to the design. This involves using multiple text layers or graphic elements that complement each other.
In Canva, users can create additional text layers with different opacities or sizes to build complexity.
For example, one might overlay a subtle shadow effect beneath the main text to create the illusion of thickness. This can be done by duplicating the text layer, changing its color to a darker shade of green, and then slightly offsetting its position behind the original text.
Incorporating elements like shapes or additional graphics from Canva’s library can further enhance the grass texture. Adding elements such as small flowers or leaves can make the grass effect appear more natural and detailed.
Adding Depth and Shadows
Adding depth and shadows is crucial to making the grass text stand out.
Depth can be created by using gradients or layer effects that give a three-dimensional look to the text. In Canva, users can utilize shadow effects available under the “Effects” panel.
By adjusting shadow settings such as blur and angle, users can control how pronounced the shadows appear.
Soft shadows create a subtle, blended look, while sharp shadows make the text pop more prominently against the background.
Experimenting with different lighting angles enhances the realistic appearance of grass textures. Users can try various shadow directions to see how they affect the perception of lighting on the design.
Balancing these elements gives the grass text a polished and engaging look.
Enhancing the Design
Adding the right touches can make the grass text effect look stunning and more lifelike. Consider incorporating various visual elements, using color gradients, and applying filters to boost realism.
Incorporating Visual Elements
Incorporating additional visual elements can enrich the appearance of your grass text. By adding subtle details like flowers, insects, or dew drops, you can create a lively and vibrant scene.
Arrange these elements around or within the text to create a sense of depth and dimension. To find these elements in Canva, use the search bar in the Elements tab. Choose elements that complement the grass theme to maintain harmony in the design.
Using Color Gradients
Color gradients can bring depth and variation to a grass text effect. By blending different shades of green, you can mimic the natural variation found in real grass.
In Canva, select your text, click on the color option, and choose gradient as your color fill. Adjust the angle and colors to get the desired effect.
Combining vibrant and muted greens will make the grass text appear more dynamic and engaging.
Applying Filters for Realism
Filters can enhance the realism of your grass text effect. Filters adjust the lighting, color, and overall texture of the design, making it appear more like an outdoor environment.
Experiment with filters within Canva’s editing tools. Try adding a vignette filter for shadowy edges or a sharpening filter to emphasize textures.
Correct use of filters can add to the natural feel of the design, making the text look like it’s part of a natural setting.
Final Touches
To complete your grass text effect in Canva, a few final adjustments are needed. These include arranging the text for visual balance, adhering to design principles, and understanding the best methods to save and export your work.
Spacing and Alignment
Proper spacing and alignment are crucial to make the grass text effect stand out. Ensuring that each letter has equal spacing prevents the design from looking cluttered.
Using Canva’s alignment tools can help center your text within the composition. Aligning elements creates a more professional appearance and enhances readability.
Making use of white space can further highlight the text effect. This can be done by ensuring there’s ample space around the text.
Proper spacing and alignment make the design more inviting and clear.
Reviewing Design Principles
Before finishing, it’s important to consider some key design principles. These will ensure the text effect is both visually pleasing and effective.
Contrast is a key principle—make sure the grass text stands out against the background color. This enhances visibility and impact.
Consistency is another principle to keep in mind. Stick to one or two fonts throughout the design to maintain uniformity.
It’s also helpful to review the color harmony. Different shades of green can add depth but should complement each other.
Saving and Exporting Your Work
The final step is to save and export your work.
When saving your design in Canva, choose formats that maintain quality. Common options include PNG for online use or PDF if printing is required. These ensure your design remains clear and visually appealing.
Exporting the work with a transparent background is possible for a versatile use. This option can be found under the “Download” settings.
It’s useful for placing the text on different backgrounds without a visible border. These details will help ensure the grass text effect is as perfect as possible.