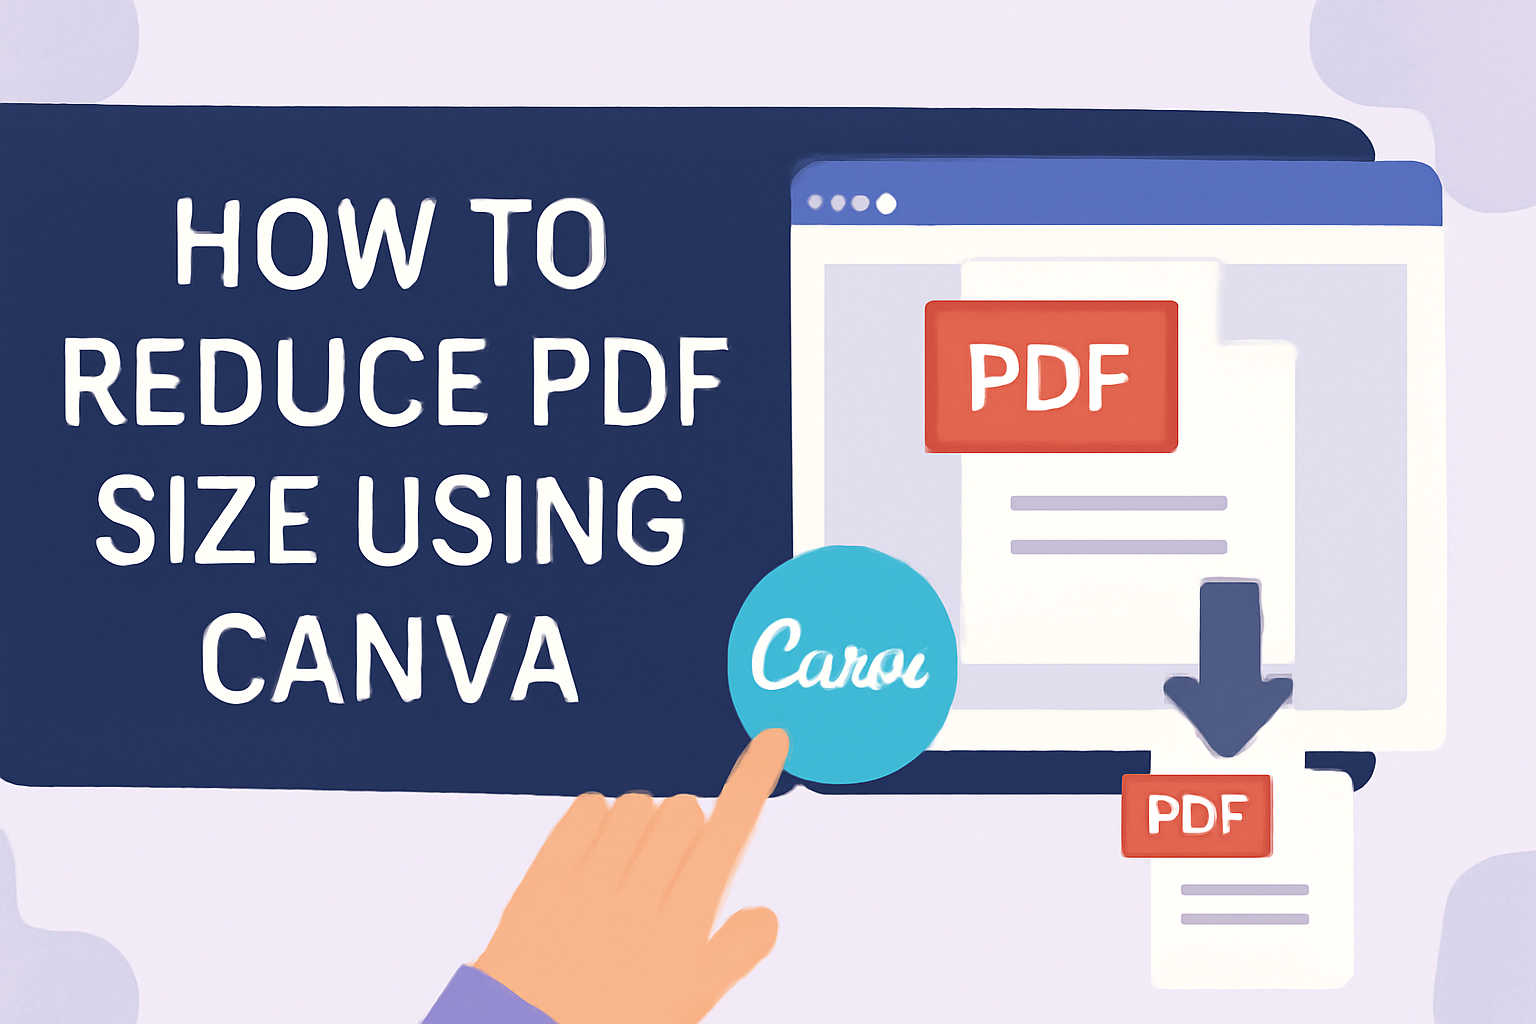
Working with large PDF files can be a hassle, whether you’re trying to email them or save space on your device. The good news is that Canva offers a simple solution to this problem.
By using Canva’s compress feature, anyone can quickly reduce the size of a PDF file without losing much quality. This tool is especially handy for designers, students, and anyone who frequently deals with PDFs.
Canva’s process for shrinking PDF files is not only efficient but also user-friendly. With just a few clicks, you can manage your document sizes more effectively.
This means more room for important projects and less stress about file limitations.
Curious about how this works?
Beyond its ease of use, Canva is an excellent choice because of its accessibility. While some features are exclusive to Canva Pro users, the platform still offers plenty of free tools that anyone can use.
Discover the steps to make the most of Canva’s capabilities and say goodbye to cumbersome, oversized PDFs.
Understanding PDF Compression
PDF compression helps make files smaller, which makes them easier to share and store. Smaller files take up less space and are faster to upload or download.
Compressing a PDF doesn’t have to mean losing quality. It’s about finding the right balance between file size and keeping things clear.
How it Works:
-
Remove Unnecessary Data: Compression can strip away unused elements like metadata or hidden layers.
-
Image Compression: Images inside PDFs can be resized or encoded more efficiently, reducing their overall size.
-
Text Compression: Repeated text patterns can be identified and replaced with shorter codes.
Types of Compression:
-
Lossless Compression: Shrinks the file without any quality loss. It’s like zipping a file and then unzipping it back to the original.
-
Lossy Compression: Reduces file size by discarding some data. This might slightly affect quality, often used for images.
Common Techniques:
-
Downsampling: Reduces image resolution.
-
Merging elements: Combines similar objects into one.
Creating efficient PDFs using tools like Canva or Adobe involves these techniques. Tools like Canva’s PDF converter allow users to minimize file size while maintaining quality. More details on how to achieve this using Canva can be found in this helpful guide.
Getting Started with Canva
To begin using Canva, you need to create an account and familiarize yourself with its user-friendly interface.
These first steps are essential in making the most out of your design experience on Canva.
Creating a Canva Account
Setting up an account on Canva is simple and quick. New users can sign up using an email address or log in using Google or Facebook.
After signing up, Canva might prompt users to select their main purpose for using the platform, whether for personal, business, or educational use. This helps tailor user experience to fit their needs.
There is a free version available that offers numerous templates and design elements. For those who need more features, Canva Pro provides additional benefits like premium templates and design tools for a monthly fee.
Signing up:
- Visit the Canva website.
- Click on “Sign up” or “Log in.”
- Choose to continue with email, Google, or Facebook.
- Follow the prompts to complete registration.
Overview of Canva Interface
Once logged in, users are greeted with a clean and intuitive interface. The homepage features templates and recent projects, allowing users to start designing right away.
On the left-hand side, there is a toolbar with options such as “Templates,” “Uploads,” and “Photos.” This makes navigating different features easy, ensuring a smooth design process.
For editing and creating designs, Canva provides a central workspace. Here, users can drag and drop elements, change text, and more. The top menu provides options for fonts, colors, and other customization tools.
Key interface components:
- Toolbar on the left for easy navigation.
- Central workspace for editing designs.
- Top menu for customization options.
By understanding these elements, users can efficiently create and edit their PDFs or other design projects with ease.
Preparing Your PDF for Compression
Before reducing the size of your PDF using Canva, it’s essential to prepare the document thoroughly. This preparation focuses on reviewing the content to ensure it’s necessary and optimizing images for better compression outcomes.
Reviewing Your PDF Content
Start by going through every page of your PDF. Identify sections or elements that may not be needed and consider removing them.
Elements like extra pages, unnecessary graphics, or excessive text can increase file size.
Another key aspect is to double-check the content for any formatting issues or errors. Consistent formatting not only improves readability but also aids in smooth file compression.
Simplifying fonts and merging duplicate text elements can make a notable difference.
Listing the essential parts of the PDF might help in deciding what must stay. It’s all about streamlining your document without losing its core message.
Optimizing Images Before Upload
Images can significantly impact the size of a PDF. Prior to uploading to Canva, convert high-resolution images to a moderate resolution without compromising too much on quality. Tools like online image compressors can be helpful for this task.
In cases where images are not the focal point, consider replacing detailed images with simpler icons or illustrations. This switch can also ease the compression process.
If using photos, ensuring they are in a compressed format like JPEG may further reduce the size.
Keeping image sizes manageable while maintaining clarity can lead to a more efficient compression process.
Reducing PDF Size Using Canva
Reducing the size of a PDF file in Canva involves a few straightforward steps. Users can upload their PDF, compress images, and select the best output options for a smaller file size without losing quality.
Uploading Your PDF to Canva
First, head to the Canva homepage. Here, users will find the option to either create a new design or upload an existing file.
To upload a PDF, click on the “Upload” tab found in the side panel and select the PDF file from your computer.
This step prepares the document for editing and compression. By bringing the file into Canva, users gain access to a variety of editing tools. Once the PDF is uploaded, it will appear in the “Uploads” section.
From here, the document is ready to be placed in a custom design or used as-is for further editing and compression.
Compressing Images Within Canva
Images often take up a lot of space in PDF files. Canva provides users with tools to reduce image size.
After clicking on an image within the PDF, a toolbar appears. Users can select the “Edit” button and find the “Compress” option for JPG or PNG files.
By sliding the quality bar or selecting a compression ratio, the image size decreases.
For Canva Pro users, there are additional compression settings to further reduce sizes while maintaining quality. This tool is particularly helpful for image-heavy documents, ensuring PDF files remain clear but much smaller in size.
Choosing the Right PDF Output Options
Once the edits and compressions are complete, it’s time to choose how to save the file. Click on the “Download” button at the top right corner.
Selecting the “PDF – Print” option maximizes quality, but users aiming for a smaller file size should go with “PDF – Standard” instead. This setting reduces the size further without a massive drop in visual quality.
By adjusting these settings thoughtfully, it’s possible to balance quality and size effectively.
Additional Tips for Smaller PDF Files
Creating smaller PDF files can help with storage and faster sharing. By making thoughtful choices about fonts and graphics, users can significantly reduce their file sizes.
Font Minimization
Using fewer fonts can make a big impact on reducing PDF size.
Canva users should choose standard fonts that are commonly available on computers. When less complex or fewer fonts are used, it means smaller file sizes because the PDF doesn’t need to embed those font files.
Also, sticking to a single font style or weight can help. For instance, using only regular or bold text instead of mixing several styles minimizes the file’s size. Reducing or avoiding font effects like shadows or outlines can further contribute to a leaner PDF.
Limiting Use of High-Resolution Graphics
High-resolution images can really increase the size of a PDF. It’s often better to use smaller images or to compress large ones.
Tools within Canva allow users to adjust image resolution. Choosing lower resolutions is effective for document sharing without losing much quality.
Clipping images to only show necessary parts can also save space. If the document doesn’t rely on detailed images, using vector graphics or illustrations instead of photos can further limit the file size.
Additionally, reusing images rather than importing different ones can be helpful.
Exporting and Testing Your Compressed PDF
Exporting a PDF from Canva is a straightforward process, but ensuring the quality of your compressed file requires careful testing.
Export the PDF with the correct settings and then verify its quality to make sure the important details are preserved without unnecessary bulk.
Exporting Your Design from Canva
To export a design from Canva, start by opening your completed project.
Next, click the “Download” button at the top-right corner of the screen. Choose the “PDF – Print” format to maintain a high-quality output.
After selecting the format, locate the “Advanced Options” section. Here, you’ll see an option to “Compress PDF”.
Check this box to reduce the file size efficiently. Once done, click on “Download” again to save the compressed PDF to your device.
Keep in mind that compression may affect image quality. Use the compression settings wisely, balancing file size and clarity.
Testing different settings may help in finding the best result for your needs. This step helps keep your PDF files tidy and efficient.
Verifying the Quality of Your Compressed PDF
After downloading the compressed file, it’s time to check the quality.
Open the PDF in a dedicated reader like Adobe Acrobat or any default reader on your device. Carefully inspect each page for any noticeable loss in image clarity or missing details.
Review important elements such as text sharpness and color accuracy.
Comparing the compressed version to the original can quickly highlight any quality loss. If the images look blurry or text is hard to read, consider adjusting the compression settings in Canva.
Make these changes until the PDF’s appearance meets your expectations.
Furthermore, test printing a page to see how the file translates to paper. A well-balanced compression will ensure the document remains appealing both digitally and in print.