Ever stumbled upon a part of a video that you wish to keep hidden, yet the rest of the footage is perfect? Blurring a video in Canva provides an easy solution to keeping certain sections private while retaining the content you love.
This handy tool is great for video editing enthusiasts and professional designers alike.
In Canva, blurring videos doesn’t require you to be a tech wizard. With just a few taps, users can select the part of the video they want to blur, apply effects, and adjust it to their liking.
Anyone can use Canva’s intuitive interface to make cinematic edits without the fuss.
Whether you need to hide sensitive information or just want to add creative flair, these simple steps will walk readers through the process. They’re bound to find video editing in Canva an enjoyable and rewarding experience. For more detailed guidance, how to blur a video in Canva offers an excellent starting point.
Understanding Video Blur
Blurring a video can help focus the viewer’s attention or protect sensitive information. From privacy concerns to aesthetic choices, blurring serves various purposes.
Reasons for Blurring Videos
People blur parts of a video to protect privacy or obscure confidential information. For instance, hiding license plates or people’s faces in public videos is a common practice. This helps maintain anonymity and complies with privacy regulations.
Blurring can also be an artistic choice. It shifts focus to specific elements by softening the background. This technique enhances storytelling and lets viewers focus solely on the important parts of a scene. These reasons make blurring an essential tool in video editing.
Types of Blur Effects
There are several blur effects available. Gaussian blur gives a smooth, natural look by softening the whole image evenly. It’s great for creating dreamy backgrounds.
Motion blur mimics the effect seen in fast-moving scenes where objects blur in the direction of motion, adding a dynamic feel to the video.
Box blur is another option used for a more straightforward, pixelated style. This effect is less natural but can be useful for stylistic choices or when creating digital animations.
Choosing the right type of blur depends on the video’s purpose, whether for privacy or creative flair.
Getting Started with Canva
Exploring Canva for video editing can be exciting and straightforward. Understanding how to create an account, navigate the interface, and choose a video template is essential for seamless editing.
Creating a Canva Account
To start using Canva, the first step is to create an account. Users can visit the Canva website and click on the “Sign Up” button.
Options for signing up include using an email address, Google account, or Facebook account.
After signing up, it’s good to check the inbox for a confirmation email. Clicking the link in this email activates the account. Once activated, Canva guides new users through setting up a profile. They can choose preferences based on their needs, whether for personal, business, or educational use.
Canva offers a free plan with basic features. For more advanced options, users might consider upgrading to Canva Pro. This opens up more templates and design elements, which can be particularly useful for frequent creators.
Navigating the Canva Interface
Once logged in, users are welcomed by a dashboard. This interface is where all design magic happens. It displays a collection of options like templates, designs, and tools.
The left-hand side features a toolbar with sections for templates, elements, uploads, photos, and more. Users can easily switch between these options to access different resources. The search bar is crucial for locating specific elements, templates, or features quickly.
Users should explore the toolbar to get familiar with available options. This includes understanding how to drag and drop elements into the workspace.
Additionally, the top menu bar provides access to features like saving, sharing, and downloading designs.
Selecting a Video Template
Users ready to create a video can start by choosing a template. On the dashboard, selecting the “Video” tab within the templates section narrows options to video-specific designs.
Canva provides a wide array of video templates categorized by theme and purpose. Users can explore these categories to find a template that suits their project needs.
Once a template is selected, clicking on it opens it in the editor.
Templates are customizable, allowing users to adjust text, images, and video clips. They can be resized, and elements can be moved to tailor the video to specific requirements. Editing tools are readily available, making the customization process smooth and efficient.
Applying Blur to Your Video
Blurring videos in Canva is a straightforward task. It involves accessing video editing features, using the blur tool, and adjusting the blur intensity. Each step is crucial to ensure you achieve the desired effect for your video content.
Accessing Video Editing Features
To begin, users need to access Canva’s video editor. Open Canva and upload your video to the design canvas.
Click on the video, and a toolbar will appear. This toolbar is your gateway to editing features.
Within this toolbar, there are options like trimming, resizing, and applying effects.
Navigating to these features allows users to enhance their videos creatively.
Users should also explore other features like adding text or overlays, but the blur effect is in focus here. With these tools, videos can be personalized to meet specific requirements.
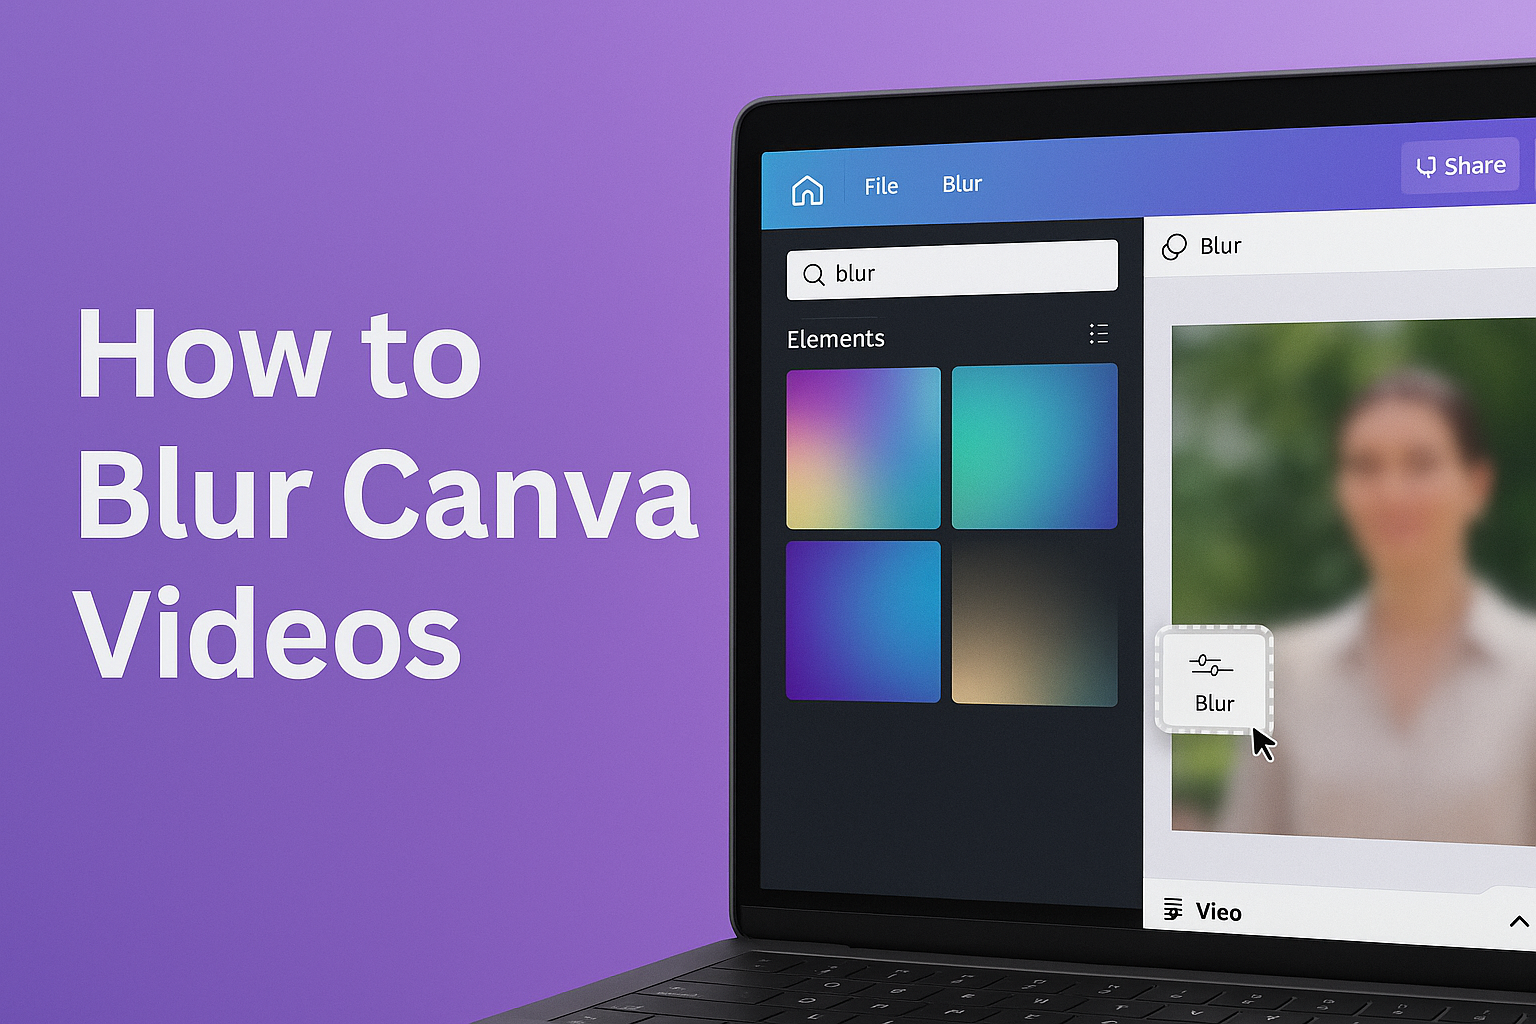
Using the Blur Tool
With the video selected, locate the effects button within the toolbar. Clicking it reveals a range of effects, including the blur tool.
This tool helps in creating softer visuals or in hiding sensitive information.
Users can apply the blur by selecting the area on their video to focus on. Whether it’s the entire video or just a section, Canva’s blur tool allows for flexibility.
Users should ensure the tool is applied precisely on the intended parts to avoid blurring critical details.
Adjusting the Intensity of Blur
After applying the blur effect, the next step involves adjusting its intensity. This adjustment is crucial for achieving the right visibility balance.
A slider typically appears, allowing users to increase or decrease the blur level.
Finding the right intensity might require some experimentation. A subtle blur can soften backgrounds, while a more pronounced blur might be necessary for obscuring text or faces.
Users should preview the video to ensure the blur effect aligns with their goals.
These steps ensure that videos edited in Canva have a professional and polished look, with the blur applied effectively.
Customizing the Blur Effect
Enhancing the blur effect in Canva videos can elevate your design. You can add animations to make the blur more dynamic or combine it with other effects for a unique look.
Adding Animations to Blur
Adding animations to the blur effect in Canva is a great way to make your video more eye-catching.
Animations can change how the blur appears and disappears, creating a smooth or dramatic transition.
To start, choose the blur effect on your video element. Then, explore animation options like fade, zoom, or wipe.
Once you select an animation, adjust its speed and direction to fit your video’s style.
Viewers will notice how the blur gracefully moves, enhancing the overall effect.
It’s also possible to apply different animations to different video sections, giving each part its unique visual appeal. This flexibility lets users match the video mood with the perfect animation.
Combining Blur with Other Effects
Combining the blur effect with other effects can make the video stand out.
It’s easy to add elements like brightness changes or color filters alongside the blur.
Start by selecting the video or image you plan to edit, and add the blur first. Next, layer additional effects over it.
For instance, adding a soft vignette around the blurred area can draw attention to a specific part of your video.
Users can also overlay text with shadow effects on the blurred background, making important information pop up.
Experimenting with different effect combinations can produce creative and engaging results, helping the video tell its story in a visually appealing way.
Advanced Blurring Techniques
Advanced blurring in Canva involves focusing on specific parts of a video and creating animations to change the blur effect over time. These techniques offer more control for users seeking to enhance their video editing skills.
Blurring Specific Sections of a Video
For users wanting to hide or highlight particular areas in a video, Canva provides a method to blur just those sections.
To achieve this, users can use the blur effect tool found under the effects tab.
First, select the video clip to work with. Next, choose the specific portion you’d like to blur by overlaying a shape such as a rectangle or ellipse.
Once you have the shape covering the desired area, adjust the effect settings to apply the blur.
This technique is especially useful for handling sensitive or private information. By selectively blurring, only the necessary areas are obscured, leaving the rest of the video clear and sharp. Users can repeat this process for multiple sections if needed.
Animating the Blur Effect Over Time
Animating the blur effect involves changing the intensity or location of the blur dynamically as the video plays.
Canva allows users to do this by keyframing, which is a way to set different points of effect throughout the timeline.
Begin by applying the blur effect to the needed section of the video.
Then, move along the video’s timeline to mark where the changes should occur. Adjust the effect’s settings at these points to shift the blur intensity or move it across the frame.
This technique brings life to videos by adding a professional touch. It can be used creatively for transitioning scenes or guiding the viewer’s attention.
The animation feature in Canva makes the process intuitive, giving editors a versatile tool for enhancing video narratives.
Finalizing Your Video
Finalizing a video with a blur effect in Canva involves a few key steps. These include checking the accuracy and impact of the blur through a preview, and then successfully exporting the video for your intended use.
Previewing the Blur Effect
Before exporting, it’s important to ensure the blur is applied correctly.
The individual can use Canva’s preview feature to watch the video and check the blur effect in action.
This step helps to make sure that any sensitive information is adequately covered and that the blur doesn’t interfere with other important visuals in the video.
To do this, they should click on the “Preview” button, which allows them to see the video without the distraction of editing tools.
By carefully watching the playback, they can confirm that the blur effect is gentle yet effective.
If adjustments are needed, they can pause the video and return to the editing screen to refine the blur size or placement. This ensures the final video looks polished and professional.
Exporting Your Blurred Video
Once satisfied with the video’s appearance, it’s time to export the project.
Exporting options can be accessed through the “Download” button in Canva. Here, individuals have choices such as selecting the desirable resolution, format, and file size that best suit their needs.
For most purposes, exporting in MP4 format is recommended due to its compatibility with various platforms.
Users should select a resolution that maintains quality without creating excessively large files. Providing a descriptive file name also helps in organizing and locating the file later.
After making their selections, they can initiate the download to save the video to their device, ready for sharing or uploading as needed.