Canva is a powerful design tool that makes creating visuals simple and fun. One of the handy features is the ability to add and customize tables, making it easier to organize information clearly.
To add rows and columns in a Canva table, users can either use the Elements tab or the keyboard shortcut /table. This flexibility allows for quick adjustments, whether working on data presentations or creative projects.
Tables in Canva can be formatted to suit various needs. Users can easily adjust the size, background, and colors to match their design preferences, creating a personalized look for each project. This customization helps ensure that the table is not only functional but also visually appealing, enhancing the overall design.
For those new to using tables in Canva, step-by-step guides can help navigate the process. Learning how to merge or unmerge table cells, for example, is a skill that helps in creating neat and tidy layouts.
The availability of tutorials and tips online, such as those found on Canva Help Center or Guiding Tech, ensures that anyone can become proficient in creating stunning tables.
Getting Started with Canva
Getting started with Canva involves setting up a design and understanding how to use its table features. These initial steps help users create organized and visually appealing projects.
Creating a New Canva Design
To begin a new project in Canva, he or she should first sign up or log into their account. Once logged in, the user can click the “Create a design” button.
This opens up a wide array of templates, from social media posts to posters and presentations. Selecting the right template according to the project’s requirements helps streamline the process.
After choosing a template, the user is taken to the main design screen. Here, they can add text, images, and other elements through a simple drag-and-drop interface. The sidebar provides access to a library of graphics and photos.
Users can upload their own content as well. Experimenting with different fonts and colors is recommended to create a unique design.
Overview of Canva Tables
Using tables in Canva is an effective way to organize information. To incorporate a table, the user clicks on the “Elements” option from the side menu. Searching for “tables” gives multiple format options.
Once added, tables can be adjusted in size by dragging the corners.
Rows and columns can be added to fit the user’s needs. This is done by selecting the table and choosing “Add row” or “Add column.” Styling options allow changes to colors, borders, and text alignment for a customized look.
For more tips on tables, users can explore resources like Canva Help Center. Understanding these tools helps users make the most out of their designs.
Inserting a Table into Your Design
Adding a table to your design in Canva is straightforward and can enhance how information is displayed. It involves choosing the right table element and setting its initial size to fit your design needs.
Selecting the Table Element
To start, open your existing project or create a new one. On the left panel, click on the “Elements” tab. From there, you can search for “table” or choose from the pre-made table options that Canva provides.
Selecting the correct table depends on your purpose. If you need a basic table, you can pick a simple design. For more complex needs, look for tables with more rows and columns. This gives users the flexibility to fit different types of data into their designs.
Once you have chosen a table, click on it to add it to your design. You can reposition the table by dragging it to your desired location on the canvas. This setup allows for easy adjustments later on.
Adjusting Initial Table Size
After inserting the table, it’s crucial to adjust its size.
Click on any corner of the table and drag to resize. This feature enables you to fit the table within your design layout seamlessly.
Canva allows fine-tuning by clicking and dragging the sides of the table to adjust width or height individually. This customization ensures that the table fits perfectly with any other design elements you are using. It creates a balanced look for the overall design.
If necessary, add or remove rows and columns by clicking the plus or minus icons, which help tailor the table to the specific content requirements. Adjusting the size first ensures that the table aligns with your layout right from the start.
Modifying Table Structure
In Canva, tables are easy to customize to fit any design needs. Users can add or remove rows and columns, adjust the layout, and modify the size to create a personalized table structure.
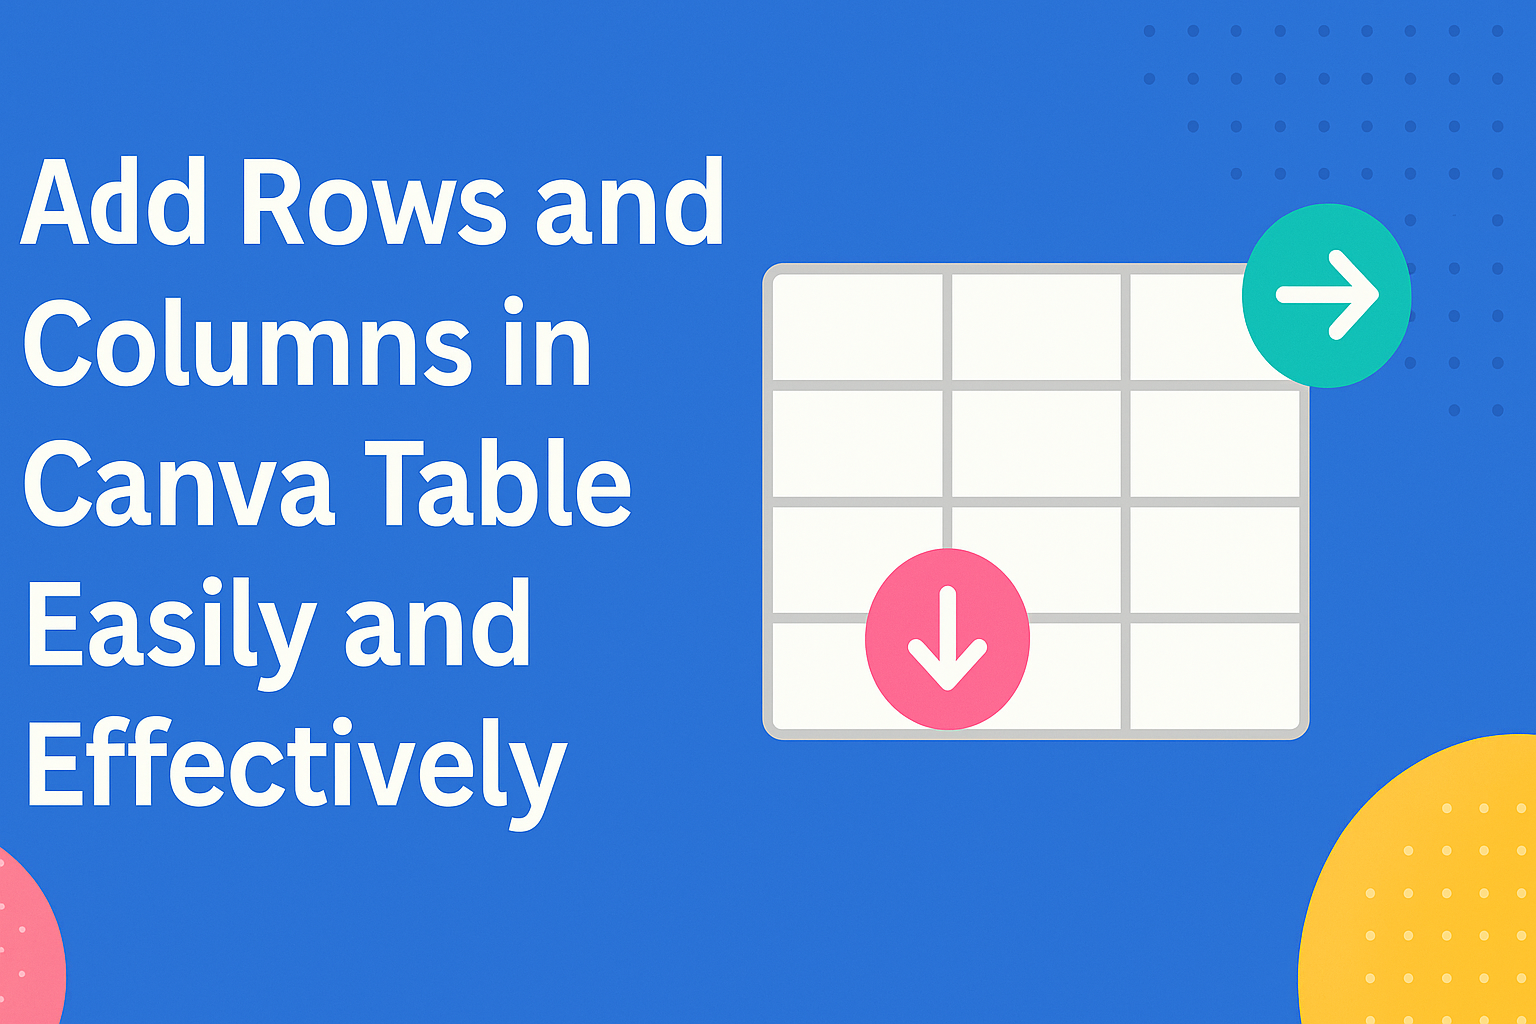
Adding Rows to Your Table
To add rows to a table, users can use the plus button found near the bottom of the table. Simply click on the button to insert a new row.
For even faster modification, they can also right-click on a row. A menu will appear, allowing them to select the option to add a new row.
This flexibility helps in organizing data efficiently without modifying the existing information. Tables can grow as needed, ensuring no details are left out.
Users find this especially helpful when categorizing and listing items in a comprehensive manner. Whether for tracking projects or managing inventories, the process of adding more rows helps manage increasing information seamlessly.
Adding Columns to Your Table
Adding columns in Canva is straightforward. Users simply click on the plus icon next to the right side of the table.
They can also right-click a column header to find the option to add a column from the context menu.
This quick approach allows users to structure their data in more organized columns.
Columns help in separating different categories of information. With added columns, users can easily diversify information without mixing various data types. Details such as names, dates, and figures can be clearly distinguished.
This setup ensures that data presentation remains clear and accessible, making interpretation simpler.
Deleting Rows and Columns
Removing rows or columns is as easy as adding them. Users click on the row or column they wish to delete. Next, they click on the three dots icon to open the options and select delete.
This streamlined method efficiently clears unnecessary data to keep the table focused.
Deletion is crucial for maintaining relevant information. It prevents clutter by removing unused or outdated data. A clean table helps in emphasizing current or important details without distraction.
This process is beneficial in optimizing tables for precise and directed data visibility.
Adjusting Row Height and Column Width
Adjusting the height and width of your table’s rows and columns allows for modifications tailored to specific requirements.
Simply click and drag the boundaries between rows or columns to expand or contract them to the desired size.
It’s a quick way to make sure all text or elements fit perfectly within each cell.
These adjustments make room for larger text blocks or images within cells. Larger cell space enhances readability and presentation by preventing content from being cramped.
It’s especially advantageous for tables displayed in presentations or reports, ensuring that every detail is legible and aesthetically pleasing.
Customizing Table Appearance
Customizing the appearance of tables in Canva is simple. Users can change cell background colors, format text, and add borders and shading for a unique look.
Changing Cell Background Color
In Canva, users can easily change the background color of table cells.
Select the cell or cells you want to modify. On the toolbar, look for the color tile, often the first option. Clicking it provides several color choices, or you can find more by clicking the rainbow icon to select a custom color.
Tips:
- To change multiple cells simultaneously, hold Cmd (Mac) or Ctrl (Windows) while selecting.
- Use a gradient for a more colorful design.
This feature enhances the overall design and helps in color-coding data, making it visually appealing and organized.
Applying Text Formatting
Text formatting in Canva allows users to make their table content stand out. After selecting a cell, use the toolbar for options like font style, size, and color.
Bold, italicize, or underline text to emphasize specific data.
Steps to Format Text:
- Click the cell where you want to change the text.
- Choose the desired formatting option from the toolbar.
Formatting isn’t just for style; it enhances readability and ensures key data captures attention. Proper use of text formatting can transform a simple table into an engaging and informative design.
Adding Borders and Shading
Borders and shading add depth and structure to tables.
In Canva, it’s easy to apply these features by selecting the desired table or individual cells. Locate the border options on the toolbar and choose the desired thickness and color for the borders.
Pro Tip:
- Use shading to highlight sections of the table.
Shading can differentiate sections, while borders help define the table’s structure, making data stand out. Carefully applied, borders and shading bring a professional touch to any table design, guiding the reader’s eye to important parts of the content.
Working with Table Content
Managing table content in Canva involves adding text, images, and icons. Aligning and distributing this content is also essential to create visually appealing designs. Each aspect contributes to making tables clear and effective.
Adding Text to Cells
Adding text to tables in Canva is straightforward. Users can click on any cell to begin typing.
It’s important to choose appropriate fonts and colors that contrast well with the table background. Canva offers a variety of fonts to match different styles, helping to make the text readable and visually interesting.
To enhance presentation, users can adjust text size, bold, or italicize for emphasis. Aligning text within cells is also possible, with options for left, center, or right alignment. Consistent alignment helps in organizing content neatly.
Inserting Images and Icons
In Canva, images and icons can be added to tables for a more engaging appearance.
By using the “Elements” tab, users can browse various icons or upload their own images. Placing these within table cells can break up text and add visual interest.
It’s crucial to ensure images and icons fit well within cells without overcrowding. Canva’s drag-and-drop interface makes it easy to resize these elements.
This feature is beneficial for presentations, as visuals can effectively convey complex ideas or data.
Aligning and Distributing Content
Proper alignment and distribution of content within tables contribute to a polished look.
In Canva, users can adjust the spacing between elements to create an even layout. This includes evenly distributing text, images, and icons across cells.
Content can be aligned vertically and horizontally within cells. Aligning elements helps improve the overall flow and enhances readability.
Maintaining uniformity in distribution makes tables appear balanced and professional, especially in chart or infographic designs.
Saving and Sharing Your Table Design
After creating a table in Canva, it’s essential to know how to save and share your work. These options allow users to either download the completed design in various formats or share it directly through Canva’s platform.
Downloading the Design
To save the table design, Canva offers several download options.
First, click the Download button, usually at the top right of the screen. Users can choose from formats like PNG, JPEG, PDF, and more.
Selecting the appropriate file type depends on the intended use. For instance, PDFs are great for documents, while JPEG or PNG works well for images.
After choosing the format, users might have additional settings. For PDFs, options to include crops and bleeds are available. For image files, they can adjust the quality.
These extra settings are helpful to ensure the final download meets specific needs. Once everything is set, click the green Download button to save the file to your device.
Sharing via Canva
Sharing directly through Canva is another convenient choice.
By clicking the Share button, users can invite others to view or edit the design. They need to enter the email addresses of the people they want to share with and set permissions on whether they can only view or also edit the design.
Canva also supports sharing via a link.
Generate a shareable link and send it through email or messaging apps. This option is quick and works well when collaboration is needed.
Additionally, users can share their designs on social media platforms directly from Canva, making the process seamless for reaching a wider audience.