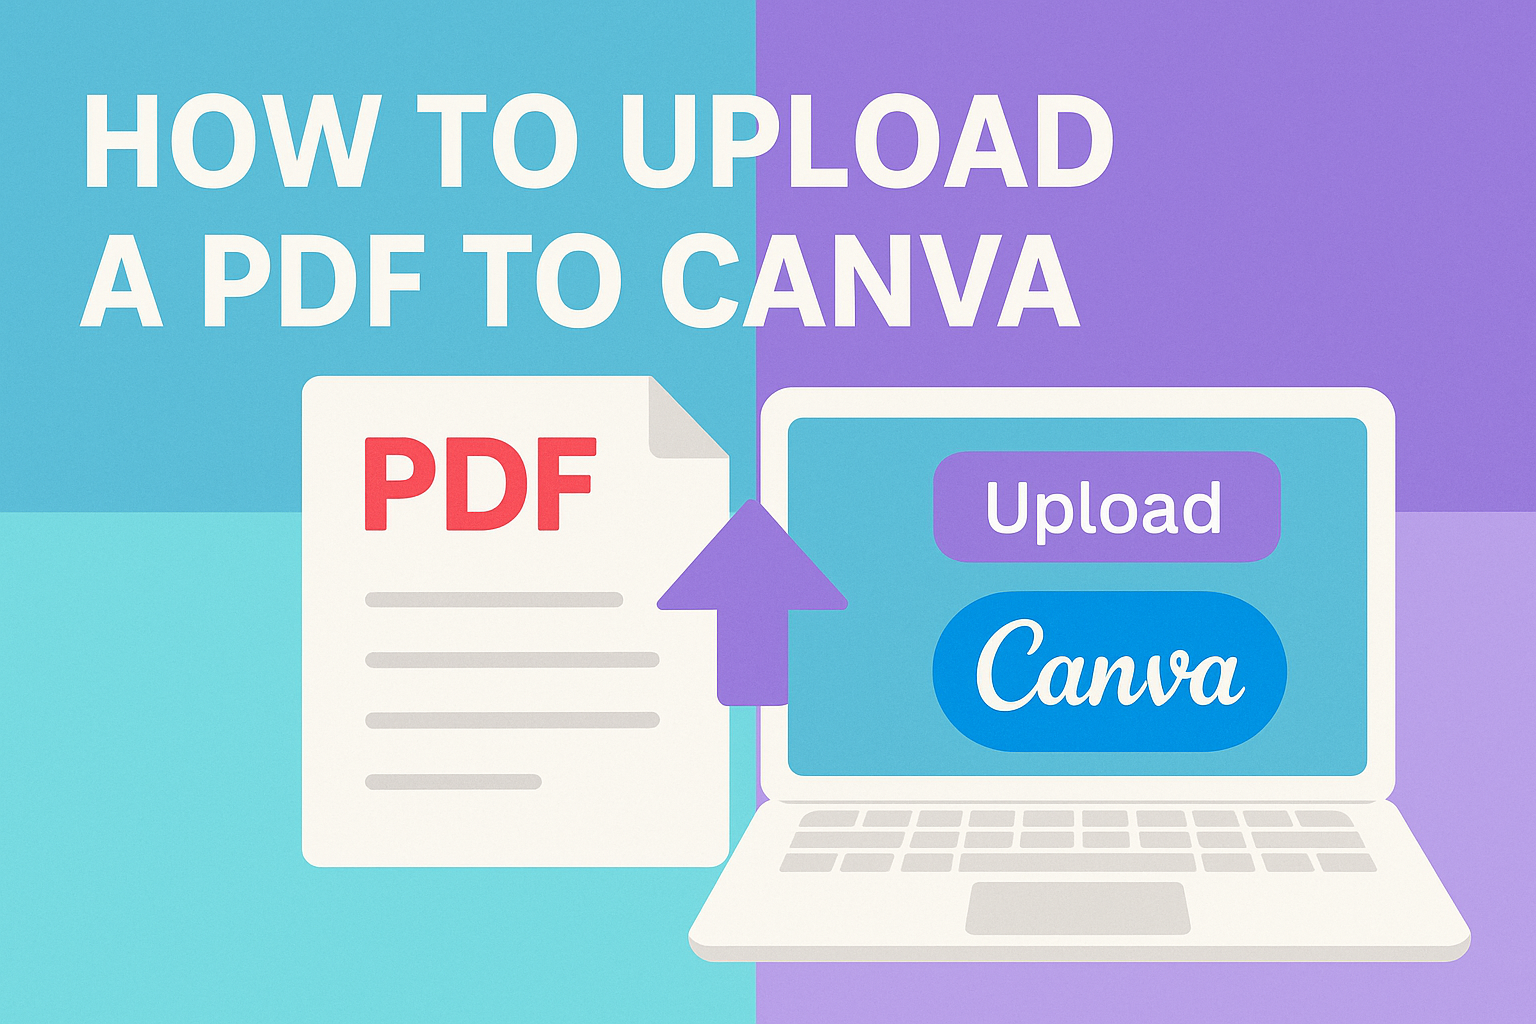
For those looking to spice up their designs, Canva offers a straightforward way to transform your PDFs into beautiful creations.
Uploading a PDF to Canva is as simple as dragging and dropping your file into the editor. This feature allows you to break your document into editable elements, making design work even more flexible and enjoyable.
Imagine turning your plain PDF into a captivating visual piece. With Canva’s tools, users can add text, images, and other personalized touches.
With an intuitive interface, Canva makes it easy for everyone to bring their ideas to life, whether it’s a flyer, presentation, or social media post.
Design enthusiasts and professionals alike will find the ability to edit PDFs directly within Canva both empowering and time-saving. Knowing how to upload and edit PDFs can open up a world of creative possibilities. For a step-by-step guide, visit the Canva Help Center, where users can find more detailed instructions and tips for working with PDFs.
Getting Started with Canva
To begin using Canva, it’s essential to set up an account and familiarize yourself with the dashboard. Understanding these basics will help you use Canva efficiently for various projects.
Creating a Canva Account
To create an account, visit the Canva website and click on the “Sign Up” button.
Users can sign up using an email address, Google account, or Facebook profile.
Once signed up, they may choose whether they want a free or paid plan. The free plan offers many features, but the paid plan includes premium templates and additional tools.
After selecting a plan, it’s helpful to complete the profile setup.
Users can provide information about their interests and design preferences.
Completing this step provides tailored content suggestions, making it more convenient to find relevant templates and resources. It enhances the overall design experience.
Navigating the Canva Dashboard
The Canva dashboard is user-friendly and shows the most recent designs at a glance.
At the top menu, users will find options for creating new designs, as well as shortcuts to templates, photos, elements, and text.
To start a new project, they can click the “Create a design” button. This opens a drop-down menu with different design formats, like social media posts, presentations, and more.
The left-side panel of the dashboard houses the “Projects” tab, where users can organize and access their work.
The “Explore” section provides inspiration and new ideas for upcoming projects.
By leveraging these features, users can efficiently manage their design tasks and make the most out of Canva’s offerings.
Preparing Your PDF for Upload
Getting your PDF ready for upload to Canva can make a big difference in how smoothly the process goes. Focus on checking the size of your file and making sure the quality is just right to help avoid issues later.
Checking PDF File Size
Ensuring your PDF file is not too large is important when uploading to Canva. Large files can slow down the upload process or even fail to upload.
First, check the size of your PDF. Most platforms have limits on file size, so it’s a good idea to know what you’re working with.
If your PDF is too large, you can reduce its size by using online compression tools. These tools shrink the file while keeping the content intact.
Keep an eye on the quality though, as too much compression can lead to poor visuals. It’s all about finding that balance between size and readability.
Optimizing PDF Quality
For a smooth upload to Canva, the quality of your PDF matters. It’s important because low-quality images or text can appear blurry.
Check that your PDF maintains high resolution, especially if it contains a lot of images or graphics.
To optimize quality, make sure your original document uses high-resolution images before converting it to a PDF. If you’re scanning a document, use a setting that ensures clarity.
Using PDF optimization tools can help maintain quality without significantly increasing file size.
Keep file settings standard so your document appears clean and sharp once uploaded.
The Upload Process
Uploading a PDF to Canva is straightforward. Users can choose different methods such as using the upload button, drag and drop, or selecting directly from their device. Each method offers a simple way to get started.
Uploading PDF Files
To upload a PDF in Canva, users should start by opening the Canva platform. They will need to either create a new design or open an existing one.
Once the editor is open, they should navigate to the “Uploads” tab found on the left-hand side.
Here, users will find the Upload Media button. Clicking on this button allows them to choose the PDF file from their computer.
After selecting the desired file, they can hit “Open” to begin the upload process.
Waiting times might vary depending on the PDF’s file size. It is important to ensure a stable internet connection for a smooth upload. Once uploaded, the file will appear in the list of available media.
Using Drag and Drop
Canva makes it easy to upload PDFs using the drag and drop approach. For this method, users first need to have their PDF file ready on their computer desktop or folder.
By opening the Canva editor, users can directly drag the PDF file from its location and drop it into the Canva design space.
The drag-and-drop feature automatically starts the upload process as soon as the file is dropped.
This method is quick and offers a convenient way to upload files without having to search through folders. It’s ideal for users who prefer a more visual and hands-on approach to uploading their documents.
Selecting From Your Device
Sometimes, manually selecting a file from the device provides more control. Users start by accessing the Canva editor where they want to upload their PDF.
By clicking on the Uploads tab and choosing the “Upload files” button, they can browse their computer’s files.
This option is particularly useful for those who organize their PDFs in specific folders.
By choosing the specific folder and file, users can ensure they are uploading the correct document. This method also offers a chance to double-check the file size and format before uploading, minimizing errors.
Customizing Your PDF
Customizing a PDF in Canva is a straightforward process that enables users to add unique touches to their documents. Users can integrate their PDFs into existing designs, adjust sizes, and enhance them with color filters and effects to match specific styles and needs.
Adding to a Design
When users bring a PDF into Canva, they can integrate it seamlessly into their existing designs.
By using Canva’s drag-and-drop feature, elements from the PDF can be easily combined with text, images, and graphics.
This flexibility allows users to create presentations or flyers using their PDFs as a base. Text boxes and images can be placed over the document to highlight important information or make the layout more visually appealing.
Users often find this feature useful for repurposing content for different formats, ensuring a consistent theme across various materials.
Resizing and Cropping
Resizing and cropping provide users the ability to fit their PDFs perfectly within their projects.
Users can easily adjust the dimensions by dragging the corners of the PDF to the desired size. This feature ensures that the content aligns well with other elements on the page without looking out of place.
Cropping lets users focus on specific sections of their PDFs. Whether removing unnecessary margins or isolating a portion of an image, cropping in Canva is as simple as selecting the object and dragging the edges to crop.
This technique helps in maintaining the reader’s focus on the most critical parts of the content.
Applying Filters and Effects
To make PDFs more visually appealing, Canva offers a range of filters and effects.
Users can click on their PDFs and explore options like adjusting brightness, contrast, or adding color overlays.
These adjustments help in enhancing the overall appearance, making the document stand out.
Additionally, effects like drop shadows or blur can be used to add depth and dimension to the document.
By mixing and matching different filters and effects, users can create visually engaging PDFs that capture attention and convey messages effectively. These enhancements can be particularly useful for marketing materials or creative projects.
Working with PDF Pages
When working with PDFs in Canva, users can efficiently manage their documents by adding specific pages and rearranging them to fit their design needs. These simple actions make it easy to customize and enhance any project.
Adding Individual Pages
Users can add individual pages from a PDF directly into their Canva projects. This is useful for highlighting specific sections without needing the entire document.
To do this, they should first upload the PDF to Canva.
Once uploaded, the platform will show each page separately. From there, users can select and insert the desired pages into their design.
This flexibility allows for creative control, ensuring that only the most relevant content is featured. Users can blend individual pages with other design elements, adding text, images, or stickers.
Rearranging Pages
Rearranging pages in a PDF using Canva is straightforward. After uploading a PDF, each page becomes a distinct element that can be moved within a design.
Users simply drag and drop pages into the desired order, giving them the freedom to organize content for the best visual impact.
This feature is particularly helpful for creating presentations or reports where the order of information is crucial. By reordering pages, users can tailor the flow of their content.
They can also duplicate pages if certain information needs replication or emphasis, ensuring that their project is cohesive and engaging.
Collaborating and Sharing
Canva makes it easy to share your designs and work together with teammates. This section will explore how to share designs with others and invite team members for real-time collaboration.
Sharing Your Design
Sharing a Canva design is simple and efficient. Users can share designs via email or using a link.
To do so, they need to open the design and click on the Share button from the menu bar. Here, they can choose sharing options like “Only you can access,” “Only your team,” or “Anyone with the link” for those with the link to view or edit the design.
When sharing, users should decide the level of permissions they want to give.
They can select options like “can edit” or “can view only.” These settings control what others can do with the design.
For example, choosing “can edit” allows others to make changes to the design elements and layout, while “can view only” means they can see the design but not alter it.
Inviting Team Members
Collaborating on a Canva design with team members is seamless.
To start, users can invite teammates by entering their email addresses in the collaboration section.
Once invited, team members can access the project and begin working on it together.
This feature supports real-time updates, allowing all members to see changes as they happen.
Team members can edit text, images, and other design components, making it easy to align on creative projects.
Communication is also streamlined, as users can leave comments directly on the design. This ensures everyone is on the same page and fosters a collaborative work environment.
Collaborating in Canva not only saves time but also enhances creativity by combining different ideas and skills.
Publishing Your Design
Getting your design ready to share involves a few key steps. It’s important to download it correctly, choose the right file format, and either print it yourself or use Canva’s printing services for the best results.
Downloading the Final Design
To download the final version of your design from Canva, users need to ensure they are accessing the Downloads section.
By clicking on the Download button, a menu appears, offering several options for saving the file.
This straightforward process lets users save their designs in formats like PDF, PNG, or JPEG.
Choosing the right format is key for how the design will be used. For example, high-quality images are best saved as PNG, while JPEGs might be more suitable for images that need to be smaller in size. The steps to downloading are easy, but knowing these small details can make a big difference in outcome.
Choosing a File Format
Selecting the appropriate file format is vital, depending on the design’s purpose.
For presentations or professional documents, exporting as a PDF is recommended. PDFs retain layout and formatting consistently across devices, ideal for printing or sharing.
Images, such as social media graphics or web content, are best saved as PNG or JPEG.
PNG is great for maintaining quality without large file sizes, while JPEG suits photos best due to its smaller size which enables faster web loading.
Canva offers various format choices, making it easy to suit different needs.
Printing Your PDF
If printing directly from your own printer, ensure printer settings are set to 100% scale for accurate sizing. This prevents any unexpected size changes.
Alternatively, Canva provides printing services that simplify the process for printing designs. Using their service offers benefits like high-quality materials and doorstep delivery, making it simple and efficient.
For those preferring self-printing, double-checking settings and previewing the PDF ensure the final print matches expectations. Familiarizing with these printing options can make a world of difference for finishing your project.