Frames in the Canva mobile app let users crop and shape their photos and videos into creative designs with just a few taps. Users can add frames to their mobile designs by accessing the Elements section, selecting a frame shape, and then dragging their media directly into it. This powerful feature transforms ordinary images into polished, professional-looking graphics.
The mobile app makes it easy to experiment with different frame styles, from simple circles and squares to decorative borders and artistic shapes. Users can customize their frames by adjusting colors, resizing media, and repositioning images within the frame boundaries. Using frames in the Canva app opens up endless creative possibilities for social media posts, presentations, and personal projects.
The process involves accessing the right tools, choosing suitable frame styles, and applying simple customization techniques.
Accessing Frames in Canva Mobile App
The Canva mobile app makes finding and using frames simple through the Elements tab. Users can search through hundreds of frame options and add them directly to their designs with just a few taps.
Navigating the Elements Tab
Opening the Elements tab is the first step to accessing frames in the Canva mobile app. Users will find a small icon at the bottom of their screen that looks like a diamond or star shape. Tapping this icon opens the complete Elements menu.
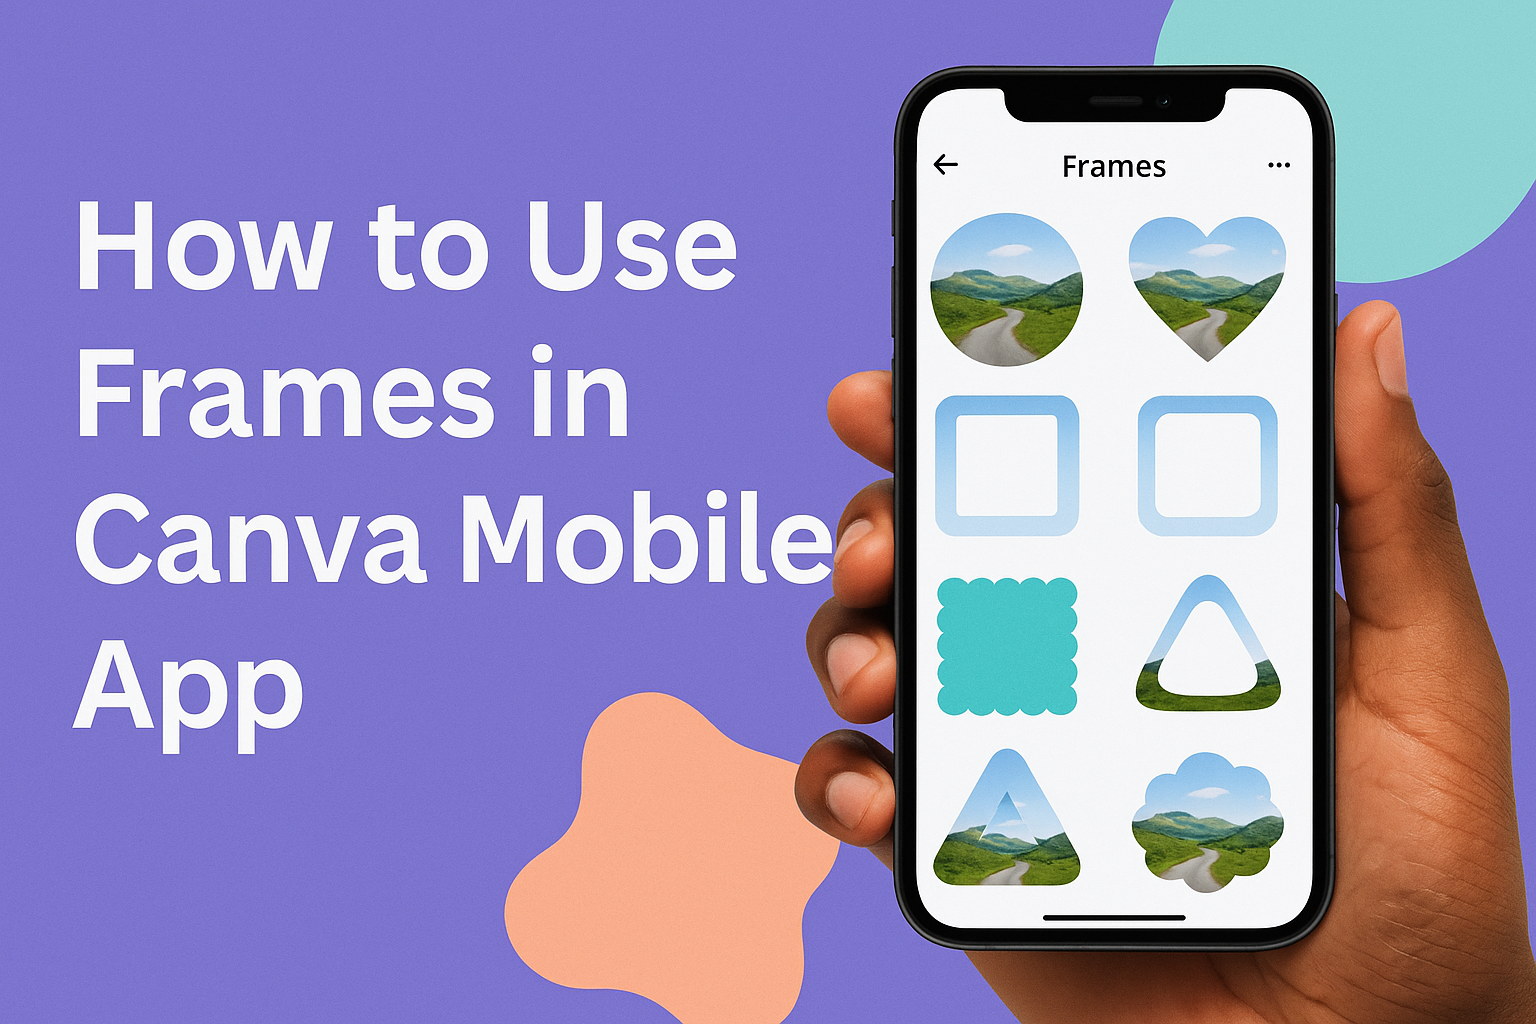
Once inside the Elements section, users see several categories displayed. These include graphics, lines, shapes, and frames. The frames section appears as its own dedicated category with a preview thumbnail.
Frame Categories Available:
- Basic geometric shapes
- Decorative borders
- Photo collage layouts
- Seasonal themes
- Abstract designs
The interface displays frames in a grid layout. This makes it easy to scroll through options quickly. Users can see exactly how each frame will look before selecting it.
Searching for Frame Options
The search function helps users find specific frame styles faster. A search bar appears at the top of the Elements tab. Users simply type “frame” to see all available options.
More specific searches work well too. Typing words like “circle,” “heart,” or “vintage” brings up matching frame styles. The Canva app responds to these searches by showing relevant results instantly.
Popular Frame Search Terms:
- Basic shapes (circle, square, triangle)
- Decorative styles (floral, geometric, vintage)
- Holiday themes (Christmas, Halloween, Valentine’s)
- Photo layouts (collage, polaroid, film strip)
The search results update as users type. This real-time filtering saves time when looking for something specific. Users don’t need to scroll through hundreds of options manually.
Adding Frames to Your Design
Adding frames to designs requires just a simple tap and drag motion. Users tap their chosen frame once to select it. The frame then appears on their design canvas automatically.
The frame shows up as an empty outline initially. Users can resize it by dragging the corner handles. They can also move it around the canvas by tapping and dragging from the center.
Frame Placement Tips:
- Drag corners to resize proportionally
- Tap center to move position
- Double-tap to access more options
- Pinch to zoom for precise placement
Multiple frames can be added to the same design. Each frame works independently of the others. This allows users to create complex layouts with several framed elements.
The frames appear ready to receive images or videos. Users will see a subtle plus sign or camera icon in empty frames. This visual cue indicates the frame is ready for content.
Types of Frames Available
Canva mobile app offers many different frame styles to fit various design needs. Users can choose from basic shapes, decorative designs, or multi-photo layouts.
Popular Frame Shapes
The most basic frames in Canva are simple geometric shapes that work well for many projects. Circle and square frames are the most popular choices among users.
Circle frames work great for:
- Profile pictures on social media
- Logo designs
- Badge creation
- Portrait photos
Square frames are perfect for:
- Instagram posts
- Magazine layouts
- Business card designs
- Product photos
Rectangle frames offer more space for wider images. They fit well in banner designs and website headers.
Triangle frames create a modern look. They work well for artistic projects and creative social media posts.
Heart-shaped frames add a romantic touch to designs. Users often pick these for wedding invitations and love-themed content.
Designed and Decorative Frames
Canva provides many decorative frame options beyond basic shapes. These frames include borders, patterns, and artistic elements that enhance the overall design.
Border frames feature different edge styles like:
- Solid colored borders
- Dotted or dashed lines
- Thick or thin outlines
- Gradient effects
Pattern frames include designs such as:
- Floral borders
- Geometric patterns
- Holiday themes
- Seasonal decorations
Artistic frames offer creative styles like:
- Hand-drawn borders
- Watercolor effects
- Vintage designs
- Modern abstract shapes
These decorative frames help match the mood of any project. Users can find options for birthdays, holidays, business presentations, and personal photos.
Collage and Grid Frames
Multi-photo frames let users display several images at once in organized layouts. These frames in Canva help create photo collages and grid designs quickly.
Grid frames organize photos in neat rows and columns. Common options include:
- 2×2 grids for four photos
- 3×3 grids for nine images
- 1×3 strips for three photos
- Custom grid sizes
Collage frames offer more creative layouts with:
- Overlapping photo areas
- Different sized sections
- Curved or angled divisions
- Scattered arrangements
Template-based frames provide ready-made designs for:
- Social media stories
- Photo albums
- Yearbook pages
- Family portraits
These frame options make it easy to combine multiple photos into one design. Users can adjust each photo section separately within the larger frame.
Adding and Customizing Media Inside Frames
Once frames are added to a design, users can fill them with photos and videos from multiple sources. The Canva app offers tools to resize, crop, and replace media within frames for perfect positioning.
Inserting Photos from Canva Library
The Canva app provides access to millions of photos through its built-in library. Users can browse different categories or search for specific images.
To add photos from the library, they should tap Photos in the side panel. The search bar helps them find specific images quickly.
Popular photo categories include:
- Nature and landscapes
- Business and office
- People and lifestyle
- Food and drink
- Abstract patterns
Once they find a suitable photo, they can drag it directly onto the frame. The image automatically fits inside the frame shape.
The app’s Smart Crop feature saves time by automatically positioning photos well within frames. This works especially well for portrait photos in circular frames.
Users can also tap and hold on a photo to preview how it looks before adding it. This helps them choose the best option without multiple tries.
Uploading and Using Your Own Media
Personal photos often work better than stock images for custom designs. The Canva mobile app lets users upload their own photos and videos easily.
To access personal media, they should tap Uploads in the side panel. From there, they can select photos from their phone’s gallery.
The app supports common image formats like JPG and PNG. Video files can also be added to frames for dynamic designs.
Steps to upload personal media:
- Tap the Uploads tab
- Select Upload media
- Choose photos or videos from device
- Wait for upload to complete
- Drag media into frame
Uploaded photos appear in the Uploads section for future use. This makes it easy to reuse personal images across different projects.
The quality of uploaded photos stays high when used in frames. However, very small images may look blurry when stretched to fit larger frames.
Replacing and Cropping Images within Frames
After adding media to frames, users often need to adjust the positioning or swap images entirely. The Canva app offers simple tools for these changes.
To replace an image, they can drag a new photo directly onto the existing frame. The old image disappears automatically.
Double-tapping the frame opens the cropping and positioning tools. White circle handles appear around the image for resizing.
Users can drag the image around within the frame to change its position. This helps focus on the most important part of the photo.
Key editing options include:
- Resize: Drag corner handles to make image bigger or smaller
- Reposition: Move image up, down, left, or right within frame
- Replace: Drop new image onto frame to swap content
The grid lines help align images perfectly within frames. Users should tap Done when they finish making adjustments.
These editing tools work the same way whether using stock photos or personal uploads. The changes apply instantly without affecting other design elements.
Adjusting Frames and Media
Once users add frames to their Canva mobile designs, they can resize, rotate, and reposition both the frames and the media inside them. The app also allows for precise image positioning and supports multiple frame layers for complex designs.
Resizing and Rotating Frames
Users can easily adjust frame sizes by tapping on any frame in their design. Blue selection handles appear around the frame’s edges when it’s selected.
To resize a frame, they drag any corner handle inward or outward. The frame maintains its original proportions while scaling up or down.
For rotation, users place two fingers on the selected frame and twist clockwise or counterclockwise. They can also use the rotation handle that appears above the frame.
Frame adjustment options include:
- Corner handles for proportional resizing
- Side handles for width or height changes only
- Rotation handle for precise angle adjustments
- Two-finger gesture for free rotation
The frames on Canva mobile respond instantly to touch gestures. Users can make fine adjustments by using smaller finger movements.
Repositioning and Zooming Images
After adding images to frames, users often need to adjust how the image sits within the frame boundaries. They tap once on the image inside the frame to enter edit mode.
A crop and position interface appears with the image highlighted. Users can drag the image around within the frame to show different parts of the photo.
Pinch gestures allow for zooming in or out on the image content. This helps users focus on specific parts of their photos or fit more of the image into view.
Image positioning controls:
- Drag to move image within frame
- Pinch out to zoom in on details
- Pinch in to zoom out and show more
- Double tap to reset to original size
The frame acts like a window that shows only part of the larger image. Users can position their photos exactly where they want them to appear.
Layering Multiple Frames
Canva mobile allows users to add multiple frames to a single design project. Each frame can contain different images or videos and be positioned independently.
When frames overlap, users can control which ones appear in front or behind others. They tap on a frame and select the layer options from the toolbar.
The layering controls include bring to front, send to back, bring forward, and send backward. These options help organize complex designs with many elements.
Users can use multiple frames on one page to create collages or photo grids. Each frame maintains its own image and positioning settings.
Layer management tips:
- Tap and hold to select multiple frames at once
- Use consistent spacing between frames for clean designs
- Group related frames together using the group function
- Adjust transparency to create overlay effects
Advanced Tips for Creative Frame Usage
Users can push beyond basic frame applications by creating personalized designs, incorporating video content, and blending frames with text and graphics.
Making Custom Frames
Creating custom frames in the Canva app starts with basic shapes from the Elements tab. Users can select geometric shapes like circles, squares, or polygons and modify them to create unique frame designs.
Color customization makes frames match specific brand colors or design themes. Tap on any frame and use the color picker to select exact shades. Users can also add gradients for more dynamic visual effects.
Border modifications allow for creative edge treatments. Adjust border thickness, add shadows, or change transparency levels to create depth. Multiple shapes can be layered to build complex frame designs.
The duplicate feature speeds up custom frame creation. Copy a modified frame and adjust colors or sizes to maintain consistency across designs. This works especially well for social media templates or brand materials.
Advanced users combine multiple basic frames to create intricate patterns. Combining multiple frames creates collage effects for professional presentations and marketing materials.
Using Frames for Videos
Video frames work differently than image frames in the Canva app. Users need to select video-compatible frame styles to ensure proper playback and display.
Upload videos through the Media tab, then drag them directly onto frames. The app automatically adjusts video dimensions to fit the frame shape while maintaining aspect ratio.
Cropping controls let users select which part of the video displays within the frame. Tap the video and use positioning tools to focus on specific areas during playbook.
Popular video frame shapes include circles for profile videos and squares for social media posts. Circular frames work well for logos and profile pictures while maintaining video quality.
Timeline controls appear when working with video frames. Users can trim video length, adjust start points, and set loop preferences directly within the framed content.
Combining Frames with Other Elements
Layer frames with text elements to create professional-looking designs. Place text boxes over or beside frames for captions, titles, or calls-to-action that complement the framed content.
Transparency adjustments help frames blend with background elements. Reduce frame opacity to create subtle overlay effects or increase it for bold statements.
Icons and graphics work well alongside frames in the Canva app. Position small decorative elements around frame edges or use them as accent pieces within the overall design composition.
Alignment tools ensure frames integrate smoothly with other design elements. Use the app’s snap-to-grid feature and alignment guides to create balanced, professional layouts.
Group frames with related elements to move them together during design adjustments. This maintains relationships between framed images, text, and graphics throughout the editing process.
Saving and Sharing Your Frame Designs
Once you complete your frame designs in the Canva mobile app, you can download them in various formats or share them directly with others. The mobile app offers flexible options for both saving projects locally and distributing your creations through different channels.
Downloading Projects
The Canva app makes downloading frame designs simple and quick. Users can access the download feature by tapping the share button in the top-right corner of their design.
Several file formats are available depending on the user’s needs. PNG works best for designs with transparent backgrounds or high-quality images. JPG creates smaller file sizes and works well for most social media posts.
PDF format is perfect for print projects or professional presentations. The app also offers MP4 downloads if the frame design includes video elements or animations.
Users can choose from different quality settings to balance file size and image clarity. Higher quality settings produce crisp images but create larger files. Lower quality settings reduce file size but may show some compression.
The download process typically takes just a few seconds. Once complete, the file saves directly to the device’s photo gallery or downloads folder.
Sharing Designs from Mobile
The Canva mobile app provides multiple ways to share frame designs instantly. Users can share directly from the design editor without downloading first.
Social media integration allows one-tap sharing to Instagram, Facebook, Twitter, and other platforms. The app automatically optimizes the design size for each platform’s requirements.
Email sharing lets users send designs as attachments or embed them in messages. They can add recipients directly from their contact list or type email addresses manually.
Link sharing creates a shareable URL that anyone can view. Users can set permissions to allow viewing only or give others editing access to collaborate on projects.
The app supports sharing to messaging platforms like WhatsApp, Slack, or text messages. Recipients receive the design in full quality without compression issues.