Curved text can transform ordinary designs into eye-catching graphics that grab attention on social media, logos, and marketing materials. Many Canva users struggle to find this feature or don’t know how to adjust the curve to match their vision. Canva offers a built-in curved text feature that allows users to bend text with just a few clicks using the Effects menu.
The process works the same way whether someone is designing on a computer or mobile device. Users can create curved text in Canva by adding text to their design and then applying the curve effect through the Effects panel. The tool includes a slider that lets designers control how much the text curves.
Getting Started With Curved Text in Canva
Before creating curved text, users need to set up their Canva workspace and choose the right template for their project. The process begins with accessing Canva’s design interface and selecting appropriate text elements.
Accessing the Canva Workspace
Users can access Canva by visiting the website or downloading the mobile app. After logging in, they see the main dashboard with various design options and tools.
The workspace includes a left sidebar with elements, uploads, and templates. The center area displays the design canvas where users create their projects. The top toolbar contains formatting options and effects.
New users should familiarize themselves with the interface layout. The Canva workspace provides easy navigation between different design tools. Users can switch between projects using the tabs at the top of the screen.
Both free and Pro accounts access the same basic workspace layout. The main difference appears in available premium elements and features. Users can upgrade anytime to unlock additional curved text styling options.
Choosing the Right Canva Template
Selecting an appropriate template saves time and provides design inspiration. Users can browse thousands of pre-made templates for different purposes like social media posts, logos, and posters.
The search bar helps users find specific template types quickly. They can type keywords like “curved text” to see relevant examples. Templates show how curved text works in real designs.
Users can start with a blank canvas if they prefer complete creative control. Custom dimensions work well for specific project requirements. Standard sizes like Instagram posts or business cards offer preset proportions.
Canva templates often include curved text examples that users can modify. This approach helps beginners understand different styling possibilities. Users can replace existing text while keeping the curve effects.
Selecting and Adding Text Boxes
Adding text starts with clicking the “Text” option in the left sidebar. Users see various text styles including headings, subheadings, and body text options.
They can click any text style to add it to their canvas. A text box appears with placeholder text that users can replace immediately. The text box remains selected and ready for editing.
Users should type their desired text before applying curve effects. Shorter text phrases work better for curved designs than long paragraphs. Each text box can only curve as one unit.
Multiple text boxes allow for complex curved text designs. Users can add another text box for different fonts or curve angles. Each text box curves independently from others on the same design.
Step-by-Step Tutorial: How to Curve Text in Canva
Canva’s curve effect transforms regular text into eye-catching designs with just a few clicks. The text tool includes options to bend text, adjust spacing, and customize fonts to create professional curved text effects.
Applying the Curve Text Effect
The user needs to select their text element before accessing Canva’s curve text feature. They should click on the text box containing the words they want to curve.
Once the text is selected, they can find the Effects button at the top of the screen. Clicking this opens a menu with various text styling options.
The Curve option appears in the effects panel on the left side. Users simply click on this to activate the curving text feature.
Canva automatically applies a basic curve to the selected text. The text immediately transforms from straight lines into a curved shape.
This curve text in canva method works for both free and paid Canva accounts. The feature is available on desktop and mobile versions.
Adjusting Curve Angle and Direction
A slider appears at the bottom of the screen when the curve effect is active. Moving this slider left or right changes how much the text curves.
Sliding toward the right creates a more dramatic bend. Moving left reduces the curve intensity for subtle effects.
Users can create different curve styles:
- Gentle arc – Low slider values (10-30)
- Rainbow curve – Medium values (40-70)
- Circle text – High values (80-100)
The direction of the curve changes based on positive or negative values. Positive numbers curve upward while negative numbers curve downward.
Some how to curve text tutorials show that extreme values can make text form complete circles. This works best with shorter phrases.
Fine-Tuning Letter and Line Spacing
Letter spacing becomes important when curving text because curved letters can overlap or spread too far apart. The spacing controls appear in the text formatting panel.
Users can increase letter spacing to prevent crowded letters on tight curves. This is especially helpful when creating circular text designs.
Line spacing affects multi-line curved text differently than regular text. Each line curves independently, so proper spacing keeps lines readable.
For warp text effects, tighter letter spacing creates more cohesive curved words. Looser spacing works better for decorative curved titles.
The bend text feature maintains readability better when users adjust spacing to match their curve intensity.
Editing Fonts and Colors
Font choice affects how well text curves in Canva designs. Bold, thick fonts work better for dramatic curves than thin, delicate fonts.
Sans-serif fonts like Arial and Helvetica maintain clarity when curved. Script fonts can become hard to read with extreme curve effects.
Users can change colors before or after applying curves. The color picker remains accessible while the curve effect is active.
Font size should be adjusted after curving because the curve changes how much space the text occupies. Larger text often needs less curve intensity.
Multiple colors can be applied to different parts of curved text. This creates gradient effects or highlighted sections within the curved design.
Curved Text Tools and Options
Canva provides several built-in tools that make creating curved text simple and effective. The platform offers a curve option slider, advanced Typecraft effects, and techniques for wavy and spiral text designs.
Using the Curve Text Slider
The curve text tool in Canva starts with a basic slider that controls how much text bends. Users can find this feature by selecting their text and clicking the Effects button in the top menu bar.
The curved text generator defaults to 86 degrees, which creates a semicircle shape. Moving the slider to the right makes the curve more circular. Sliding it to the left curves the text in the opposite direction.
The curve option allows precise control over text positioning. Users can adjust the angle from -180 to +180 degrees. This range covers everything from gentle arcs to complete circles.
Key slider functions:
- Positive values: Curve text upward
- Negative values: Curve text downward
- Zero: Returns text to straight line
Typecraft and Advanced Effects
Typecraft combines multiple text effects with the curved text tool for professional results. Users can apply shadows, outlines, and gradients while maintaining the curved shape.
The Effects panel offers several styling options that work with curved text. Popular combinations include splice effects, neon glows, and 3D shadows. These effects enhance the visual impact without losing the curve.
Advanced users can layer multiple curved text elements at different angles. This technique works well for logos and badges. Each text box maintains its own curve settings independently.
Compatible effects with curves:
- Splice and cut-out styles
- Shadow and glow effects
- Gradient and color overlays
- Transparency adjustments
Wavy and Spiral Text Techniques
Wavy text effects require combining curved text with creative positioning and spacing adjustments. Users create waves by duplicating curved text boxes and offsetting their positions.
Letter spacing plays a key role in wavy text designs. Increasing the spacing makes text stretch further along the curve. This technique helps match text to circular elements or create specific visual effects.
Spiral effects use multiple text boxes with gradually increasing curve angles. Each line curves slightly more than the previous one. This creates a spiral pattern that draws the eye inward.
Wavy text tips:
- Use consistent curve angles for smooth waves
- Adjust letter spacing to control text flow
- Layer multiple text boxes for complex patterns
- Match curves to background shapes for alignment
Creative Ways to Use Curved Text
Curved text opens up exciting design possibilities that go beyond basic layouts. This versatile feature can transform logos, social media graphics, presentations, and complex compositions into eye-catching visuals.
Designing Logos With Curved Text
Curved text works perfectly for logo design because it creates memorable brand identities. Many successful companies use curved text to wrap around circular elements or follow the shape of their brand symbols.
When designing logos, curved text helps create balance and flow. The text can curve above or below a central image to frame the design nicely. This approach makes logos look more professional and polished.
Popular logo styles with curved text include:
- Text curving around a circle or oval shape
- Arched text above a company name
- Text following the outline of geometric shapes
- Curved taglines beneath main brand names
The curve text feature in Canva lets designers experiment with different angles and directions. Small adjustments to the curve can completely change how a logo feels and looks.
Creating Social Media Posts
Social media posts need to grab attention quickly in busy feeds. Curved text helps posts stand out by creating visual interest that straight text cannot achieve.
Instagram stories work especially well with curved text. The text can follow the edge of photos or create interesting patterns across the screen. This technique makes content more engaging for followers.
Effective social media uses include:
- Curving text around product photos
- Creating decorative borders with curved words
- Making quotes more visually appealing
- Adding curved captions to video thumbnails
Facebook and Twitter posts also benefit from curved text in graphics. The unusual text placement catches the eye and encourages people to stop scrolling. This increased attention can lead to more likes and shares.
Curved Text in Presentations
Business presentations often look boring with standard text layouts. Curved text adds visual variety that keeps audiences interested and focused on the content.
PowerPoint and Google Slides users can create curved text using Canva and then import it as an image. This workaround gives presenters access to professional-looking curved text effects.
Curved text works well for:
- Title slides – Creating dramatic headings that grab attention
- Section dividers – Marking transitions between topics
- Data visualization – Following chart curves and graph lines
- Call-to-action slides – Making important messages stand out
The key is using curved text sparingly so it enhances rather than distracts from the message. Too much curved text can make slides hard to read.
Combining Curved Text With Other Elements
Advanced Canva design techniques involve layering curved text with shapes, images, and other design elements. This approach creates sophisticated compositions that look professionally designed.
Curved text pairs beautifully with circular shapes and curved lines. Designers can create harmony by matching text curves to other curved elements in their design. This consistency makes the overall design feel cohesive.
Effective combinations include:
- Curved text with gradient backgrounds
- Text following the edge of geometric shapes
- Layering curved text over textured images
- Combining multiple curved text elements at different angles
Photo overlays work particularly well with curved text. The text can follow natural curves in photographs or create interesting contrasts with straight architectural lines. This technique adds depth and visual interest to any graphic design project.
Curved Text on Different Devices
Canva works on both desktop computers and mobile devices, but the steps to curve text are slightly different on each platform. The desktop version offers more screen space and precise control, while the mobile app provides quick editing on the go.
Curving Text on Desktop
Desktop users have the most control when they want to curve text in Canva. The larger screen makes it easier to see changes and adjust settings precisely.
Users start by adding text to their design through the text tool. After typing their message, they select the text box to highlight it.
The Effects button appears in the top toolbar when text is selected. Clicking this button opens the effects panel on the left side of the screen.
In the effects panel, users scroll down to find the Curve option. This effect allows them to bend text into different shapes and directions.
The curve slider lets users control how much their text bends. Moving the slider to the right creates a downward curve, while moving it to the left creates an upward curve.
Desktop users can also access TypeCraft, Canva’s advanced text tool. This feature provides more options to bend, warp, and twist text into custom shapes.
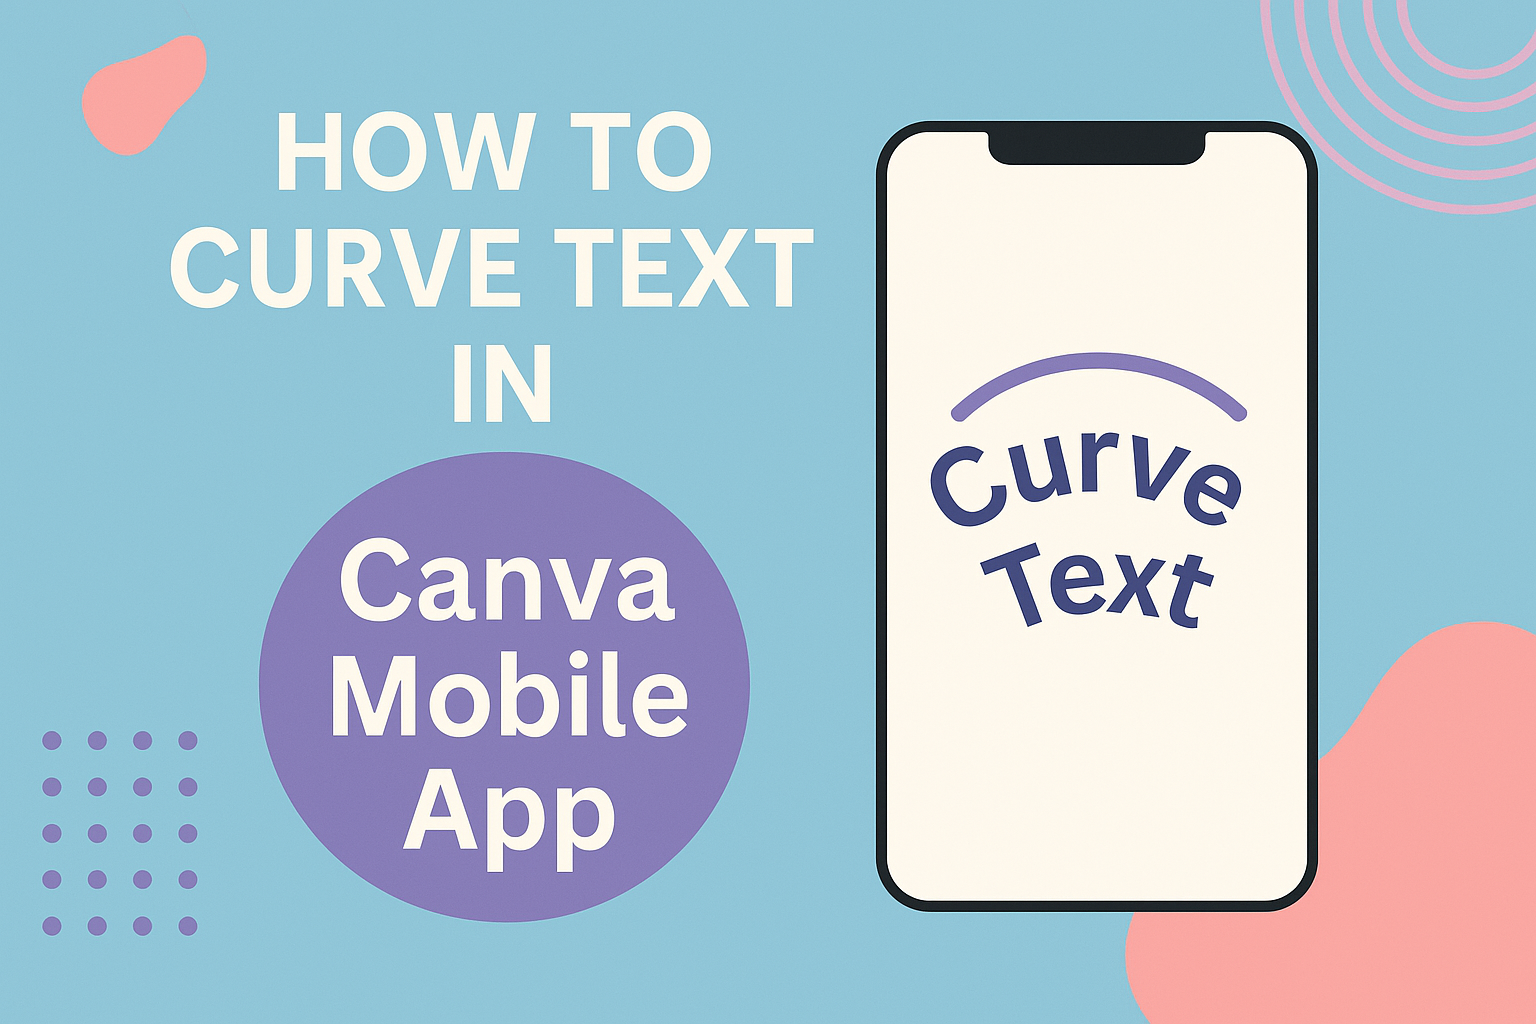
Curving Text in the Canva Mobile App
The Canva mobile app offers the same curve text feature as the desktop version. The process works similarly but uses a touch interface instead of a mouse.
Mobile users tap the text tool to add words to their design. After typing, they tap the text to select it.
The effects option appears at the bottom of the screen when text is selected. Tapping Effects brings up the available text effects.
Users swipe through the effects until they find the Curve option. The mobile interface shows a preview of how the effect will look.
The curve slider works the same way as on desktop. Users drag the slider left or right to adjust how much their text curves.
Mobile editing works well for quick changes and simple curves. However, fine-tuning curved text might be easier on a desktop computer with a larger screen.
Both versions of Canva save changes automatically. Users can switch between devices and continue editing their curved text designs.
Maximizing Your Canva Experience
Canva Pro unlocks advanced curved text features and provides access to thousands of ready-made templates. The platform also offers additional design tools that complement curved text creation.
Benefits of Canva Pro for Curved Text
Canva Pro subscribers gain access to premium fonts that enhance curved text designs. They can upload custom fonts to create unique curved text styles that match their brand identity.
The premium version includes advanced text effects beyond basic curving. Users can apply shadows, outlines, and gradient colors to their curved text elements.
Key Canva Pro advantages:
- Over 3,000 premium fonts
- Custom font uploads
- Advanced text effects
- Priority customer support
- Brand kit features for consistent curved text styling
Pro users also receive unlimited storage for their curved text designs. This allows designers to save multiple versions and experiment with different curve settings without losing their work.
Using Curved Text Templates
Canva templates provide pre-designed layouts with curved text already applied. Users can choose suitable templates and customize the existing curved text to match their needs.
Social media templates often feature curved text for logos and headers. Poster templates use curved text for eye-catching headlines and decorative elements.
Popular template categories with curved text:
- Instagram story templates
- Logo design templates
- Invitation templates
- Badge and stamp designs
Templates save time by providing professionally designed curved text layouts. Users simply replace the placeholder text with their own content and adjust the curve settings as needed.
Exploring Additional Canva Features
The Typecraft app within Canva offers advanced curved text customization. Users can adjust different angles for the top and bottom of their text, creating more complex curved effects.
Canva’s elements library includes shapes that complement curved text designs. Circles, arcs, and decorative frames work well with curved text to create cohesive designs.
Useful complementary features:
- Background remover for curved text graphics
- Animation effects for curved text
- Magic resize for different social media formats
- Collaboration tools for team projects
The alignment and spacing tools help position curved text precisely within designs. Users can fine-tune letter spacing and line height to optimize readability in curved text layouts.