Creating spiral text can add a fun and unique touch to any design project in Canva.
To make spiral text in Canva, simply choose a spiral template, add your desired text, and customize it to fit your style. This simple process can elevate your graphics, making them stand out whether for personal projects or professional presentations.
Many users may find that adding curved text brings more creativity to their designs. With easy-to-follow steps, anyone can achieve beautiful results without needing advanced skills. It’s a great way to catch viewers’ attention and enhance visual appeal.
In this article, readers will discover handy tips to master spiral text creation in Canva. They will learn how to customize text size, spacing, and angle, providing endless design possibilities. Embracing this technique can open up a world of creativity for any designer.
Getting Started with Canva
Canva is a user-friendly design platform that allows users to create stunning graphics effortlessly.
Before diving into making spiral text, it’s essential to understand how to set up a design and navigate the dashboard.
Creating a New Design
To create a new design in Canva, users first need to log in to their Canva account.
Once logged in, they should click on the “Create a design” button located at the top right corner of the screen.
A dropdown menu will appear, offering various design types such as Instagram posts, flyers, and presentations. Users can either select one of these options or use the custom dimensions feature by clicking on “Custom size.”
After selecting the design type, the new workspace will open, showcasing a blank canvas.
From here, users can start adding elements, text, and images to their design.
Navigating the Canva Dashboard
The Canva dashboard is designed to be intuitive and easy to use.
On the left side, users will find the tools menu, which includes options for uploading images, accessing templates, and adding text.
At the top of the screen, there is a menu bar that allows quick access to design options, formatting settings, and the share feature.
Users can easily switch between elements, such as backgrounds and graphics, through drag-and-drop functionality.
Additionally, a search bar at the top can be used to find specific images, templates, or design elements quickly. This makes it simpler for users to locate exactly what they need.
Designing with Text
Creating designs in Canva involves effectively using text to enhance visual appeal. Key elements include adding text, formatting options, and customizing fonts and colors. Understanding these components can elevate any design.
Adding Text to Your Design
To begin adding text in Canva, the user should select the text option from the left toolbar.
They can choose from headings, subheadings, or body text, depending on the design’s needs.
Once a text box appears, typing is simple. Canva allows for easy repositioning; users can drag the text box to any spot on the design.
For those wanting a specific style, they can explore a variety of text templates available in Canva to quickly add polished text to their projects.
Formatting Text Options
Canva offers many formatting options to make text pop.
Users can adjust size, alignment, and spacing through the text editing toolbar. It’s easy to change the alignment to left, center, or right for better presentation.
Font size can also be modified to ensure clarity and impact. Spacing adjustments help with readability.
Creating a list or using bullet points can be effective for breaking down information. This functionality helps users keep their messages clear and engaging.
Customizing Fonts and Colors
Customization gives text a unique flair.
Users can choose from hundreds of fonts in Canva’s library. Switching fonts allows for different tones and aesthetics in designs.
Color choices can transform the appearance and mood of text. Users should consider using contrasting colors to enhance visibility.
For a unified design, matching text colors with other elements is a great practice. Adjusting opacity can also create interesting effects, making text stand out or blend subtly into the background.
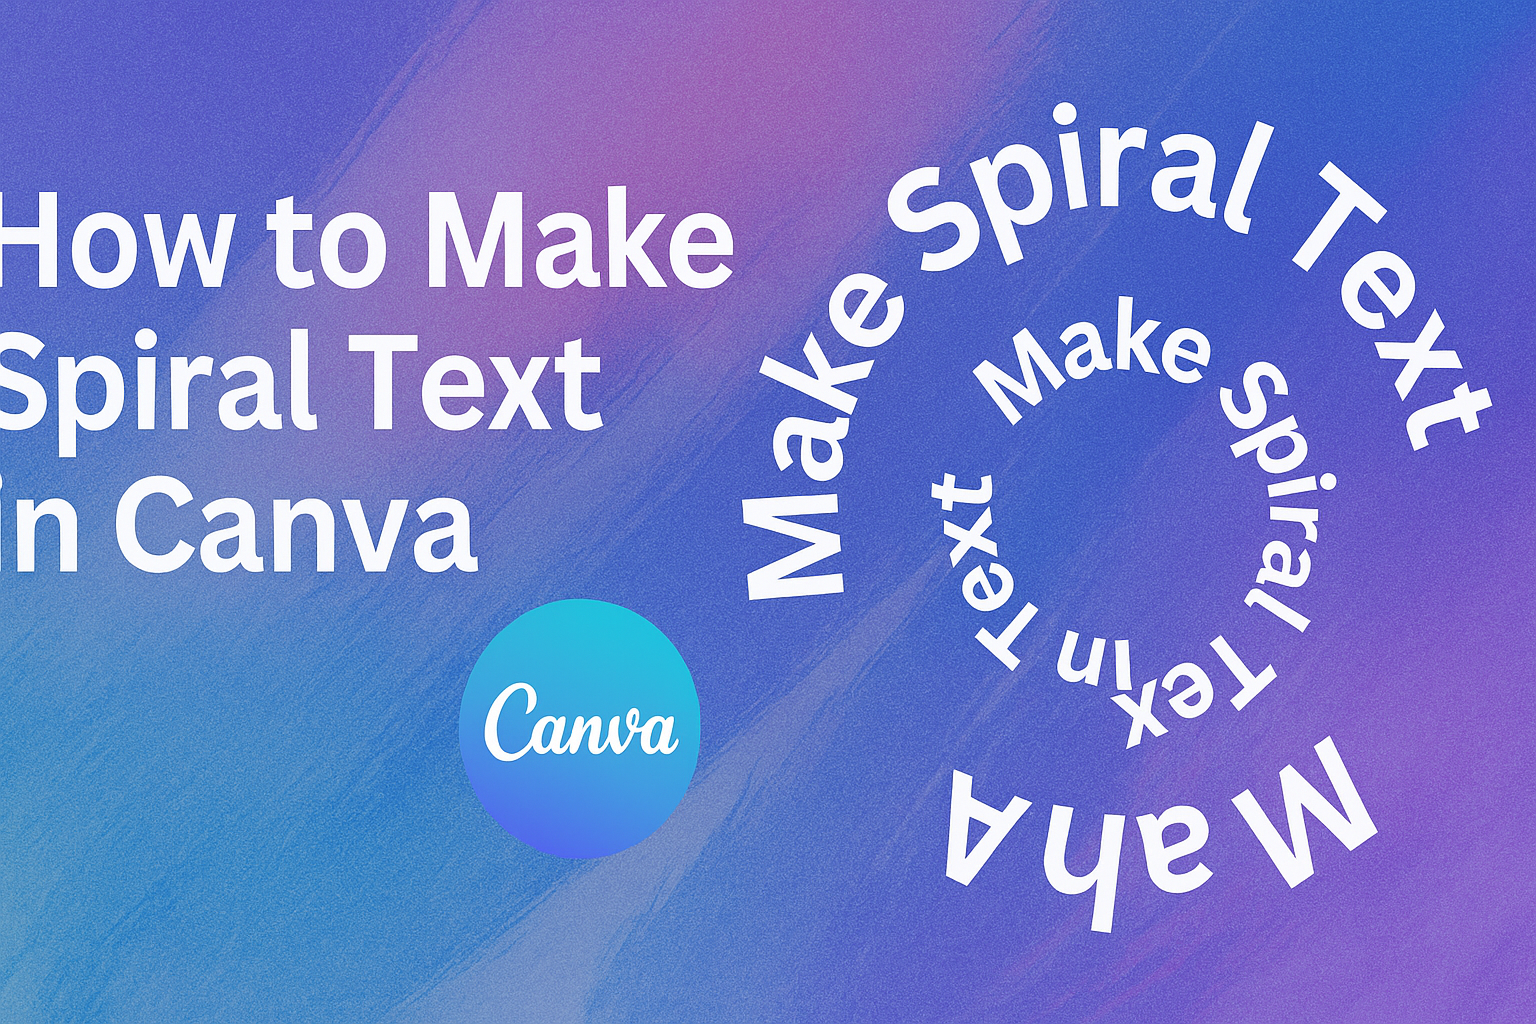
Creating Spiral Text
To create spiral text in Canva, the user should follow a few simple steps.
First, they need to select the Text Tool from the left sidebar. This allows them to add a new text box to the canvas.
Next, they can type their desired text into the box. It’s helpful to choose a font that looks good when curved, as it can impact the final appearance.
After typing the text, the user can navigate to the Effects option in the top toolbar.
From there, they should look for the Curve option. This feature will automatically bend the text into a spiral shape.
To adjust the spiral, they can use a slider to change how tight or loose the curve looks. This helps customize the design to fit their project needs.
If they need to duplicate the text, they can select the text box, click on the three dots in the toolbar, and choose the Duplicate option. This is great for creating more complex designs with varied text styles.
Users can play around with the placement of the text to see what looks best within their design. Little tweaks can make a big difference in how the final artwork appears.
Advanced Spiral Text Techniques
Creating spiral text can be enhanced with various techniques that offer more customization and visual appeal.
By learning to adjust the spiral curve and effectively layer text with images, users can elevate their Canva designs.
Adjusting the Spiral Curve
To adjust the spiral curve in Canva, start by selecting the text box.
Click on the “Effects” button, then choose the “Curve” option.
You can easily change the angle of the curve to make the text look tighter or looser.
To refine the appearance, users should also consider spacing.
By modifying the spacing between letters, they can create a unique effect.
Additionally, changing the font size can enhance visibility. It’s beneficial to experiment with these adjustments until the desired look is achieved.
Layering Text and Images
Layering adds depth to designs.
To layer text and images effectively in Canva, choose the text box and position it over an image.
Use the “Position” tool to bring the text to the front or back as needed.
Consider adjusting the opacity of the text to allow the background image to show through, which can create a striking effect.
Users can also apply a shadow effect to the text for added depth.
This technique grabs attention and makes the text stand out even more against the background.