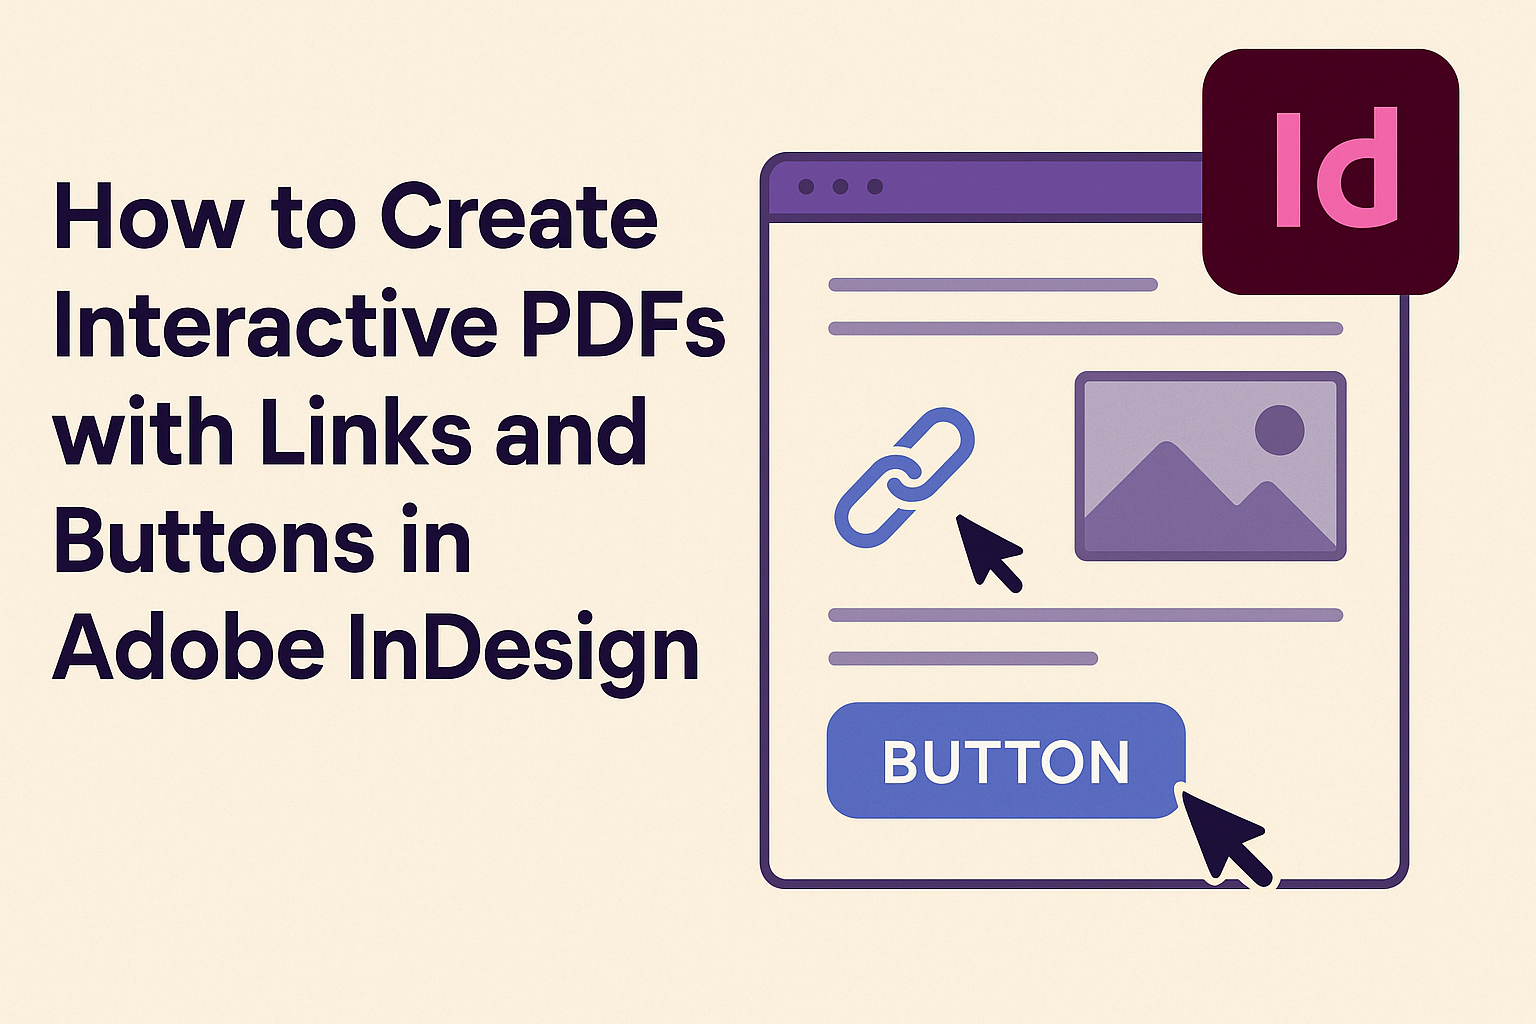
Creating interactive PDFs in Adobe InDesign can elevate the way documents engage readers. This process involves adding interactive elements like buttons and links, which can guide readers and offer additional content. To create interactive elements, use the Buttons and Forms panel to make buttons perform actions when clicked.
By integrating clickable links, users can easily navigate different sections or external websites. InDesign provides tools for adding these links directly to text or graphic elements. Internal links can be created using the hyperlink palette, allowing users to jump to different pages within the document.
Designers looking to enhance their documents with interactive features will find that these tools can make their work more engaging and user-friendly. Resources like Create dynamic PDF documents in Adobe InDesign offer detailed guidance on exporting and saving interactive PDFs.
Getting Started with Adobe InDesign
Adobe InDesign is a powerful tool for creating interactive PDFs. Understanding its interface and setting up your document properly can help streamline your design process and make your workflow more efficient.
Overview of Interface
Adobe InDesign’s interface might seem complex at first, but it’s laid out logically. Panels on the right side like Layers, Pages, and Swatches help manage different aspects of your design. The Tools panel on the left contains essential tools such as Selection, Text, and Shape tools.
To make navigation easier, users can customize the workspace to fit their needs. Try arranging panels by simply dragging them to desired positions. Explore various preset workspaces tailored for tasks like Typography or Interactive PDFs. Adjusting the interface helps users focus on tasks that are more important to their projects.
Setting Up Your Document
When starting a new project in InDesign, setting up the document correctly is important. Open InDesign and select File > New to create a new document. You’ll need to choose specifications like the page size, number of pages, and orientation. This step ensures that everything fits correctly when adding interactive elements.
Adjusting margins and bleeds is another key part of the initial setup. This ensures content stays within the designated printable area. For projects with interactive content, select the option to create a digital file like a PDF. This option usually involves setting the intent to “Web” for screen viewing. These initial steps help create a foundation for a smooth design process.
Understanding Interactive Elements
Interactive PDFs in Adobe InDesign let users engage with content in dynamic ways. Buttons and links can guide them through documents, offer quick access to external sites, and more. Understanding these elements can greatly enhance a PDF’s functionality.
What Are Interactive PDFs?
Interactive PDFs are digital documents with features that users can interact with. These elements include buttons, hyperlinks, forms, and multimedia like audio and video. Such PDFs are designed to provide an engaging experience beyond static text and images.
They work well for presentations, brochures, and eBooks. By allowing users to click and navigate through content, interactive PDFs serve both informative and entertainment purposes. Adobe InDesign is a popular tool for creating these, enabling designers to customize the interactive elements to suit specific needs.
Types of Interactive Elements
There are several types of interactive elements you can add to a PDF. Buttons are used for navigation and triggering actions, such as going to a specific page or opening a web link. Hyperlinks let users click on text or graphics to open websites or jump to another section within the document.
Forms provide a way for users to input information, making PDFs more functional. Adding videos and audio enriches the experience by combining visuals and sound. Understanding how to properly integrate these elements can make a PDF far more engaging and useful to the reader. Using Adobe InDesign, creatives can access tools to customize these features.
Adding Hyperlinks to Your PDF
In Adobe InDesign, adding hyperlinks can transform your PDFs by making them dynamic and user-friendly. It’s all about guiding readers smoothly through your document or directing them to external websites. Each hyperlink element can be customized to fit the design and purpose of your PDF.
Creating Text Hyperlinks
To create text hyperlinks in Adobe InDesign, start by selecting the text you want to turn into a link. Then, open the Hyperlinks panel from the Window menu under Interactive. Click the Create New Hyperlink icon. Choose the type of link you need—like URL or email—from the dropdown menu in the dialog box.
Watch how your cursor changes to indicate hyperlink mode. Enter the full URL or email address, then click OK. The selected text now functions as a link, making navigation straightforward. It’s a quick way to add user engagement to any PDF document. Users will appreciate the ease of accessing related pages with a simple click.
Using Hyperlink Destinations
Hyperlink destinations allow users to jump directly to specific sections within the same PDF. First, set the destination by selecting the text or page you want to highlight. Open the Hyperlinks panel and choose New Hyperlink Destination from the dropdown menu. Name the destination for easy identification later.
Next, select the text or object you want to link, then go back to the Hyperlinks panel. Here, choose Link To: Destination and select the previously set destination. This setup helps users navigate complex, longer documents quickly without scrolling endlessly. It’s an effective way to improve document accessibility and user experience.
Styling Your Hyperlinks
Styling is key to ensuring your hyperlinks stand out yet maintain consistency with your design. Adobe InDesign offers various styling options. Start by selecting your hyperlink text. Use the Character Styles panel to create a style specifically for hyperlinks, like underlined text or a unique color.
Apply this style to all hyperlink text for a cohesive look. You can also use different styles to indicate visited and unvisited links, enhancing clarity and user interaction. By keeping styles consistent, you guide readers intuitively, making it clear which parts of the document are interactive, thus enriching the overall reading experience.
Implementing Buttons for Interactivity
Creating interactive buttons in InDesign is essential for making PDFs more engaging. This process involves designing buttons that look appealing, setting their actions to meet specific user needs, and ensuring they work as intended.
Designing Buttons
Buttons must stand out and be functional. Choose colors and shapes that draw attention. Consider adding text or icons that convey their purpose. Using the Buttons and Forms panel, users can easily transform any graphic or text into a button by selecting it and choosing the “Button” option.
InDesign offers different appearance states for buttons, such as Normal, Rollover, and Click. Adjust these states to provide visual feedback, so users know when they interact with a button. Experimenting with different effects can make buttons more engaging and intuitive.
Setting Button Actions
After designing a button, it’s important to set its actions. This determines what happens when a user interacts with the button. Use the Buttons and Forms panel to assign actions. For instance, buttons can trigger events like opening a URL, playing a sound, or navigating to a specific page.
Choose from a variety of actions based on the PDF’s purpose. Incorporating multiple actions is possible, providing flexibility. When setting actions, consider the end-user’s experience. Ensure the actions add value and enhance the document’s interactivity.
Testing Button Functionality
Testing is a crucial step in creating interactive buttons. This ensures they perform as expected. Use the Export feature in InDesign to generate a PDF with interactive elements. Open this file and click on each button to verify its function.
Check for responsiveness and visual feedback. Confirm that all actions execute correctly when a button is pressed. If issues arise, revisit the Buttons and Forms panel to correct them. Regular testing during the design process can help identify and fix problems early, ensuring a smooth, interactive experience for users.
Enhancing Documents with Multimedia
Adding multimedia elements like audio and video can significantly enrich the experience of reading a PDF. These features not only make the document more engaging but also provide additional ways to convey information effectively.
Embedding Audio
Embedding audio within a PDF in Adobe InDesign can make documents more interactive. Users can add narration, music, or sound effects to complement the text and images. To do this, designers use the interactive features panel.
First, select the media file you want to insert by navigating to File > Place. After placing the audio file, adjust its settings to ensure it plays as intended. Options like autoplay, loop, or play on click provide flexibility in how the audio is used.
Making sure the audio is compatible across devices is crucial. Use common audio formats like MP3 to ensure smooth playback. Testing the audio on different devices will help ensure that users have a consistent experience.
Inserting Video
Incorporating video enhances a PDF by providing dynamic content that can explain concepts or show demonstrations. InDesign allows users to insert video clips directly into the document. This can be particularly useful for tutorials or promotional materials.
To insert a video, go to File > Place and select the video file. Position it in the desired location within the layout. It’s important to check video settings, such as play on click or autoplay, to control how the video behaves once the PDF is opened.
When choosing video formats, MP4 is often preferred for its compatibility across most devices. As with audio, testing the video on various platforms ensures that all readers can access and view it seamlessly.
Using Bookmarks for Navigation
Using bookmarks in Adobe InDesign makes navigating a PDF much easier. Bookmarks allow users to jump directly to different sections of a document. This guide will explain how to create and organize bookmarks effectively.
Creating Bookmarks
Creating bookmarks in Adobe InDesign is a straightforward process. To begin, place the cursor where you want to add a bookmark. Select the text that you want to use as the bookmark label. This label makes it easy for users to understand what the bookmark points to.
Once the text is selected, you can create a bookmark. In the Bookmarks panel, click the Create New Bookmark icon. You can also choose New Bookmark from the panel menu.
Bookmarks can be named based on the section they lead to, making navigation intuitive. They are automatically linked to the selected text, so users can jump to the relevant sections with one click. This feature is especially useful in large documents.
Organizing Bookmarks
Organizing bookmarks keeps your PDF tidy and user-friendly. Bookmarks can be arranged in a hierarchy, similar to a table of contents. To do this, simply drag the bookmarks into the desired order in the Bookmarks panel.
Grouping and nesting bookmarks can help with organization. For instance, under a main chapter bookmark, you can nest section bookmarks. This layout helps users find information quickly and improves the reading experience.
Renaming bookmarks for clarity is crucial. Ensure each bookmark has a meaningful name. This practice saves time and reduces frustration for users. Proper organization makes your interactive PDF more accessible and easier to navigate.
Exporting Your Interactive PDF
Exporting an interactive PDF involves selecting the right options and previewing the document to ensure all interactive elements function properly. Explore how to achieve a well-functioning interactive PDF through careful exporting steps.
Choosing the Right Export Options
When exporting an interactive PDF from Adobe InDesign, selecting the appropriate settings is crucial. To begin, choose File > Export. In the export dialog, select the format as Adobe PDF (Interactive). This format supports buttons, links, and other interactive features.
Make sure to configure export settings according to your needs. You might want to adjust navigation settings by checking options like “Include Bookmarks” or “Enable Full Screen Mode.” These settings can enhance the user experience by providing easy navigation.
Another important step is checking the resolution for images. In the “Compression” section, choose a balance between quality and file size. Keeping the PDF size manageable while preserving quality is essential. Adjusting these settings properly ensures a smooth and interactive PDF experience.
Previewing the PDF
Before finalizing the export, previewing your PDF helps catch any last-minute issues. Adobe InDesign provides a way to test interactive elements efficiently. Use the Preview EPUB/Interactive feature found in the “Window” menu to view your document as it will appear.
While previewing, focus on checking interactive elements like buttons and hyperlinks. Ensure these components respond correctly when clicked. Also, verify the visual aspects, such as page transitions, to ensure they align with your design intentions.
Take note of any unexpected behaviors or missing elements. This review phase is crucial to making necessary adjustments before the final export. By taking the time to preview, you minimize the chance of errors and maximize the effectiveness of your interactive PDF.