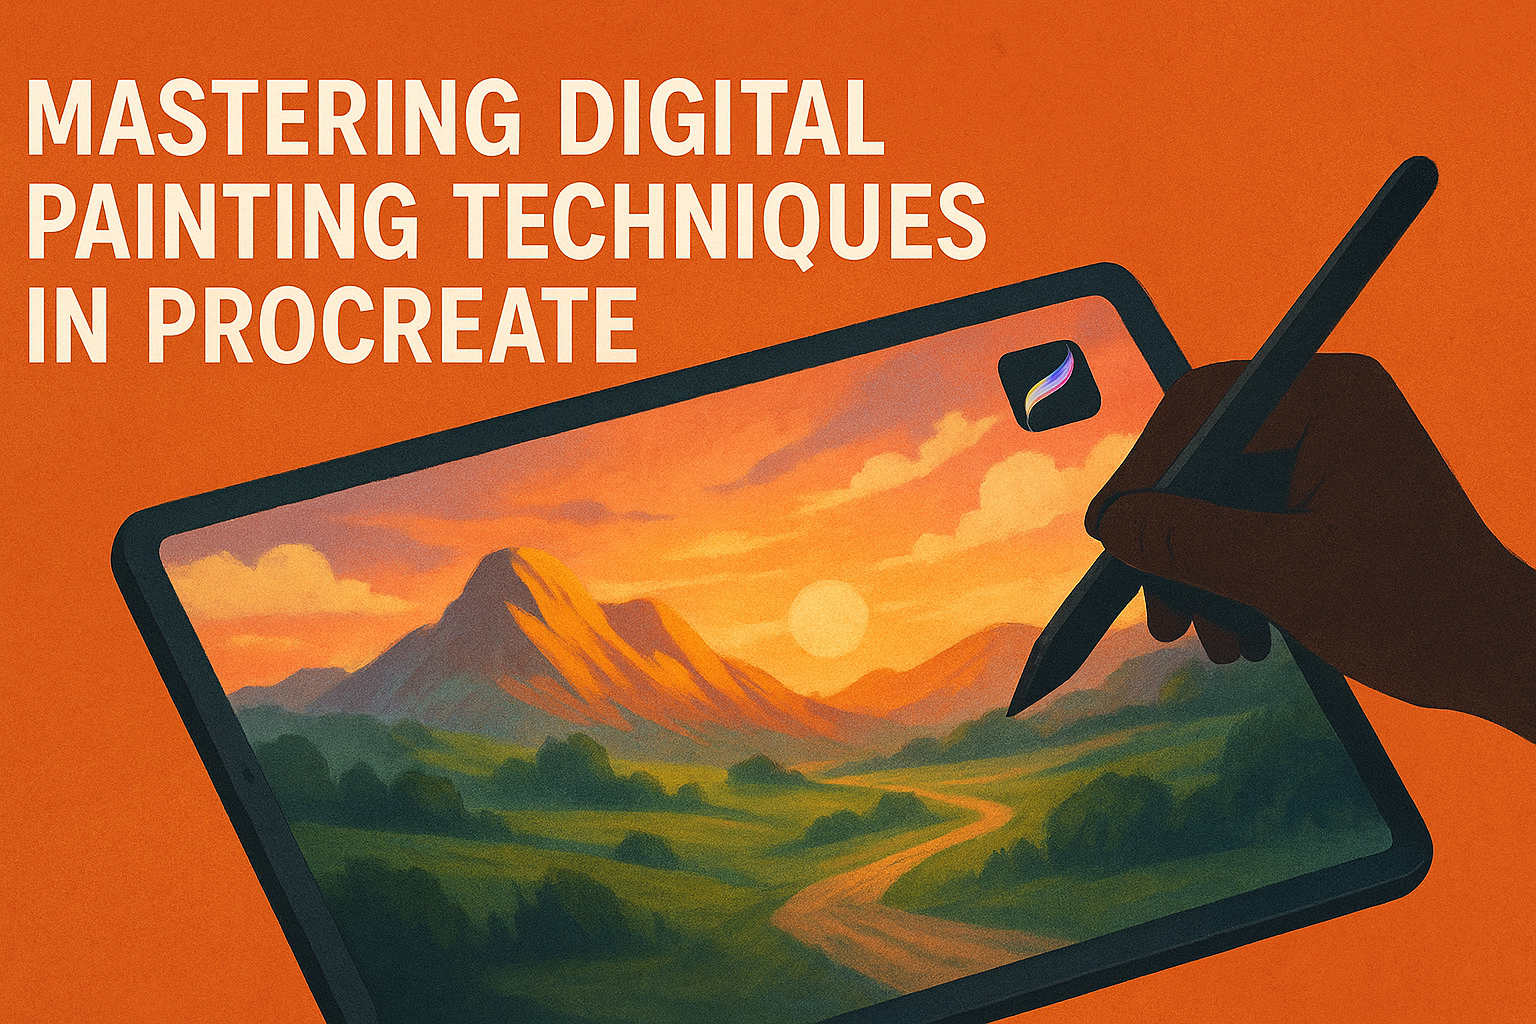
Digital painting has transformed how artists bring their creations to life, and Procreate is at the forefront of this evolution. This powerful app is not just for seasoned artists; with its user-friendly interface, anyone can learn and master digital painting techniques. Using Procreate, artists can explore a wide variety of brushes, tools, and customizable options to create stunning digital artwork.
Procreate offers a wide range of tools that help in honing artistic skills—whether it’s about mastering the brush tool or experimenting with vibrant color palettes. The app’s versatility makes it perfect for sketching, shading, and bringing intricate details to life on a digital canvas. Users can learn at their own pace with comprehensive resources available, such as courses and step-by-step guides.
For those looking to improve their skills, diving into Procreate’s features opens a world of possibilities. From interactive files to detailed tutorials, artists can push their creativity without feeling overwhelmed. By understanding how to effectively use Procreate, artists can transform their approach to digital art.
Getting Started With Procreate
Procreate offers tools that can transform any idea into stunning digital art. Understanding the interface, setting up your canvas, and customizing brushes can enhance your creative journey.
Understanding the Procreate Interface
Procreate’s interface is user-friendly and designed for artists. The main features include a canvas, brush library, layers panel, and color picker. The canvas is where all the magic happens. It’s essential to get familiar with the toolbar on the left, where you can access brushes, smudge tools, and erasers.
The layers panel helps in organizing elements of your artwork, making editing easier. Different layers allow artists to separate and control various parts of their artwork. The color picker, on the top right, enables quick color selection, adding a splash of creativity to any piece.
Exploring these features will make navigating the app intuitive and enjoyable.
Setting Up Your Canvas
Starting a new project in Procreate begins with setting up the canvas. Tap ‘+’ in the gallery to create a new canvas. Procreate offers a variety of sizes, but users can also define custom dimensions. This flexibility is crucial for different types of projects, from small sketches to large prints.
Choosing the right dimensions helps maintain quality when printing or sharing art. It is also important for device storage. Experimenting with canvas sizes can lead to the discovery of what works best for each specific project.
Exploring Procreate’s Brushes
Procreate offers a wide range of brushes suited for every artistic need. From basic pencils to intricate textures, the brush library caters to everyone. Each brush has its own unique feel and effect on the canvas, making experimentation essential.
Artists can find brushes for sketching, inking, and painting, offering versatility across various styles and mediums. Familiarizing with different brushes and their effects can greatly enhance the quality of digital work.
Customizing Brushes for Versatility
Procreate allows users to customize brushes to fit their style and needs. By adjusting settings like size, opacity, and texture, artists can create unique effects. This customization provides greater control over how their art appears and feels.
Modifying an existing brush or creating a new one can personalize the art process. Saving custom brush settings ensures consistency across different projects, allowing for distinctive, cohesive styles.
With practice, these adjustments can lead to powerful and personalized art creations.
Basic Digital Painting Techniques
Mastering digital painting in Procreate involves understanding various techniques that enhance creativity. Layer management, blending modes, color theory, and selection tools are essential for an effective workflow.
Layer Management
Layers in digital art are like transparent sheets stacked on top of each other. They allow artists to separate different elements of their work for easy editing. Good layer management helps keep the artwork organized and ensures that individual changes don’t affect the entire piece.
Assigning clear names to each layer can prevent confusion, especially in complex projects. Artists often use separate layers for outlines, colors, and effects. Grouping related layers can streamline the workflow further. Regularly checking the opacity of each layer ensures desired visibility levels, enhancing the final output.
Blending Modes and Their Uses
Blending modes in Procreate change how colors interact between layers. They offer various creative possibilities by altering the appearance of the artwork. Some common blending modes include Multiply, Screen, and Overlay.
Multiply darkens colors by blending them with the layer beneath. It’s ideal for shadows or depth. Screen does the opposite, lightening colors for highlights. Overlay boosts contrast, enriching textures and colors. Experimenting with these modes can help artists achieve unique effects, adding realism or fantasy to their work.
The Importance of Color Theory
Color theory is vital in creating visually appealing digital art. Understanding how colors interact can enhance an artwork’s mood and message. It involves concepts like complements, contrasts, and harmony.
Using complementary colors, which are opposite each other on the color wheel, can make an image vibrant and dynamic. Analogous colors, located next to each other, create a harmonious and calming effect. Keeping a balanced color palette avoids overwhelming the viewer and helps convey the intended emotion effectively.
Utilizing Selection and Transformation Tools
Selection tools in Procreate allow artists to isolate parts of their work for editing without affecting the rest. This is useful for refining details, adjusting colors, or making corrections. Common tools include Freehand, Rectangle, and Ellipse selections.
Transformation tools let artists resize, rotate, or skew selected parts of their artwork. They help in adjusting proportions or creating interesting compositions. Having control over these tools ensures more accurate and efficient work, saving time and effort during the creative process.
Advanced Digital Illustration Skills
Learning advanced skills in Procreate can elevate digital illustrations. This section covers important techniques, such as texture application, lighting, shadows, and creating depth through perspective and composition.
Texturing Techniques
Adding texture to digital art gives it depth and character. Artists often use layered brush strokes in Procreate to mimic real-world textures. Techniques might involve using the brush settings to adjust size and opacity. Some artists experiment with blending modes to combine colors and patterns. Another method is to use the smudge tool to smooth or roughen textures. Artists can also import texture images and overlay them to create a distinct feel. Using the Procreate interface, layering these techniques can enhance any piece.
Light and Shadow
Mastering light and shadow is crucial for realistic illustrations. Artists should consider the light source in their work carefully. Using Procreate’s layer options, they can create areas of light and dark effectively. Adjusting the opacity of these layers helps in achieving the desired intensity of light or shadow. Working with the alpha lock feature, artists can add highlights or shading to specific areas without affecting the entire layer. Using different brushes, like soft brushes for smooth gradients and hard brushes for sharp shadows, makes for dynamic illustrations. A course like Realistic Painting and Illustration with Procreate can be beneficial for this.
Perspective and Composition
Understanding perspective and composition transforms a flat image into a dynamic one. Artists use Procreate’s perspective tools to guide their illustrations, ensuring a lifelike portrayal of space. By setting up grids, they can maintain consistency in angles and lines. The assist option helps align drawing strokes with the perspective grid seamlessly. Additionally, considering the rule of thirds in composition ensures balanced and engaging images. Artists can plot key elements along these lines or at intersections to lead the viewer’s eye. These methods create a cohesive and compelling illustration, making use of Procreate’s tools effectively for stunning results.
Developing a Creative Workflow
Creating art in Procreate involves a series of steps and habits to enhance productivity and creativity. This section explores how to use sketchbooks to develop ideas, refine artworks from rough sketches to detailed masterpieces, and manage time effectively for digital projects.
Sketchbook Practices
Using a sketchbook, even in the digital age, plays a crucial role in artistic development. It serves as a place for collecting ideas and practicing new techniques without pressure. Regular sketching in a physical or digital sketchbook helps artists explore styles, themes, and concepts.
Artists often use sketchbooks to experiment with color schemes and compositions. They also jot down notes and observations, which can spark inspiration later. By maintaining this practice, artists develop a habit that feeds their creative workflow consistently. Sketchbooks provide a low-risk environment to try new things and refine ideas over time.
From Rough to Refined: Process Steps
Taking a piece from a rough sketch to a finished artwork involves several steps. Initially, artists create a series of thumbnail sketches to explore compositions and design elements. These mini-sketches allow them to visualize different layouts quickly.
Next, they choose a promising thumbnail and proceed to a rough draft, focusing on the broader strokes and overall layout. They gradually refine this draft by adding details, improving line quality, and perfecting proportions. Artists often use layers in Procreate to isolate elements, making adjustments easier. Constant evaluation and iteration are essential throughout the process.
Time-Management Tips for Digital Artists
Effective time management helps digital artists stay productive without burnout. They often set specific goals for each session, such as completing a certain number of sketches or refining a particular area. This focus keeps them on track and reduces the risk of feeling overwhelmed.
Using timers or the Pomodoro Technique, where work is split into intervals with short breaks, can improve concentration and efficiency. It’s also beneficial for artists to allocate dedicated time for skill development and learning new Procreate features, keeping their workflow both productive and innovative. Balancing work sessions and taking regular breaks is key to sustaining creativity and enthusiasm.
Incorporating Mixed Media and Effects
Procreate allows artists to explore a range of techniques by incorporating mixed media and effects. This includes adding textures from traditional media, creatively using effects and adjustments, and even animating artwork to bring it to life.
Adding Traditional Media Textures
Artists can enhance their digital work by incorporating textures found in traditional media like watercolor, charcoal, and pencils. Procreate offers brushes that mimic these real-world materials. For example, using specific brush settings, artists can replicate the gritty texture of charcoal or the smooth flow of watercolor.
To achieve this, it’s important to experiment with different brush settings. Adjusting the opacity and flow can create a more authentic look. Additionally, users can import textures or create them by scanning handmade patterns. Layering these textures can add depth and richness, making artwork stand out.
Creative Use of Effects and Adjustments
Procreate’s effects and adjustment tools open up many possibilities for adding creative flair to artworks. Users can modify colors, create contrasts, and add depth using features like hue and saturation adjustments. The Gaussian Blur tool, for example, can soften edges and create a dreamy effect.
Layer effects like multiply and overlay can help blend colors and textures smoothly. Combining these effects with layer masks gives artists precise control over which parts of the image are affected. This method encourages experimentation, allowing artists to play with color dynamics and lighting in exciting new ways.
Animating Your Artwork in Procreate
Animating in Procreate adds a dynamic element to static images, bringing creativity to another level. The app offers features like the Animation Assist, which simplifies creating frame-by-frame animations. This feature is user-friendly and caters to both beginners and experienced animators.
Artists can create simple GIFs or complex drawings that include motion. They can control speed, add layers, and preview the animation to refine their artwork. This tool not only enhances the storytelling aspect of art but also allows for engaging digital content creation, ideal for social media and web platforms.
Mastering Portraits and Character Design
Creating digital portraits and character designs involves understanding facial anatomy, expressions, and design principles. It also includes skills like rendering clothing and accessories to add depth and personality to your artwork.
Facial Anatomy and Expressions
Facial anatomy is key in drawing realistic portraits. Knowing the structure of the skull, muscles, and skin helps artists create lifelike and expressive faces. Artists often start with simple shapes to form the head, like ovals or circles.
Expressions bring life to portraits. By altering features like eyebrows, mouth, and eyes, artists can convey a range of emotions. Practice drawing expressions by studying real faces and photos, as these serve as excellent references.
Learning to map out proportions accurately is essential. The placement of eyes, nose, and mouth should be consistent to capture a person’s likeness. Tools in Procreate, such as grids, can help artists maintain correct proportions easily.
Character Design Principles
Character design is more than just drawing faces; it’s about communicating a personality. Elements like body shape, posture, and style work together to express who the character is. A good design is memorable and engaging.
Considering the character’s background and role helps shape their appearance. For example, a warrior might have a strong build, while a scholar might be lean. Layers and textures in Procreate allow artists to experiment with different looks until something feels right.
Simplicity is often powerful in design. Using a few standout features, like a unique hairstyle or clothing, can make a character easily recognizable. Sketching thumbnails to explore diverse ideas is a common practice among artists.
Rendering Clothing and Accessories
Clothing and accessories add richness to portraits. Different fabrics behave differently under light, which affects their appearance. Understanding how light interacts with materials enhances realism. Procreate offers various brushes that mimic textures like denim or silk.
Accessories, such as hats or jewelry, add interest and tell more about a character’s story. They should harmonize with the character’s design, not overshadow it. By using layers, artists can adjust each element’s placement and size without affecting the rest of the drawing.
Detailing involves highlighting and shading to create depth. Paying attention to seams, folds, and worn-out areas makes clothing believable. Adjusting these details ensures that each element complements the overall portrait.
Exploring Environmental Art
Environmental art in Procreate involves capturing natural settings, urban landscapes, and atmospheric conditions. Artists focus on translating these elements into unique digital creations using techniques and tools available in the app.
Natural Elements: Water, Sky, and Vegetation
Capturing water requires an understanding of reflection and movement. Artists can use Layer Blend Modes to portray the shimmering effect on surfaces. Drawing the sky involves gradients to mimic sunsets or clear blue skies. Procreate’s Brush Library helps depict clouds by combining different textures and strokes.
Vegetation demands careful attention to detail. Using Clipping Masks, artists can add depth to trees and plants, creating layers of foliage. This method enhances texture and realism, making the art come to life in a convincing way.
Urban Scenes and Architectural Elements
Urban scenes focus heavily on structure and perspective. Procreate’s layering techniques are key for detailing buildings and streets. Artists can create depth by varying opacity and using Layer Masks to emphasize shadows and highlights.
Architectural elements, like brick walls and windows, need precise lines. Utilizing the Grid Guide in Procreate ensures accurate proportions. Digital artists often highlight textures using sharp, clean strokes so that each element stands out, giving urban scenes a dynamic feel.
Creating Mood and Atmosphere
Setting mood and atmosphere transforms a simple digital piece into an emotive scene. Artists use color schemes to evoke specific feelings. Dark tones may establish a somber mood, while bright hues create a sense of joy or energy.
Procreate’s use of light and shadow is crucial. Effects like Gaussian Blur can soften elements, adding mystery or dreaminess. Tools like Alpha Lock refine light details, making environments more engaging by controlling how light interacts with various surfaces.
Utilizing Procreate for Professional Projects
Procreate offers a wide range of features that make it ideal for professional art projects. Artists can design for print and web, easily export artwork, and use various sharing techniques for collaboration.
Preparation for Print and Web
When preparing artwork in Procreate for professional use, it’s crucial to set up your canvas correctly. Start by choosing a high-resolution setting. This ensures that the art appears crisp when printed or displayed online.
Color profiles are another important aspect. Use RGB for digital projects and CMYK for print to maintain color accuracy. Procreate allows you to switch between color profiles in the app settings.
Naming layers clearly helps in organizing complex projects. Maintaining organization is key, especially when collaborating with others or passing files to printers or web developers. Whether creating posters, illustrations, or digital graphics, these practices help deliver artwork that meets professional standards.
Exporting your Art
Exporting artwork from Procreate is straightforward, but there are important choices to make. Procreate supports several formats like PNG, JPEG, and PSD.
For print, it’s best to use formats like TIFF or PSD to preserve quality. PNG is great for web use due to its transparency support. Use the “Share” function to export in your chosen format.
Keep an eye on file sizes. Large file sizes can slow down sharing and load times on websites. In Procreate, compressing files helps manage this without losing much quality.
Choose the right export settings based on your project’s end-use. Understanding these options ensures your artwork looks its best, whether online or in print.
Collaboration and Sharing Techniques
Collaboration is simpler with Procreate’s sharing features. Export artwork directly to cloud services like Dropbox or Google Drive for easy team access.
Use Time-lapse videos to share your creative process with clients or on social media. This builds engagement and offers insight into your methods.
Procreate’s compatibility with Adobe products means files can be shared and edited in Photoshop. This is particularly useful in professional settings where adjustments may be requested. Sharing features streamline the process, making teamwork efficient and enhancing the overall collaborative experience.
Staying Inspired and Promoting Your Art
Finding inspiration and promoting your art are crucial for any digital artist. Maintaining creativity involves building an online presence, engaging with the art community, and protecting one’s creative work.
Building an Online Presence
Creating a strong online presence is vital for artists. They should use platforms like Instagram, Twitter, and TikTok to reach a wider audience. Regularly sharing artworks and engaging with followers helps in building a loyal fanbase.
A personal website showcasing a portfolio can add credibility. Using keywords and hashtags can optimize visibility, making art more discoverable. Collaborations with other artists can also bring new viewers. In essence, an online presence expands professional opportunities and connects artists with like-minded individuals.
Challenges and Community Engagement
Engaging with the art community can be both rewarding and challenging. Many artists face difficulty staying connected due to time constraints or fear of criticism. However, participating in online forums and art groups can offer support and constructive feedback.
Local art events and workshops can also provide valuable networking. Online challenges, like drawing prompts, can stimulate creativity and showcase talent. By actively engaging with other artists, individuals can grow their skills and gain new perspectives.
Protecting Your Intellectual Property
Artists must safeguard their intellectual property to maintain control over their creations. Sharing work online comes with risks of unauthorized use. Watermarking artworks can deter theft.
Understanding copyright laws and obtaining legal advice can further protect one’s creations. Platforms often have tools for reporting copyright violations. Registered trademarks might be necessary for branding logos or signatures. Staying informed about intellectual property rights ensures artists can focus on creating without worry.