The Procreate app has become a vital tool for digital artists, especially when crafting complex designs. This versatility largely stems from its selection tool, which offers remarkable precision and flexibility. By mastering the Procreate Selection Tool, artists can isolate parts of their work to refine details without affecting other areas.
With a variety of options like freehand and polygonal selections, the tool allows for creativity and control. It’s as easy as drawing on a piece of paper, making it perfect for selecting irregular shapes. Whether it’s adding shadows or enhancing highlights, the selection tool provides numerous possibilities for enhancing artwork.
Many artists find that using the selection tool opens up new ways to manipulate their designs. It’s like having a digital paintbrush that goes beyond drawing, enabling adjustments such as resizing and warping. Using these features can truly turbo-charge creativity and workflow in Procreate.
Getting Started with Procreate
Procreate offers powerful tools, with the Selection Tool being a standout feature. Getting familiar with it can enhance the way users create complex designs.
Understanding the Selection Tool
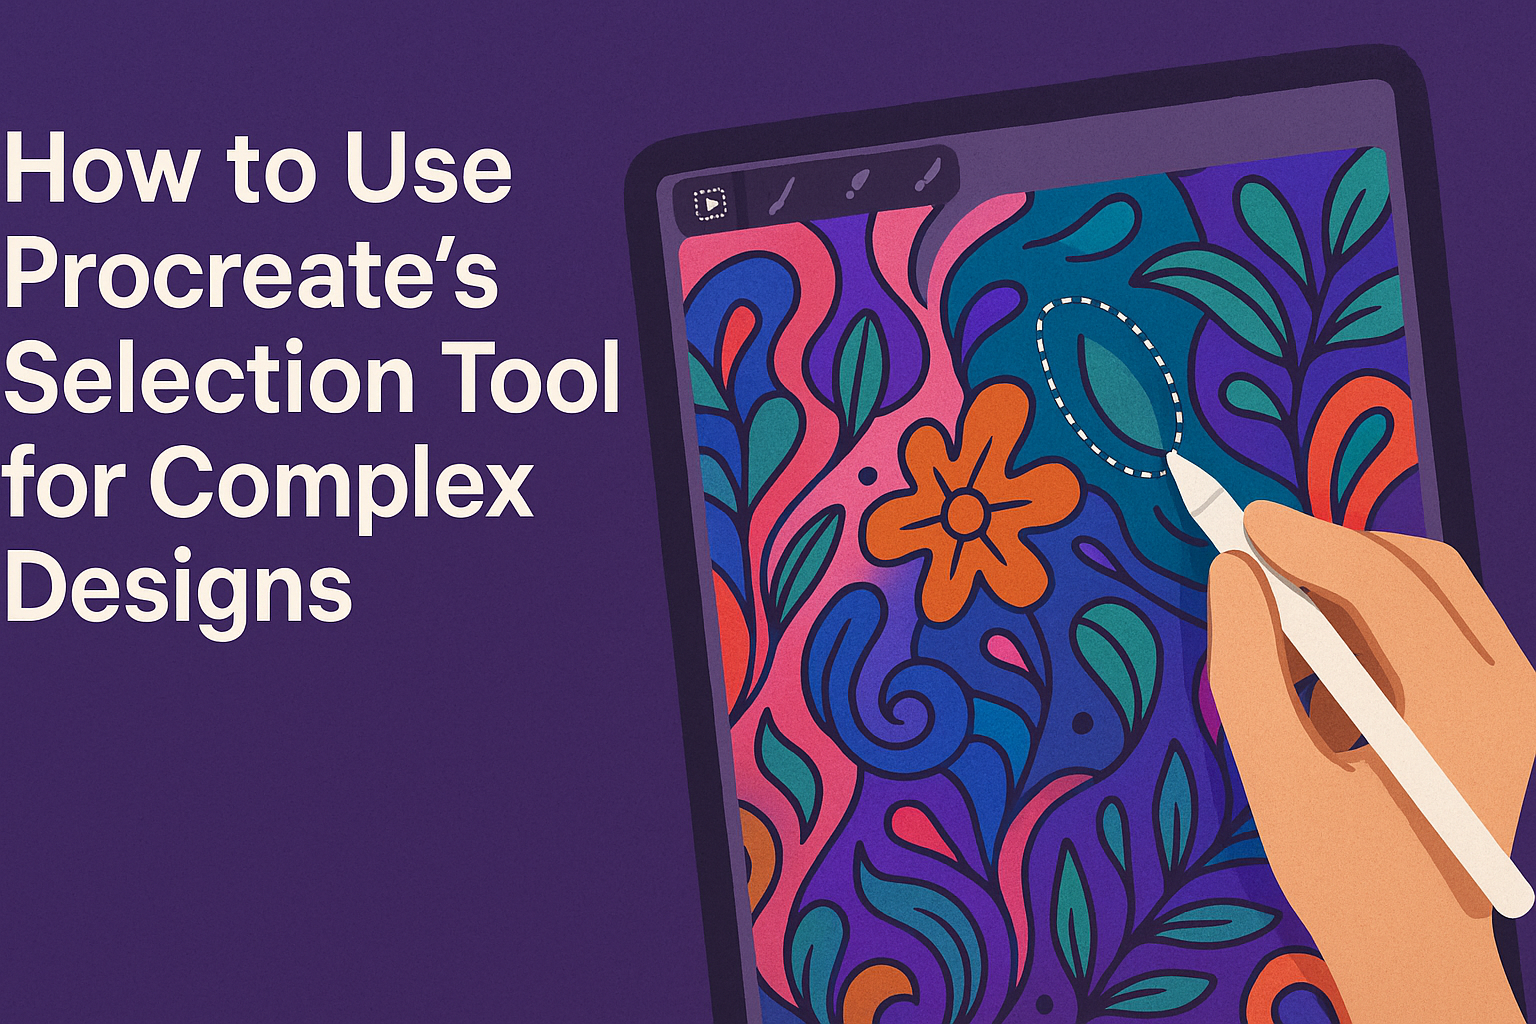
The Selection Tool in Procreate is essential for manipulating specific areas of artwork. It allows users to isolate parts of their canvas, which can then be edited without affecting the rest of the artwork. This tool is crucial for precise adjustments and creating detailed designs.
Knowing how to use this tool effectively opens up new possibilities for creativity. Artists can make quick changes, duplicate sections, and focus on intricate elements of their artwork, all while maintaining control over their entire piece.
Accessing the Selection Tool
To access the Selection Tool, users need to locate its icon in the Procreate interface. This tool can be found in the top menu bar, making it easy to reach while working on a canvas.
Once the icon is tapped, a menu of options appears, allowing users to choose specific actions. The tool’s visibility and simple interface help users stay focused on their work without unnecessary interruptions.
Different Selection Modes
Procreate offers several selection modes to cater to different creative needs. These modes include Freehand, Automatic, Rectangle, and Ellipse. Each mode serves a unique purpose and can be selected from the menu.
In Freehand mode, artists draw custom shapes around their desired areas. Automatic mode chooses areas based on color and brightness, which is great for quick selection tasks. Rectangle and Ellipse modes are perfect for standard geometric selections, helping users frame sections easily for editing.
Making Your First Selection
Creating a selection in Procreate is a straightforward process that enhances your ability to isolate and manipulate specific parts of your artwork. This involves setting up a new layer, drawing your selection, and adjusting it to suit your design needs.
Creating a New Layer
Creating a new layer is the first step before making a selection. In Procreate, layers work much like sheets of transparency stacked on top of each other. They allow you to edit parts of a drawing without affecting the rest. To create a new layer, tap the Layers icon, then hit the plus icon. This new layer can be used to make selections or draw without altering the base artwork.
New layers provide freedom to experiment. Whether you’re adding details or preparing to manipulate part of your design, they keep your workflow organized. By using multiple layers, you can maintain control and ensure different elements of your artwork remain separate for easy adjustments later.
Drawing a Basic Selection
Once a new layer is set, drawing a basic selection becomes easy. In Procreate, the selection tool offers different options like automatic, freehand, rectangle, and ellipse selections. Each method has its own uses. For instance, use the rectangle or ellipse for geometric shapes, while freehand is better for irregular outlines.
To start, tap the Selection icon. Choose the method that best fits your needs. Drag your finger or stylus across the canvas to outline the area you want to select. The selected area becomes highlighted, indicating it’s active for editing. This allows for focused creativity on specific sections without disturbance to the rest of the project.
Manipulating Selection Boundaries
After creating a selection, fine-tuning boundaries is essential for precision. Adjusting the boundaries lets you include or exclude details as needed. To do this, keep the selection active, then use the adjustment handles that appear around the selection.
Procreate offers manipulation options like scaling, rotating, and flipping. By tapping the Transform tool (arrow icon), you can easily adjust your selection to the desired size and orientation. This flexibility ensures the selected area is perfectly positioned within the composition, enhancing the design’s complexity and depth.
Advanced Selection Techniques
Mastering advanced techniques in Procreate can add depth and precision to your digital art. These skills can help enhance your workflow, making it easier to achieve complex designs. The next sections cover specific methods that artists use for more detailed and effective selections.
Using QuickShape with Selections
QuickShape is a powerful feature in Procreate that allows artists to create perfect shapes effortlessly. By holding down your stylus after drawing, you can create a smooth, symmetrical line or shape. This tool can be integrated with selections to refine specific elements like circles, rectangles, or polygons.
To use QuickShape with a selection, first make your selection using any of Procreate’s selection tools. Then switch to your brush and draw your desired shape over the selection while holding down the stylus. This gives you a shapely, defined area that enhances accuracy.
QuickShape is especially helpful for artists who work with geometric patterns or designs. By combining it with selections, you can maintain symmetry and precision, ensuring your artwork looks polished and professional.
Adding to and Subtracting from Selections
In complex designs, you might need to adjust selections by adding or removing parts. Procreate allows you to do this easily with its Add and Subtract tools, helping you refine your artwork further. These tools ensure that you have maximum control over selected areas.
To add to a selection, start by choosing your initial area using one of the selection tools. Then tap the “Add” option and draw over the parts you want to include. Similarly, use the “Subtract” option to remove areas from your selection.
This technique is beneficial when dealing with intricate designs where precision is crucial. By carefully adding to or subtracting from selections, you can tweak specific details without affecting the rest of your artwork.
Transforming Selections
Transforming selections lets you modify the shape, size, or position of selected parts of your artwork. This is key for artists who need to adjust elements to fit their vision. Procreate offers various transformation options like scaling, rotating, and flipping.
To transform a selection, select the desired area and switch to the Transform tool. You can then use handles to move, resize, or rotate the selection. For advanced effects, you might use a combination of these actions to get the perfect adjustment.
Transformations can save time and effort in redrawing elements. It allows artists to experiment with different compositions until the piece looks just right, making it a valued tool in any digital artist’s toolkit.
Working with Layers and Selections
Procreate’s selection tool is essential for artists who want to make precise edits and enhance their creative process. This section covers isolating layers for specific edits and using layer masks to refine your artwork.
Layer Isolation
Layer isolation allows artists to focus on specific parts of their artwork without affecting other areas. In Procreate, users can easily activate isolation by selecting a layer to work on individually. This feature helps in making detailed changes without disrupting the entire design.
To isolate a layer, open your layers panel, tap on the thumbnail of the layer you want to edit, and activate the selection tool. This targets your specific layer, so edits are contained. Artists often use this technique when they need to add details or correct specific sections without changing the rest of their design.
Layer isolation is crucial for creating clean and professional designs, especially when working with complex projects. It ensures small adjustments can be made meticulously.
Selection Layer Masking
Selection layer masking is another powerful tool that lets artists hide or reveal parts of a layer. This method provides incredible flexibility in editing, where artists can experiment with different looks without making permanent changes.
To create a selection mask, first, activate the selection tool and define the area you want to mask. Then, open the layers panel, tap on the layer, and select “Mask.” The masked area will be visible or hidden according to your choice, allowing for safe experimentation.
This technique is particularly useful for trying out new ideas or adjusting colors. Artists can refine shapes and designs, blend elements, and create seamless transitions. Selection layer masking helps artists maintain control over changes, ensuring their creations are polished and well-thought-out.
Combining Selections with Brushwork
Combining selections with brushwork in Procreate allows artists to create detailed and refined artwork. By controlling where brush strokes appear, users can concentrate on specific areas without affecting the rest of the image.
Selective Brush Application
The selection tool in Procreate grants artists the ability to apply brushwork only to chosen parts of their design. This feature is handy when one wants to add intricate details or unique textures to specific spots without altering surrounding areas.
Once a selection is made, artists can freely use different brushes to add color or patterns. Thanks to this level of control, adding layers and depth becomes straightforward.
For example, the user could paint highlights or shadows to give a more three-dimensional effect. Using the selection tool in this way ensures that brush strokes remain neatly within the confines of the chosen area.
This approach is especially beneficial for complex illustrations where precision is key. Through practice, artists can master this method to enhance their creative processes.
Erasing Within Selections
Erasing within a selection offers a controlled way to refine artwork in Procreate. By using the selection tool to define specific areas for erasure, artists can clean up their work without disturbing other parts of their design.
This technique is useful for adjusting details like unwanted pencil marks or adding transparency to a drawing. Selecting areas to erase ensures precision, which is crucial for detailed designs.
Combining this with various eraser styles can further enhance the level of detail. Artists can experiment with hardness and opacity settings on the eraser for different effects.
This method promotes clean and polished results, making it easier to handle complex illustrations. The combination of selection tools and erasing provides flexibility and control in the artistic process.
Organizing Complex Designs
When working with intricate designs in Procreate, keeping things organized is vital. Properly naming and grouping layers help streamline your workflow, while using color tags can visually separate different parts of your project for easy navigation.
Naming and Grouping Layers
Naming each layer clearly is a simple but effective way to stay organized. Instead of generic names like “Layer 1,” use specific names that reflect the content, like “Tree Leaves” or “Sky Background.” This makes it quicker to find the right layer when editing.
Grouping layers is another helpful strategy. By putting related layers together, like all the elements of a background scene, you can keep the canvas tidy. Groups allow you to move, hide, or manipulate multiple layers at once. This helps when dealing with detailed parts of a design, such as when you need to adjust all elements of one character.
Procreate offers the option to collapse groups, making the layers panel much less cluttered. Tidy naming and grouping ensure that even complex designs are manageable.
Using Color Tags
Color tags add another layer of organization to complex projects. In Procreate, these tags serve as a visual cue to differentiate between parts of your design. Assigning a unique color to each set of layers, like blue for water and green for foliage, helps quickly identify them.
To apply a color tag, simply tap a layer, choose “Rename,” and select the tag color. Consistent use of these tags brings clarity to the project’s structure. They enable users to find layers efficiently, especially in large projects with many details.
Color tags can also highlight which layers are ready for export or need further work. By using color tags along with naming and grouping, Procreate users maintain an organized and efficient workflow, even with complex designs.
Selection Shortcuts and Tips
Using Procreate’s selection tool efficiently relies on practical shortcuts and clever tricks. Keyboard shortcuts can help speed up the selection process. Efficiency hacks can further streamline complex design workflows.
Keyboard Shortcuts for Selections
For those using an iPad with a keyboard, several shortcuts can make selecting areas within Procreate a breeze. Pressing Command with other keys performs quick actions.
- Command + D: Deselects any active selection.
- Command + 4: Cycles through the selection modes, such as freehand or rectangle.
These shortcuts allow users to switch selection methods without touching the screen. Consistent practice with these can significantly enhance speed. Understanding how to use these combinations might require time, but once they’re learned, they can transform the creative process.
Efficiency Hacks
Beyond keyboard shortcuts, there are several hacks to improve efficiency. Utilizing Gestures is one powerful way to enhance workflow. Three-finger scrubbing clears a layer easily. Clearing a selection is just as simple.
Additionally, making use of Procreate’s Lasso Tool helps in selecting odd shapes. By drawing freehand around objects, artists can achieve intricate selections. This method is invaluable for detailed work, saving both time and effort. These clever techniques optimize the design process and empower artists to focus more on creativity.