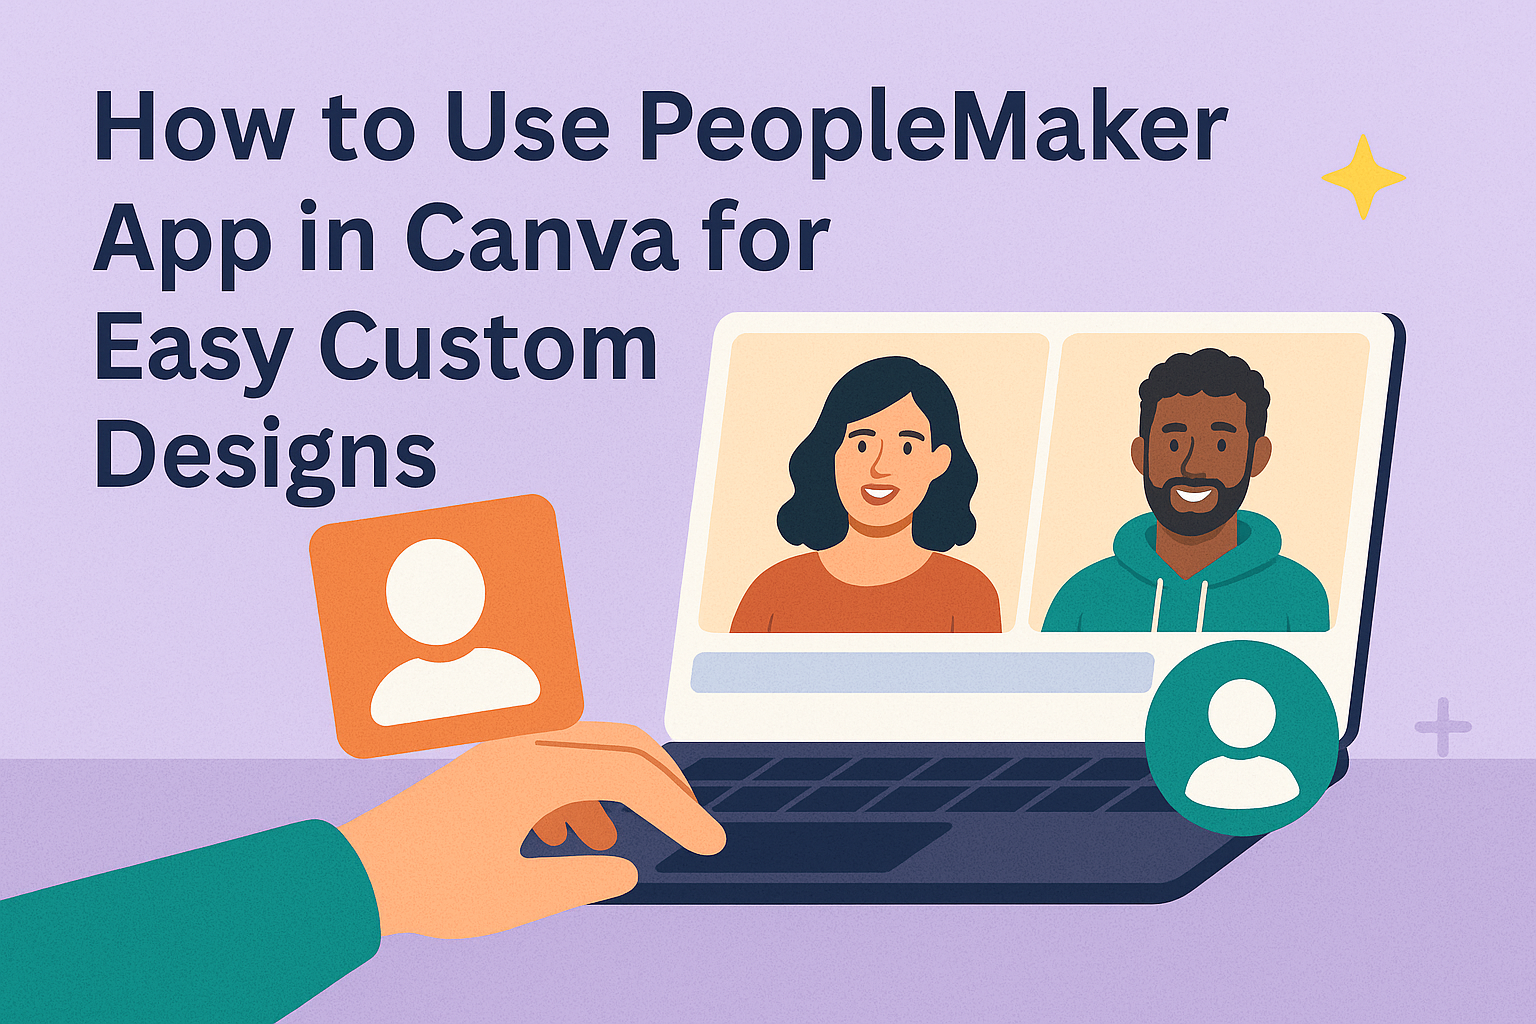
PeopleMaker is a Canva app that lets users create realistic synthetic human images quickly and easily. It allows designers to generate custom portraits without worrying about legal issues or finding real models. This makes adding unique human figures to any design simple and efficient.
The app works by using AI to produce lifelike images based on user prompts, offering full control over the appearance of the synthetic person. PeopleMaker is a helpful tool for anyone wanting to enhance their Canva projects with original and ethical human visuals.
With this app, users can bring a fresh, creative touch to their designs while saving time and effort. For more details, visit the PeopleMaker page on Canva.
Getting Started with PeopleMaker App
PeopleMaker is easy to use once added to Canva. Users will learn how to find the app, what devices work best, and how to link it to their Canva account. This helps in creating synthetic human images smoothly.
Accessing PeopleMaker in Canva
To find PeopleMaker, users open Canva and go to the App Marketplace. They can search for “PeopleMaker” using the search bar. Once found, clicking Add will install the app to their Canva toolbar.
After adding, PeopleMaker appears in the side panel during design work. Users click it to start generating synthetic images of people. The app integrates seamlessly without needing separate downloads.
Using PeopleMaker is free within Canva’s interface, though some features might need a Canva Pro subscription. It is designed to enhance photo and graphic creation with AI-generated human images.
Supported Devices and Requirements
PeopleMaker works on all devices that support Canva. This includes Windows PCs, Macs, iPads, and most Android tablets or phones. A stable internet connection is important since it uses cloud computing.
It needs the latest Canva app version or access through a modern web browser like Chrome or Edge. Older browsers might not support app features fully, so users should keep software updated.
No special hardware or extra software is required. Devices need at least moderate processing power for smooth design work but generating AI images happens on Canva’s servers, not locally.
Connecting Your Canva Account
To use PeopleMaker, users must sign in to their Canva account. If they don’t have one, creating an account takes just a few minutes via email or social login options like Google or Facebook.
Once logged in, PeopleMaker uses the existing Canva credentials and permissions. This avoids extra passwords and keeps AI-generated images linked to user projects.
No separate app login is necessary; linking is automatic after installation. Users should ensure account settings, like storage limits, support their design work for best results.
For more details visit Canva’s official platform or explore the PeopleMaker launch announcement.
Exploring PeopleMaker Features
PeopleMaker lets users create realistic synthetic humans with options to change looks, expressions, and style. It focuses on giving detailed control over each part of the character, from face to clothes, making it easy to fit designs perfectly.
Avatar and Character Creation Tools
PeopleMaker provides tools to build unique avatars quickly. Users start by choosing basic traits like age, gender, and skin tone. The app uses AI to generate a face that matches these settings.
Users can also adjust emotions and head positions to make the character more lifelike. This helps fit the avatar into different scenes or moods. The interface makes switching between options easy and intuitive.
The tool guarantees that all avatars are synthetic, so designers don’t have to worry about copyright or privacy issues when using them in projects.
Customizing Facial Features
Facial customization is detailed in PeopleMaker. Users can change eyes, nose, mouth, and eyebrow shapes to achieve the exact look they want. Each feature has sliders for size, position, and angle.
Skin textures and tones can also be fine-tuned, adding small details like freckles or wrinkles. This level of control helps create characters that feel real and unique.
Expressions are adjustable, allowing changes from happy to serious or neutral looks. This is useful for storytelling or marketing visuals that need specific emotions.
Outfit and Style Selection
PeopleMaker lets users pick clothing styles to match the character’s personality or the project’s theme. Options include casual, professional, and trendy outfits with various color choices.
Users can adjust clothing fit and accessories, such as glasses or hats, to add more personality. These choices help make the avatars fit well into different contexts, from business presentations to creative stories.
The app is designed to keep style choices flexible without overwhelming the user, making outfit selection simple and fast.
You can learn more about how PeopleMaker works on the PeopleMaker page on Canva.
Designing with PeopleMaker Creations
PeopleMaker lets users add realistic AI-generated characters to their Canva designs quickly. These characters can be moved, resized, and layered with other design elements to fit any creative project.
Inserting Characters into Canva Projects
To insert a PeopleMaker character, users first open the app within Canva and select or generate the human portrait they want. After finalizing the character, they click the “Add to design” button. This places the character directly onto the current Canva project.
The character appears as an image element that can be clicked, dragged, or modified. Since the characters are high quality and realistic, they work well in many design types, from presentations to social posts. It’s important to check the resolution to ensure the best clarity.
Adjusting Character Position and Size
Once on the canvas, people can resize the character by dragging the corner handles. This keeps the proportions correct, so the image doesn’t look stretched or squished. Users can also move the character anywhere by dragging it with the mouse or touchscreen.
Using Canva’s alignment tools helps place the character precisely. For example, snapping to grid lines or other elements makes layouts cleaner. Rotating the character slightly can add a dynamic feel, but it’s best to keep it subtle to maintain realism.
Layering with Backgrounds and Elements
Layering is key when combining PeopleMaker characters with other design parts. Users can move the character backward or forward by right-clicking and selecting arrange options. This allows them to place the person behind text, shapes, or images.
Adding backgrounds behind the character enhances the overall look. Solid colors, gradients, or photos can make the character stand out or blend in naturally. Adjusting transparency on layers can also create interesting effects without losing focus on the character.
By mastering position, size, and layering, designs become professional and eye-catching.
Learn more about using this app on the PeopleMaker Canva page.
Advanced Customization Tips
Fine-tuning elements like colors and character designs makes a project look more polished. Keeping a consistent look and saving your customized characters can save time and make future designs easier.
Using Color Palettes for Consistency
PeopleMaker lets users adjust skin tones, hair colors, and clothing. Using a set color palette helps the characters match other elements in the design.
Choosing colors that work well together creates a unified look. For example, limit your palette to 3–5 colors that suit the brand or theme.
Canva also offers built-in palettes or lets users create custom ones. Sticking to these colors across backgrounds, text, and PeopleMaker characters keeps everything balanced.
One tip is to create a swatch of your chosen colors in Canva. This makes it easy to pick the exact same shades every time.
Saving and Reusing Custom Characters
After customizing a PeopleMaker character, saving it is key. Users can download the character as a PNG or save it within Canva projects.
To reuse characters across designs, they should be saved in a folder or Canva’s “Brand Kit” if available. This helps keep all custom characters organized.
Renaming files clearly with details like “blue shirt” or “smiling face” also speeds up finding the right character later.
Reusing saved characters saves time and keeps design consistency across projects.
Using Canva’s app integration with PeopleMaker makes saving and importing characters simple and efficient. For more on customizing with PeopleMaker, visit PeopleMaker on Canva Apps.
Sharing and Exporting Your Designs
Designers can save their PeopleMaker creations in various file formats and share them easily with others. Both exporting the design for personal use and sharing it with teammates or clients are straightforward processes that help keep collaboration and presentation smooth.
Exporting Creations from Canva
To export a PeopleMaker design, the user needs to open their project in Canva. They can then click the Export button, usually shown as an upward arrow at the top of the screen.
Canva offers several file formats such as PNG, JPG, PDF, and MP4. Choosing the right format depends on the design’s use—images might work best as PNGs or JPGs, while animated content suits MP4.
There is also an option to set the quality and size before downloading. Adjusting these settings helps optimize the file for web use or printing. Exported designs are saved directly to the user’s device for easy access.
Sharing with Teams and Clients
Users can share PeopleMaker designs within Canva by generating a shareable link. This link allows others to view or edit the design based on the permissions set.
Sharing directly inside Canva is useful for teamwork. Collaborators can comment, suggest changes, or edit the project in real time, which speeds up feedback and revision.
Designs can also be posted directly to social media from Canva or sent via email. Using the platform’s integration tools simplifies sharing with clients, especially when quick approvals are needed.
For more details on sharing options, visit this guide on how to share designs in Canva.
Troubleshooting Common Issues
Users may face problems like the app not loading or images not appearing clear. Fixing these issues often involves checking the app version, internet connection, or adjusting export settings.
Resolving App Loading Problems
If the PeopleMaker app in Canva won’t load, the first step is to check the internet connection. A slow or unstable connection can cause the app to freeze or fail to open.
Next, ensure the Canva app or browser is updated to the latest version. Older versions may cause compatibility issues. Clearing the browser cache or restarting the device can also help.
If these steps do not work, reinstalling the Canva app may fix corrupted files affecting app performance. Checking Canva’s status page can reveal if there are any ongoing outages affecting app function.
Dealing with Image Quality Problems
When images created with PeopleMaker look blurry or pixelated, adjusting export settings can improve quality. Users should export at the highest resolution available.
If blurry images persist, verify the source images used in the app are high quality. Low-resolution photos will stay blurry even after editing.
Another helpful step is to avoid excessive zooming or resizing in Canva after placing the images. This can reduce image clarity. Users can also try exporting as PNG rather than JPG for sharper results.
Best Practices for Creative Workflows
A clear workflow helps teams stay organized when using tools like the PeopleMaker app in Canva. They should start by planning each step, from generating synthetic images to finalizing the design.
Regular check-ins or quick meetings keep everyone on the same page. Notes from these meetings can track progress and highlight any challenges to solve early.
Using simple visual aids like Kanban boards or workflow diagrams can show what needs doing, what’s in progress, and what’s finished. This makes it easy to spot bottlenecks.
It’s helpful to assign specific roles so each person knows their tasks. For example, one might focus on customizing the images with PeopleMaker, while another works on layout and text.
Teams should keep their files organized and label each version clearly. This saves time when reviewing or making changes later.
Encouraging feedback after each step helps improve the design. They can use comments in Canva or discuss ideas in their next meeting.
For more tips on managing creative projects, see how to build a creative workflow management system.