Inkscape is a fantastic tool for those looking to create precise and professional-looking designs. A key feature that makes it so effective is the Align and Distribute toolset. These tools allow users to easily align objects, ensuring a clean and well-organized layout.
The Align and Distribute functionality is vital for anyone wanting to arrange multiple elements precisely. By mastering these tools, designers can feel confident in their ability to evenly space elements or align them to center or edges, eliminating guesswork.
Many users find themselves frequently reaching for this tool while working on their projects. This consistent use highlights its importance in achieving polished and balanced designs. The tips and tricks shared in this article will enhance your skills, making your design process smoother and more efficient.
Understanding the Inkscape Interface
Inkscape’s interface is packed with tools and options that cater to both beginners and advanced users. A vital part of the interface includes the Align and Distribute panel, which is essential for creating precise layouts. Users also have access to different tool options that enhance the efficiency and quality of their designs.
Exploring the Align and Distribute Panel
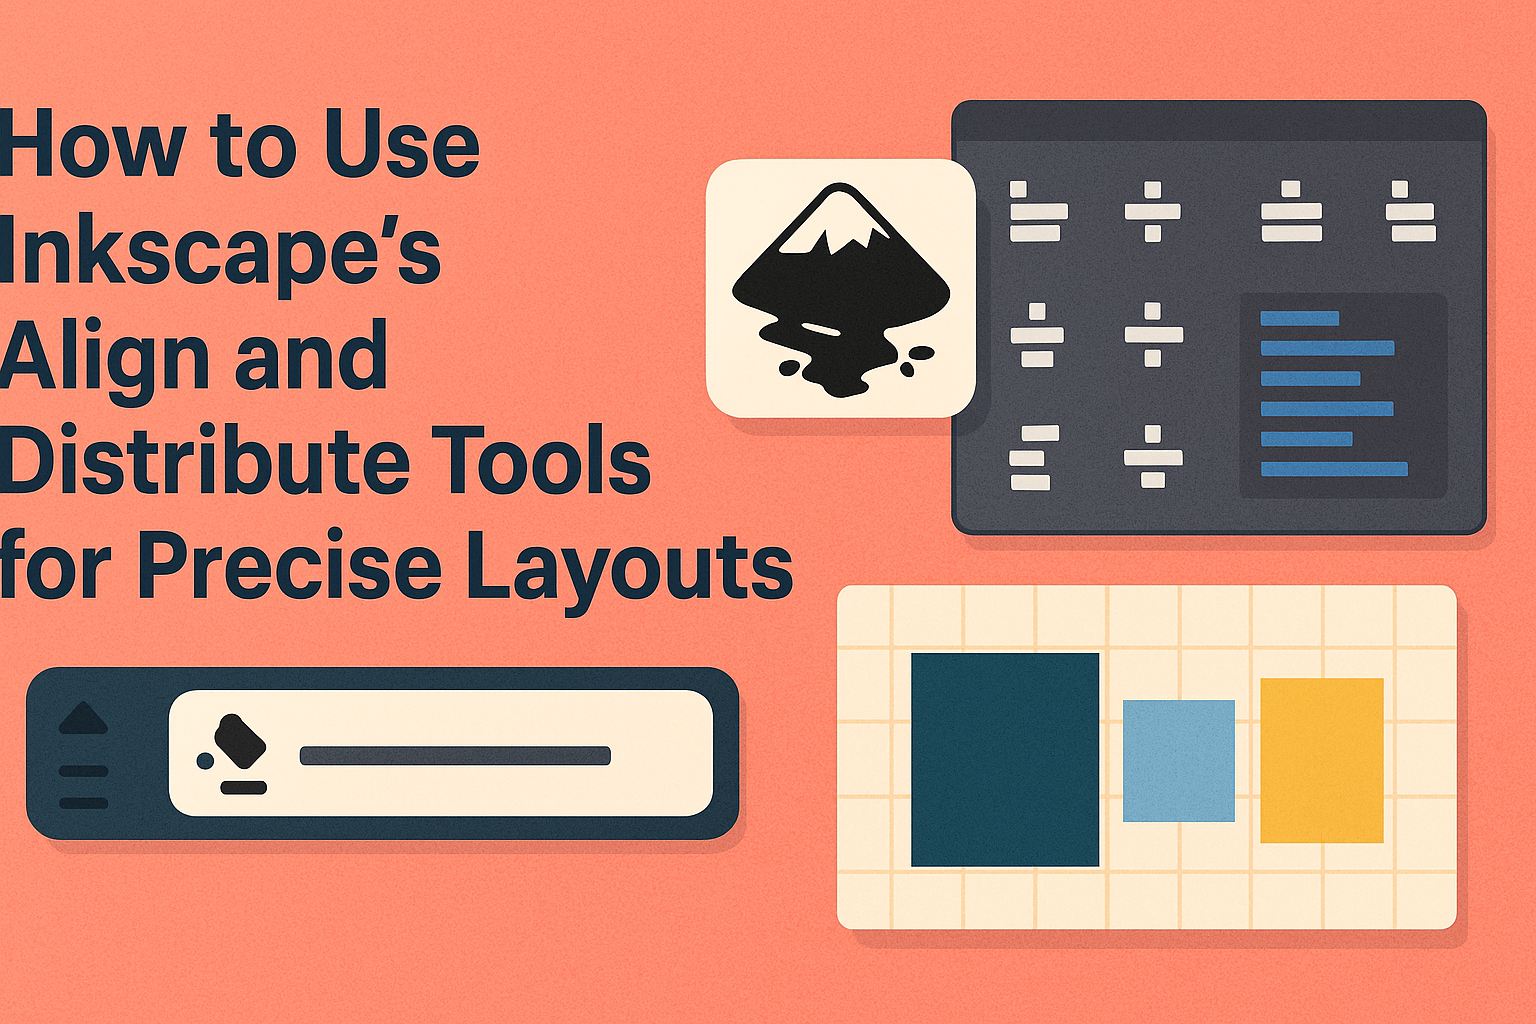
The Align and Distribute panel is a powerful feature in Inkscape that helps users achieve precision in their designs. Located on the right of the canvas, this panel enables the alignment of objects both vertically and horizontally, making it easy to organize elements on the page. Users can choose specific alignment options to control the positioning of nodes and objects.
This panel also allows the distribution of objects at equal distances, which is perfect for symmetrical designs. Selecting multiple nodes or objects and applying alignment options ensures that elements are spaced evenly. The Inkscape Beginners’ Guide provides detailed instructions on click-by-click actions to maximize the use of this tool.
Navigating Through Different Tool Options
Inkscape provides a wide range of tools that are accessible through the toolbox located on the left side of the user interface. Each tool serves a unique purpose, from creating shapes to editing nodes, allowing designers to craft intricate designs with ease. Hovering over each icon in the toolbox reveals its functionality, making navigation simple even for new users.
Switching between tools is straightforward and can significantly speed up the design process. Designers can also customize their workspace by docking panels and adjusting the layout to fit their workflow. The flexibility in organizing these tools helps users focus on creativity without being bogged down by a cluttered interface. For an in-depth look at the layout, check out the guide by Davies Media Design.
Getting Started with Align Tools
To achieve precise layouts in Inkscape, understanding how to use align tools is essential. This guide focuses on aligning objects to a common anchor and using relative alignment for multiple objects, enabling you to create harmony in your designs.
Aligning Objects to a Common Anchor
Aligning objects to a common anchor helps in maintaining consistency across your design. First, select the objects you want to align. The Align and Distribute dialog is your go-to tool for this purpose.
Choose an anchor point by selecting it from the drop-down menu. This anchor can be a page border, last selected, or first selected object. Depending on your choice, all other objects will align accordingly.
For instance, aligning to the last selected object ensures that every item falls in line with the position of that object. It’s especially useful when trying to create grids or balanced layouts. Make sure to explore different options in the dialog to see what gives the best result for your project.
Using Relative Alignment for Multiple Objects
When dealing with multiple objects, relative alignment ensures that each piece is spaced evenly without manually fiddling with their positions. First, highlight the objects you intend to align.
In the Align and Distribute dialog, pick the relative alignment settings. These options allow you to align objects based on their centers, edges, or even spacing between them.
This feature is perfect for projects involving numerous items where evenly distributed spacing is required, like making a row of icons look neat. By experimenting with the settings, such as aligning by center or edge, you can enhance the overall look of your project without tedious manual adjustments. This approach saves time and keeps your designs looking polished.
Mastering Distribute Tools
Distribute tools in Inkscape are essential for arranging objects with precision. They help make sure everything is spaced out evenly or aligned perfectly along a specific direction.
Evenly Spacing Objects
Creating even spaces between objects makes a design look tidy and professional. Inkscape’s Distribute tools handle this well. Users can select multiple objects and make sure they have equal gaps between them. This tool adjusts all spaces, so they are the same size, which avoids manual guesswork. To use this tool, select the objects, open the Align and Distribute dialog, and choose the appropriate distribute option.
These distribution options are especially helpful when working with complex designs, ensuring each element maintains the same distance from the next.
Distributing Objects Along an Axis
Positioning objects along a straight line is a common task in layout design. This feature helps organize objects to line up along a horizontal or vertical axis. Users select their objects, then access the Align and Distribute dialog to choose a distribution method.
For horizontal alignment, objects can be spaced evenly from left to right. For vertical alignment, they can be spaced evenly from top to bottom. This ensures precision and saves time when organizing elements in a structured pattern. These methods streamline the arrangement process for any design project.
Working with Groups and Layers
Using groups and layers in Inkscape helps in organizing and structuring your design. Grouping objects allows for simultaneous transformations, while layers enable more complex arrangements with ease. Let’s dive into aligning and distributing within groups and managing layers effectively.
Aligning and Distributing Within Groups
When working with groups, aligning and distributing objects efficiently is crucial. Grouping objects lets users manage multiple items as one. To align and distribute within a group, first select the objects you want to group and click on the “Group” option from the menu.
With the group selected, the align and distribute options become available. Use these to adjust the position of objects relative to one another. Objects within a group can be aligned vertically or horizontally, ensuring precise layout adjustments. It is essential to remember that aligning within a group only adjusts the objects inside the group without affecting objects outside the group.
By using these tools, users can maintain consistent spacing and alignment, making the design look professional and polished.
Managing Layers for Complex Layouts
In Inkscape, layers provide a powerful way to handle complex layouts. Layers can be created using the “Layers” menu, allowing different objects to be organized separately. This method helps manage designs where multiple overlapping elements exist.
With layers, users can hide or lock specific parts of their design for focused editing. For instance, they might lock a layer to prevent accidental changes or hide one to declutter the workspace temporarily.
Managing layer order is another critical aspect. Adjusting the stacking order of layers can change which items appear on top. To do this, drag and drop layers into the desired position in the layers panel. By effectively utilizing layers, users enhance their workflow, ensuring design elements remain organized and adjustable.
Advanced Techniques
Exploring advanced features in Inkscape’s Align and Distribute tools can enhance design precision. With shortcuts and the XML Editor, users can automate tasks and achieve high accuracy in their layouts.
Automating Layouts with Alignment Shortcuts
Inkscape offers several keyboard shortcuts to streamline the alignment process, which can save a lot of time. Shortcuts enable quick alignment of objects without constantly navigating menus. For example, pressing Shift+Ctrl+A opens the Align and Distribute dialog swiftly. Users can then set objects to align to the center, edges, or distribute them evenly with simple keyboard inputs.
Mastering these shortcuts is essential for designers who frequently adjust layouts. It not only speeds up workflow but also maintains consistency across design elements. Learning a few key shortcuts can significantly enhance productivity.
Using XML Editor for Precision
The XML Editor in Inkscape allows meticulous control over object properties and layout details. This tool is useful for designers who require pixel-perfect alignment and precision adjustments. Users can manually edit node values, offering a level of customization that isn’t possible with just the graphical user interface.
Accessing the XML Editor is straightforward: navigate to Edit > XML Editor. Within this panel, designers can alter coordinates, dimensions, and other attributes directly. This is particularly beneficial when aligning objects to exact specifications is crucial, providing an alternative to the usual drag-and-drop approach.
Utilizing the XML Editor is powerful for designing with high fidelity, especially when small errors in alignment can impact the final output. It offers a fine-tuned method for adjustments that may not be achievable through standard alignment tools.
Practical Applications
Inkscape’s Align and Distribute tools can streamline various design tasks. They are particularly useful when making business cards or setting up grids for web design.
Designing Business Cards
When creating business cards, aligning elements is key. Consistent spacing and alignment ensure a clean and professional look. Text boxes should be aligned accurately, both horizontally and vertically. This keeps information easy to read and visually appealing.
Images or logos often need precise placement to stand out without overshadowing other elements. With the Align and Distribute tools, designers can adjust the positioning of each component with precision. These tools allow for equal spacing and alignment by aligning objects based on the card’s edges or center.
Using these techniques, designers can produce unique and professional business cards efficiently.
Creating Custom Grids for Web Design
Web design often requires well-structured and balanced layouts. Custom grids are crucial for organizing elements in clear and uniform patterns. Align and Distribute tools can position text boxes, images, and other elements into these grids effortlessly.
By aligning objects along vertical or horizontal lines, designers can ensure cohesive and visually appealing web pages. Grid creation requires calculating equal distances between objects, a task these tools excel at. This results in balanced layouts that enhance user experience.
Ultimately, the tools provide the straightforward control needed for clean and attractive web designs, allowing for customizable and adaptable grid systems.
Troubleshooting Common Issues
Sometimes, users find that the align function doesn’t respond as expected. This can be frustrating, especially if the tools worked fine before. If this happens, try closing and reopening Inkscape. A simple restart can often solve unexpected glitches.
If aligning nodes seems tricky, ensure the Edit Nodes tool is selected. Without this selection, alignment options for nodes may not appear. Also, double-check that the elements intended for alignment are correctly selected with the direct selection tool.
Another common issue is spacing not distributing evenly. Users should confirm that all objects meant for equal distribution are selected. They may explore tips on aligning and distributing nodes to fix any distribution problems.
When precise positioning is needed, use the Align and Distribute dialog effectively. Often, positioning issues are resolved by verifying object reference points are set correctly. For more tips, understanding the alignment options can be helpful.
Lastly, if the tool behaves unpredictably, ensuring the software is updated to the latest version might fix several bugs. Outdated versions might lack certain features or updates that improve the alignment functionality.