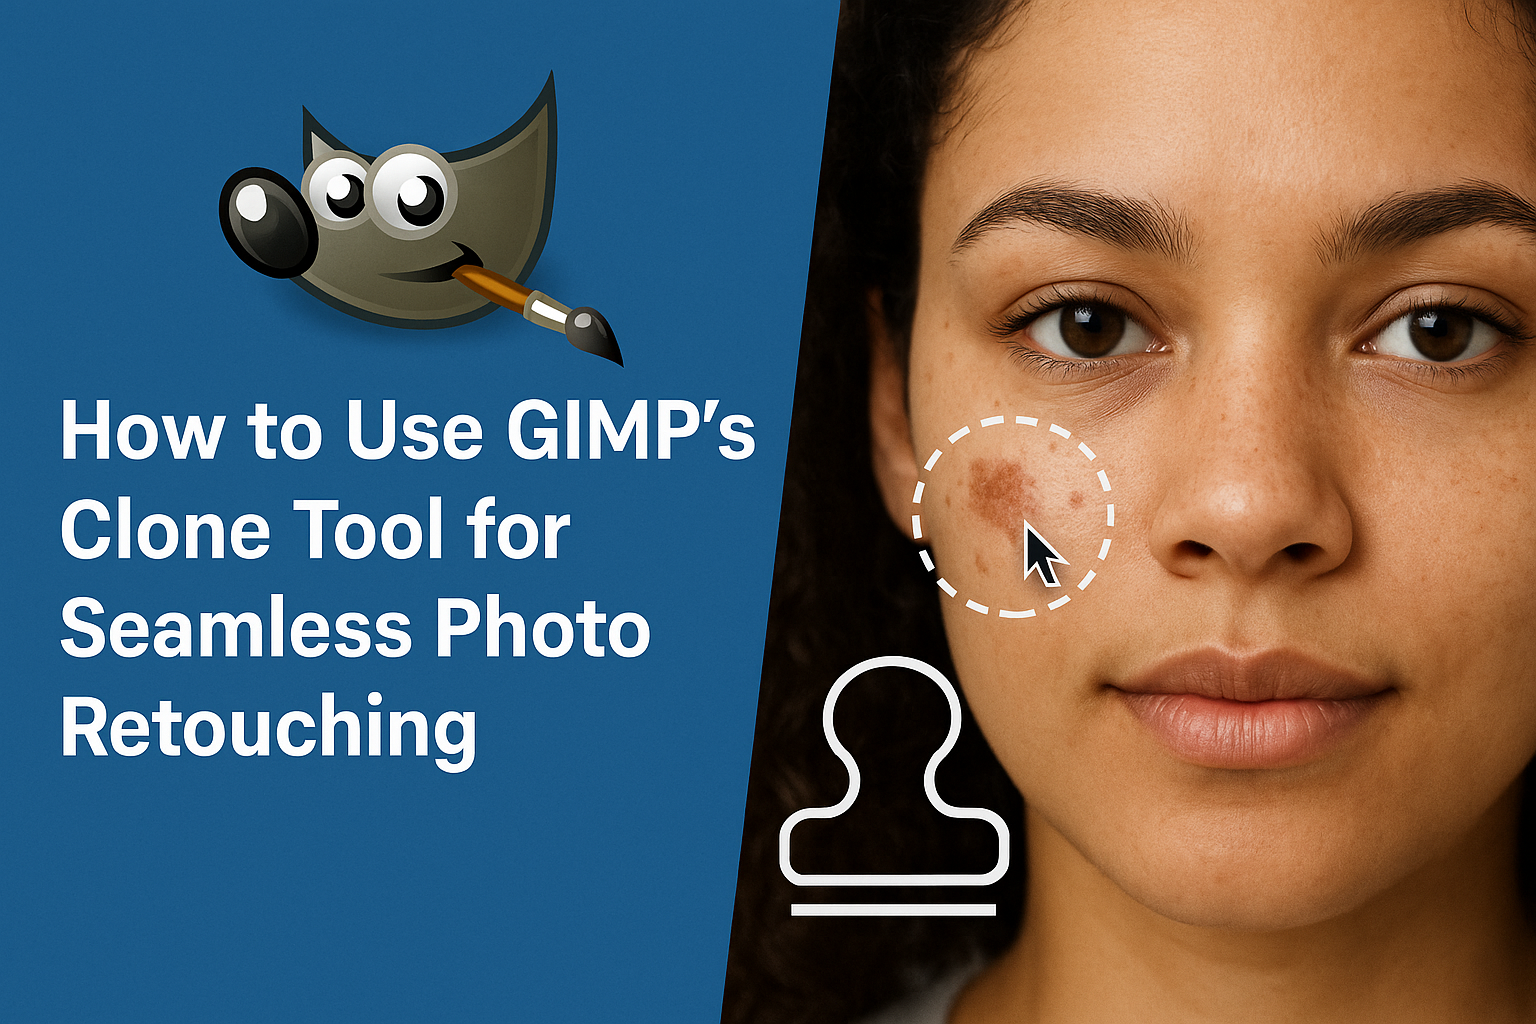
Photo retouching can bring new life to images that need a bit of polish. Among the tools available in GIMP, the Clone Tool stands out for its ability to make edits look seamless. Using GIMP’s Clone Tool allows you to copy parts of an image and paint over imperfections, making it ideal for repairing problematic areas in photos.
The Clone Tool is versatile, suitable for many tasks like removing blemishes or duplicating objects. Whether fixing small details or tackling larger edits, this tool is a go-to for photo enhancements. Its functionality is crucial for anyone looking to improve their photo editing skills.
For those familiar with GIMP’s interface, finding and using the Clone Tool is simple. Knowing where to start and how to apply the right techniques makes all the difference. This guide aims to show how to effectively use this powerful feature for the best results.
Understanding the Clone Tool
The Clone Tool in GIMP is a powerful feature used for photo retouching and duplication. It’s essential to understand its function and how it compares to the Healing Brush for effective photo editing.
What Is the Clone Tool?
The Clone Tool is used to copy pixels from one part of an image to another. This makes it ideal for removing unwanted elements or filling in gaps. Using the Clone Tool involves selecting a source point by holding down the CTRL key and clicking on the desired area. Then, the user can paint over the target area where they want to apply these pixels.
Adjustable brush settings allow for different effects that provide greater control over the retouching process. The tool is particularly useful for making realistic edits with ease. Adjustments can be made to the brush size, shape, and transparency to suit various needs. Mastering this tool can lead to seamless and photorealistic edits, enhancing overall image quality.
Clone Tool Vs. Healing Brush
The Clone Tool and the Healing Brush might seem similar but they have key differences. While the Clone Tool directly copies pixels, the Healing Brush blends the copied pixels with the underlying texture of the destination area. This makes the Healing Brush more suited for removing blemishes or objects in areas with complex textures.
The Healing Brush automatically analyzes the surrounding pixels to ensure a smooth blend. The Clone Tool, by contrast, requires the user to manually select the source, making it better for larger or precise areas.
Choosing between these tools depends on the task at hand. The Clone Tool is better when an exact match is needed, while the Healing Brush excels in achieving natural-looking results in textured areas.
Getting Started with GIMP
To effectively use GIMP’s Clone Tool for photo retouching, the first steps involve getting the software installed and understanding its layout. These foundational tasks ensure a smooth experience with the tool.
Downloading and Installing GIMP
To begin, visit the official GIMP website. Here, users can choose the version that matches their operating system, whether it’s Windows, macOS, or Linux.
Click the download button and follow the on-screen instructions to save the installer to your computer. Once downloaded, open the installer file.
The setup wizard will guide users through the installation process. It’s important to choose appropriate installation settings, such as the destination folder and additional components. After installation, run GIMP to check that everything is working correctly.
Familiarizing Yourself with the GIMP Interface
When GIMP opens, the interface may seem daunting at first. It typically features several panels and a menu bar, each serving a specific purpose.
The left side contains the Toolbox, which holds essential tools like the Clone Tool, while the right side houses options and layers. The top menu includes file operations and settings preferences.
Spend some time exploring these elements. Hovering over tools reveals tooltips, providing information on their uses. The interface can be customized to suit one’s workflow preferences. Rearranging panels or adjusting settings can make navigating GIMP easier.
Preparing Your Image for Retouching
Getting your image ready for retouching in GIMP involves careful setup. Keys steps include opening your image correctly and using layers to ensure flexibility and prevent errors.
Opening Your Image in GIMP
Opening an image in GIMP is simple. First, launch the program, then click on File from the top menu. Choose Open, and navigate to the folder where your image is stored. Select the image you wish to edit and click Open.
It’s important to check your image’s resolution. A high-resolution image provides better detail for retouching. Aim for at least 300 DPI for printing purposes. You can check this by going to Image > Print Size and adjusting if necessary.
Make sure your image is in the right color mode. GIMP supports several modes like RGB and Grayscale. For photo retouching, RGB is often the best choice. Change modes through Image > Mode if needed, guaranteeing vibrant colors.
Creating Layers for Non-Destructive Editing
Working with layers in GIMP offers more control. Start by opening your image and locating the Layers panel, usually on the right. If it’s not visible, press Ctrl+L to access it.
Create a new layer by clicking the New Layer button at the bottom of the panel. In the new layer options, choose Transparent to keep it empty. This layer will act as your working surface.
Duplicating the original image layer can be helpful, especially if you’re beginning with retouching. Right-click the image layer and select Duplicate Layer. This way, any modifications do not alter the original image. Using layers provides flexible editing and helps avoid permanent changes.
Using the Clone Tool
The Clone Tool in GIMP is essential for retouching photos by copying pixels from one part of an image to another. This process helps to remove imperfections and blend areas for a natural look.
Selecting the Clone Tool
To start, locate the Clone Tool in the toolbox. It usually looks like a rubber stamp icon. If it’s not visible, navigate to it through the menu by selecting Tools > Paint Tools > Clone. This tool’s flexibility makes it ideal for touching up photos.
Remember to look at the options that appear after selecting the tool. This ensures you have access to adjust settings as needed.
Adjusting Clone Tool Options
Once the Clone Tool is active, check the options under the toolbox. Key settings include brush size, hardness, and opacity. Adjusting the brush size helps to fit different areas needing work.
- Brush size: Determines the area affected.
- Hardness: Affects the softness of the edges.
- Opacity: Controls how transparent the cloned area is.
Explore these options to create desired effects efficiently.
Setting the Source Point
To clone effectively, you need to define a source point. This is where pixels will be copied from. Hold down the Ctrl key and click on the area you want as the source. This step is crucial to ensure you are using the right part of the image.
Select a source that matches the tone and texture of the area needing correction. This helps maintain consistency in the image.
Cloning from the Source
Begin the cloning process by clicking on the destination area. The cloned pixels will replace or blend with this part of the image. Drag the brush across the space, watching how it changes.
Notice how edits can be subtle or significant based on the selected settings. Tapping the brush instead of dragging can give more control in smaller areas. Try different techniques to achieve the best results for each photo.
Advanced Cloning Techniques
In GIMP, advanced cloning techniques can greatly improve the quality of photo retouching. These techniques involve using multiple source points and working on separate layers to enhance precision and control. By mastering these, users can achieve more natural and seamless edits.
Working with Multiple Source Points
Using multiple source points in the Clone tool adds flexibility and precision. Instead of cloning from one part of the image, users can set different areas as source points. This approach allows for more varied texture and color application, making edits look more natural.
To set multiple source points, hold down the Ctrl key (or Command key on a Mac) and click on several areas you want to use. Switching between these points as you paint can help blend elements smoothly, especially when dealing with complex backgrounds or skin tones.
With multiple sources, make sure to frequently change points to avoid repetitive patterns or noticeable lines. Using a combination of hard and soft brushes can also help in blending, ensuring a seamless appearance.
Cloning on Separate Layers
Cloning on separate layers can make the retouching process non-destructive. By working on new layers, users can always return to the original image without losing information. This technique provides more control over blending and opacity adjustments.
Start by creating a new layer for the cloning edits. When using the Clone tool, set the Tool Options to sample all layers. This way, cloning draws information from the original image, but the changes are applied only to the new layer.
Adjust the opacity of the cloning layer to blend the edits naturally with the background. Add layer masks for even finer control over specific areas, helping achieve a polished final look.
Refining Your Edits
When using GIMP’s Clone Tool, refining edits is key to achieving seamless photo retouching. This involves using layer masks for precision and blending clone areas with nearby pixels to ensure a natural look.
Using Layer Masks for Precise Control
Layer masks offer an effective way to refine clone edits with great accuracy. By applying a layer mask, users can control where the cloned pixels appear without altering the original image directly. This technique is especially useful for detailed retouching such as adjusting facial features or intricate backgrounds.
To use a layer mask, first create a duplicate layer of the image. Then apply the Clone Tool on this new layer. After cloning, add a layer mask to the duplicate. Use a soft brush to paint on the mask with black to hide parts of the clone effect, and white to reveal more if needed.
This method allows for non-destructive editing, letting users tweak their adjustments until satisfied. It’s possible to toggle between masking and cloning to find the perfect blend.
Blending Clone Areas with Neighboring Pixels
Blending cloned areas with surrounding pixels ensures a smooth transition. Pay attention to texture, color, and brightness for a natural edit. Misaligned lighting can make spots look obvious and unnatural, thus careful matching is important.
Start by looking closely at the details surrounding the area to clone. Use soft, feathered edges on the Clone Tool to gently layer pixels onto the source area.
For further enhancement, tweak the opacity levels of the cloned layer. This allows the cloned content to subtly merge with the background. Techniques such as these maintain visual consistency and realism, making the edits virtually undetectable to the casual viewer.
Practical Tips for Better Retouching
Mastering photo retouching with GIMP’s Clone Tool involves several techniques. These tips focus on improving detail work, creating more natural edits, and ensuring your progress is secure.
Zooming and Panning for Detailed Work
For precise retouching, zooming is essential. Zooming in makes it easier to see and edit tiny imperfections. Users can hold the Ctrl key and scroll the mouse wheel, or use the magnification tool to zoom in on specific areas.
Panning around the image ensures that they don’t lose their place. Holding the spacebar while dragging the mouse allows one to move quickly across the canvas. This combination of zooming and panning helps maintain focus on fine details and improves accuracy during edits.
Using a Tablet for More Natural Strokes
Using a graphics tablet can make retouching more intuitive and natural. A tablet provides pen-like precision, making strokes smooth and accurate. It responds to pressure sensitivity, which mimics real drawing pressure and can greatly enhance control over the size and transparency of the Clone Tool’s strokes.
Selecting a comfortable pen size and setting up the tablet’s sensitivity according to personal preference helps in achieving cleaner lines and smoother textures. This setup is ideal for users who aim for a professional touch in their photo edits.
Continually Saving Your Work
Regular saves are a lifesaver in any digital editing workflow. GIMP users can press Ctrl + S frequently to secure their progress. It’s wise to save under different filenames for significant milestones, enabling the safety of previous versions.
Setting up auto-save features can prevent data loss from unexpected crashes. The auto-save can be adjusted in the preferences menu, offering peace of mind and ensuring that no hard work is accidentally lost. Keeping backups will safeguard against errors and ensure a smooth retouching process.