Using Canva’s advanced formatting tools makes it easy to create polished and professional designs. By adjusting font styles, colors, spacing, and effects, anyone can enhance the look of their text to fit any project. This helps make designs stand out without needing expert skills.
Many users don’t realize Canva offers features like kerning, ligatures, and text effects that add a unique touch. Knowing how to use these options can improve readability and give a design a cleaner, more balanced feel. It also allows for more creative control over the final look.
Exploring these tools doesn’t take long, but it can make a big difference in the quality of the design. Whether working on social media posts, presentations, or invitations, mastering Canva’s formatting options can save time and make text look sharper.
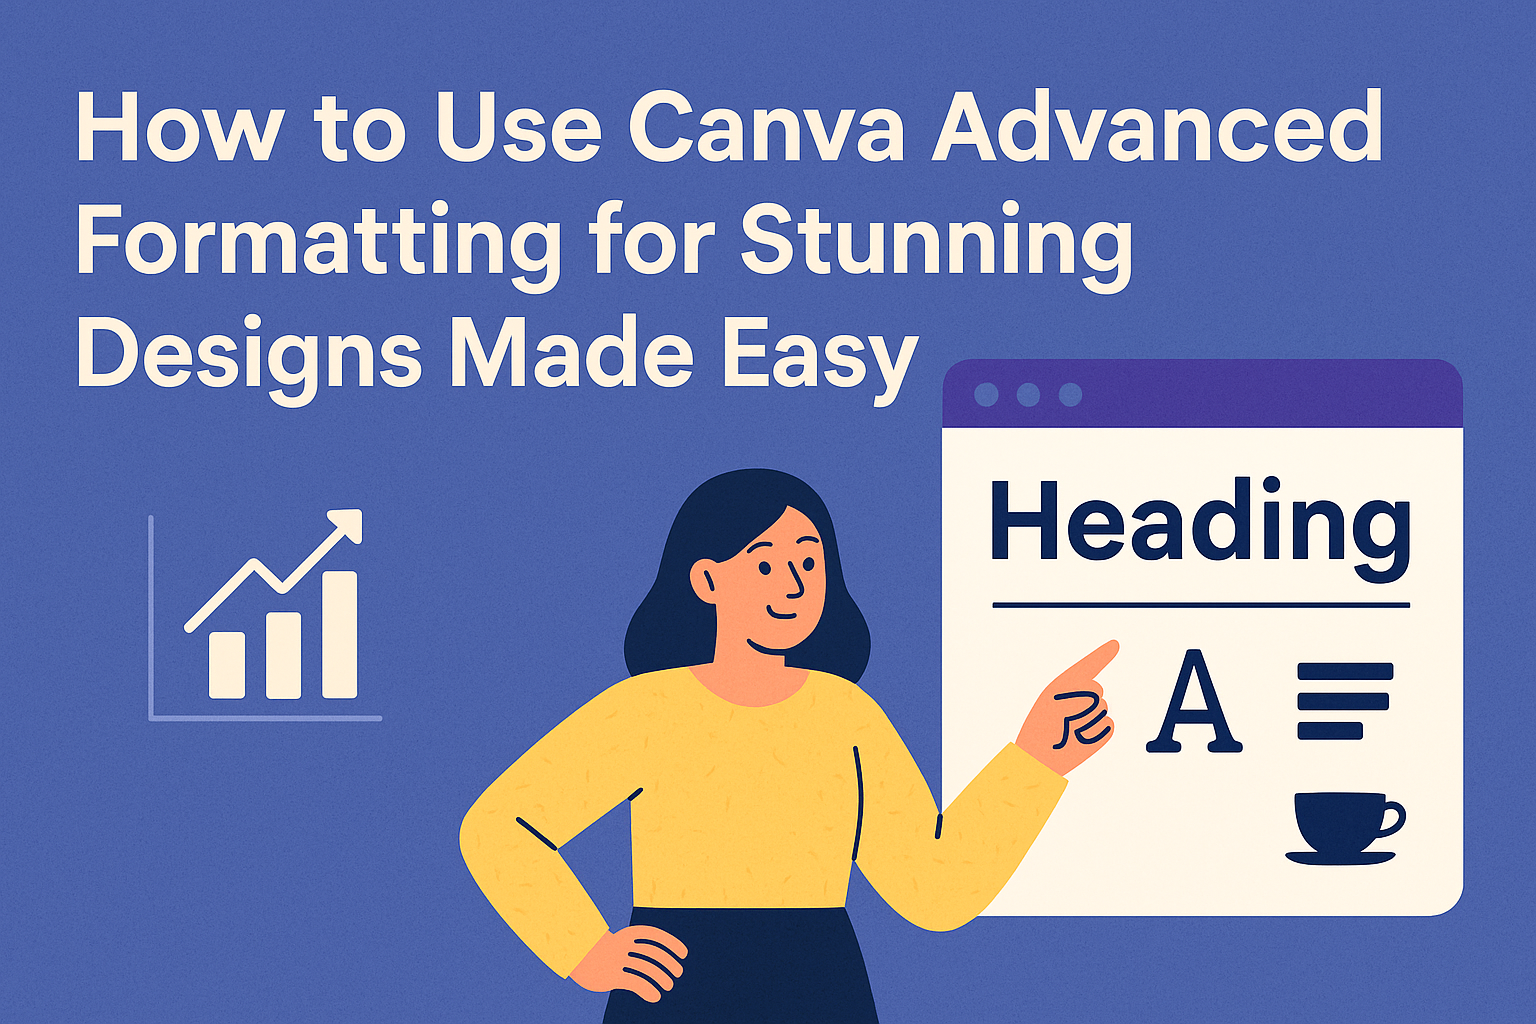
Getting Started With Canva Advanced Formatting
Canva’s advanced formatting tools give users more control over text style and layout. These tools include options like superscript, letter spacing, and text effects. Knowing how to access these features and work within the editor makes designing smoother.
Accessing Advanced Tools
To use advanced formatting in Canva, the user must first select a text box. After this, an “Advanced formatting” icon appears in the toolbar above the canvas. Clicking this icon opens a dropdown menu with options like superscript, subscript, and spacing adjustments.
Sometimes these tools may be visible only in Canva Pro or higher plans. Users need to make sure they are logged in and have the right plan to access all advanced features. These tools help customize text beyond simple font changes, creating more precise designs.
Supported File Types and Templates
Canva supports many file types for text and images, including PNG, JPG, PDF, and SVG. Users can start with blank documents or choose from thousands of templates designed for presentations, social media, or printed materials.
Templates come pre-formatted, but users can apply advanced text tools to tweak spacing, alignment, or add superscripts. This flexibility helps users save time while also customizing designs to their needs without starting from scratch.
Navigating the Editor Interface
The Canva editor is clean and user-friendly. The text formatting toolbar runs across the top when a text box is selected. Users find basic options like font size and color alongside advanced formatting under the dropdown menu.
Panels on the left let users add elements, upload files, or pick templates. The right-click menu also offers quick access to duplication or layering options. Mastering this interface allows users to format text quickly and keep creative flow going. For a detailed tutorial, users can check out the Canva Help Center on formatting text.
Customizing Text With Advanced Formatting
Text customization in Canva goes beyond just picking fonts. It includes adjusting effects, spacing, and alignment to make designs look polished. Users can also add new fonts and manage existing ones for more unique styles.
Using Text Effects and Styles
Canva lets users apply effects like shadows, glows, and lifts to text. These effects help make text stand out and add depth. Users can also use styles such as bold, italic, and uppercase to change the text’s look quickly.
To apply an effect, they select the text, click on the effects panel, and choose the option. Adjusting the intensity of shadows or glows can create subtle or bold results. Combining different styles enhances the design without overcrowding the text.
Applying Text Spacing and Alignment
Spacing controls the distance between letters and lines. Canva’s advanced options let users tweak letter spacing (tracking) and line height (leading) for better readability.
Alignment options include left, center, right, or justified. These settings help direct the reader’s attention in the right way. For example, center alignment works well for headings, while left alignment is good for paragraphs.
Users can access these controls in the text editing menu, adjusting values until the text looks balanced within the design frame.
Adding and Managing Fonts
Users can add new fonts by uploading font files directly to Canva. This feature allows for brand consistency or personalized designs. After uploading, fonts appear in the font dropdown for easy access.
Managing fonts includes organizing favorites or removing unused ones. Users can also switch fonts on the fly by clicking the text box and choosing from the font list.
This flexibility helps create unique styles that fit the project’s needs. For more details on font adding and management, users can visit How to Add Font Style in Canva.
Working With Shapes and Elements
Shapes and elements in Canva can be arranged and customized to create clear and engaging designs. They can be stacked, combined, or adjusted to fit a specific look. Mastering color changes, layering, and transparency will help make designs stand out.
Layering and Grouping Objects
Layering means stacking shapes or images on top of each other. Canva lets users move objects forward or backward with simple commands. This helps to arrange elements, so nothing blocks important parts of the design.
Grouping objects makes moving multiple elements easier. Once grouped, they can be resized or shifted together instead of one by one. This saves time and keeps designs organized.
To layer or group, select the object or objects. Use the “Position” tool to change their order or the “Group” button to combine them. This feature is key when working with many shapes or detailed layouts.
Customizing Colors and Gradients
Colors can be changed easily in Canva by selecting a shape and picking a new color from the palette. Users can enter exact hex codes to match brand colors perfectly. This keeps designs consistent and professional.
Gradients add a smooth color transition between two or more colors. Canva offers gradient options in the color menu. Applying gradients can make shapes more dynamic and visually appealing.
For precise color work, users can save custom color palettes. This feature helps when using multiple colors across a project, ensuring everything matches well.
Using Transparency and Blending Modes
Transparency adjusts how see-through an element is. Lowering transparency can soften shapes or allow background images to show through. Canva makes it easy to slide transparency up or down with a simple control.
Blending modes affect how colors and shapes mix together. Though Canva has limited blending options, applying effects like multiply or screen can change the look of overlapping shapes. This can add depth or highlight parts of a design.
Using transparency and blending cleverly improves the visual balance of a design without overcomplicating it. These tools work well for backgrounds, logos, and layered graphics.
More details on adding and manipulating shapes are available on Working with Shapes in Canva.
Layout and Design Techniques
Good layout helps keep everything balanced and clear. Using tools to arrange elements properly makes designs look professional. Adjusting sizes and positions ensures the final image fits the message well.
Utilizing Grids and Guides
Grids and guides help line up text, images, and other elements precisely. They create invisible sections that keep content aligned. This prevents uneven spacing and makes the design easier to read.
Users can turn on grids and guides in Canva’s view settings. Once activated, these lines help snap elements into place. This is useful when creating symmetrical layouts or making sure spacing is consistent across the design.
They can also set custom margins or columns using guides. This allows for more control in complex projects like brochures or multi-page documents. Using grids and guides reduces the chance of mistakes and saves time during editing.
Creating Custom Layouts
Custom layouts let designers organize elements in unique ways for specific needs. Canva allows dragging and dropping objects to new positions, breaking free from preset templates.
Users can start with a blank canvas or modify templates by adding or removing blocks. Grouping several elements helps to move or resize them as one unit, which keeps the layout tidy.
Adjusting layer order is important too. It controls which elements appear on top or behind others and affects the design’s depth. Mastering these tools helps create original and clear designs that fit the message perfectly.
Resizing and Cropping Elements
Resizing is key when elements need to fit better or highlight details. Canva allows quick resizing by dragging corners while holding shift to keep proportions.
Cropping lets users remove unwanted parts of an image. They can double-click the image and drag edges to focus on important areas, improving composition.
Combined, resizing and cropping help balance visuals without losing quality. Using these tools properly keeps designs neat and sharp, avoiding awkward or stretched images. For more on text options and effects, a Canva Help guide covers advanced formatting.
Advanced Image and Media Editing
Editing images and media in Canva lets users create polished and dynamic designs. They can change colors, brightness, and add special effects. Videos and animations can also be included to make designs more engaging.
Applying Filters and Effects
Canva offers many filters to instantly change the look of an image. Users can choose from options like grayscale, sepia, or summer glow. Each filter adjusts colors and contrast to create mood.
Effects go deeper than filters. People can remove backgrounds, add shadows, or blur parts of an image. To apply effects, they select the image, click “Effects,” and choose options like Background Remover or Duotone.
Adjusting the strength of filters and combining multiple effects helps create unique visuals. This control gives designers flexibility without needing other software.
Adjusting Image Properties
Users can fine-tune images by changing brightness, contrast, saturation, and tint. These controls improve clarity or set a style.
In Canva, sliders make adjusting simple and precise. Increasing brightness makes images lighter, while contrast sharpens differences between light and dark.
Tinting lets users add a color overlay, such as blue or pink, to unify designs. Small changes in these properties can make a big difference in how an image fits the overall project.
Integrating Videos and Animations
Canva supports uploading videos and adding animations directly to designs. This helps make presentations or social media posts more lively.
Users can trim videos, mute sounds, and convert formats within Canva. To add animations, they choose elements or text and apply preset motion effects.
Combining still images with videos or animated text can create professional and eye-catching designs without needing separate tools. These features are easy to use and save time.
For more details on editing photos and videos in Canva, see Edit photos and videos – Canva Design School.
Collaboration and Workflow Tips
Effective teamwork on Canva depends on clear project sharing, keeping track of changes, and exporting files in the right format. These steps help everyone stay organized and ensure the design fits the end use.
Sharing and Commenting on Projects
Canva lets users share projects easily by sending links with different permission levels. They can allow others to view, comment, or edit. This keeps designs safe while letting the right people contribute.
Comments can be added directly on the design. They help the team give specific feedback without changing the actual work. Notifications alert team members when new comments appear, making communication faster.
Users can also tag teammates in comments to quickly grab their attention. This makes collaboration clearer and avoids confusion over suggestions or questions.
Version Control and History
Canva automatically saves every change, so users can track design progress with the version history. They can compare older versions and restore previous ones if needed. This prevents loss of work or mistakes.
The version history shows who made each edit and when. This feature is useful in team projects to understand contributions and resolve conflicts.
To manage versions well, it helps to name key versions, especially after big changes. This makes finding the right version faster without scrolling through every edit.
Exporting Designs in Various Formats
Exporting in the correct format is crucial for using designs on different platforms. Canva supports multiple formats like PNG, JPG, PDF, and even MP4 for animations.
Users should pick PNG for high-quality images, JPG for smaller file sizes, and PDF for print-ready files.
Options like transparent backgrounds or compressing files are available during export. These choices help tailor the design to fit the project’s needs.
For example, presentations often export as PDF slides, while animated posts use MP4 video format.
Best Practices for Professional Results
To get the most polished look in Canva, it’s important to focus on clear design rules and work efficiently. These include using consistent colors and fonts and mastering shortcuts to speed up the process.
Maintaining Brand Consistency
Keeping brand colors and fonts the same across all designs helps create a professional feel. Canva lets users save brand kits with logos, colors, and fonts.
Using exact color codes avoids differences in shade. It’s best to stick to two or three fonts for all your projects. Mixing too many font styles can make designs look messy.
Users should also apply consistent spacing and alignment. Canva’s ruler and grid tools help keep everything neat and balanced.
Time-Saving Shortcuts
Learning keyboard shortcuts in Canva speeds up editing a lot. For example, pressing T adds a new text box instantly. Using Ctrl + D (Cmd + D on Mac) duplicates selected elements quickly.
Grouping elements lets users move or resize several items at once, which is helpful for complex designs. Drag-and-drop features also make uploading images fast.
Using Canva’s built-in layers helps select and edit specific elements without affecting others. This saves time and reduces errors when working with multiple objects.
For more detailed shortcut tips, check this Canva tips and tricks guide.