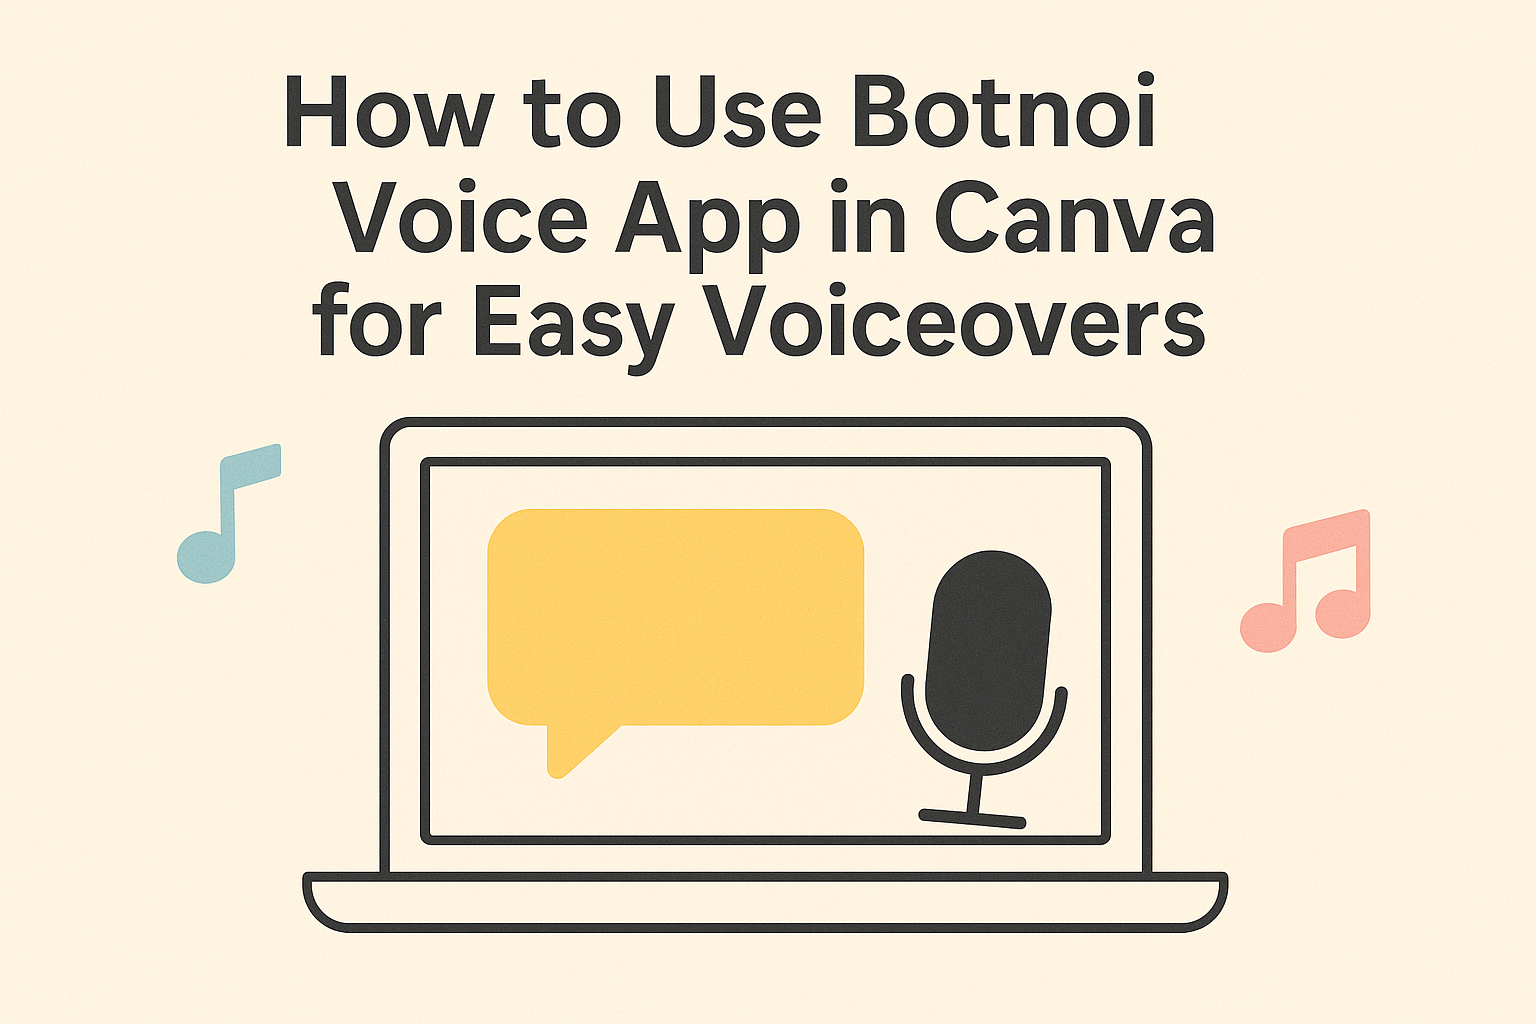
Using Botnoi Voice in Canva lets users add realistic voiceovers to their designs quickly and easily. They just need to open Canva, choose their project type, create their design, and then convert text into lifelike speech using Botnoi Voice. This makes videos, presentations, and other creations more engaging without needing special audio skills.
Botnoi Voice offers over 100 voices in more than 10 languages, so users can find the perfect sound for any project. It works well for teachers, creators, and business owners who want to bring their ideas to life with clear, natural-sounding narration.
Anyone can get started right away by integrating Botnoi Voice within Canva, making the whole process smooth and simple. This tool fits easily into everyday workflows and helps designs stand out with professional audio.
Getting Started with Botnoi Voice App
Botnoi Voice app helps users create realistic voiceovers easily right inside Canva. To begin, you need to set up an account, add the app to your Canva workspace, and learn how to find and use its main features.
Creating a Botnoi Voice Account
First, users should visit the Botnoi Voice website or app store. Signing up is simple and free credits are provided to try the features. The process only requires basic information like an email and a password.
After registering, users confirm their email before logging in. This account lets them save projects and access different voice options across devices. Botnoi Voice supports selecting voices and languages once logged in, so setting up an account is key to customizing audio.
Installing Botnoi Voice App
To add Botnoi Voice inside Canva, users open Canva and click on the “Apps” section in the side menu. Then, they type “Botnoi Voice” in the search bar, which shows the app for easy install.
After selecting it, clicking “Use” or “Add” integrates the app into Canva. There is no need to download extra software because it works fully within Canva. This makes adding voiceovers to designs quick and hassle-free.
Basic Navigation Overview
When Botnoi Voice is active in Canva, its panel appears on the side. Users can enter text directly into a box and pick voice styles or languages from dropdown menus.
There are controls for adjusting speech speed and tone to fit the project. Once ready, pressing the “Speak” button generates the audio. The generated voiceover files can be previewed, downloaded, or added directly to design slides.
This easy layout helps users get voiceovers done fast without juggling multiple windows. For step-by-step help, Botnoi Voice offers guides and tutorials within the app.
Learn more about adding voiceovers using Botnoi Voice on Canva at the official Botnoi Voice page.
Integrating Botnoi Voice App with Canva
Using Botnoi Voice with Canva allows users to add realistic voiceovers directly to their projects. This integration involves connecting the app, setting permissions, and knowing which devices support the feature.
How to Connect Botnoi Voice to Canva
To start, the user needs to open Canva and go to the “Apps” section. From there, they can search for Botnoi Voice and click “Add.” Once added, it appears in the project editor, ready to use.
After adding Botnoi Voice, the user types or pastes the text they want to turn into speech. The app then offers a selection of voices to choose from before generating the audio. This process works smoothly within Canva’s design interface without needing extra software.
Granting Permissions for Seamless Use
When using Botnoi Voice for the first time, Canva may ask for certain permissions. These include access to the microphone and audio controls to play and edit voiceovers.
Granting these permissions is key to recording or previewing voice tracks without errors. Users should ensure they allow access quickly when prompted to avoid interruptions. The app only requests essential permissions for its voice features.
Supported Devices and Platforms
Botnoi Voice works on both desktop and mobile versions of Canva. It is compatible with popular browsers like Chrome and Firefox on Windows and Mac systems.
On mobile, it supports iOS and Android devices through the Canva app. However, performance and feature availability may vary slightly by device. Users should keep their Canva app updated for the best experience.
More details are available on the Botnoi Voice and Canva integration page.
Generating Voiceovers in Canva
Creating voiceovers in Canva using Botnoi Voice requires selecting the text you want to turn into speech, picking the right voice style, and checking the output carefully. These steps make sure the voiceover sounds natural and fits the project perfectly.
Selecting Text Elements in Canva
To start, users open their design in Canva and click on the text box they want to convert into a voiceover. It’s important to select a text element that is clear and final, as the voiceover is based exactly on the words in that box.
If the text is long, breaking it into smaller parts can help create more natural pauses in the speech. Botnoi Voice works best with well-organized text. Users should avoid leaving typos or unfinished sentences to make the voiceover sound smooth.
Choosing Voice Styles in Botnoi Voice
After selecting text, users open the Botnoi Voice app inside Canva. They can choose from over 80 different voices in multiple languages. Each voice has unique qualities like tone, pitch, and accent.
Users should listen to short samples before applying a voice to their project. Picking a style that matches the content’s mood, whether formal or casual, improves how the message is received. The voices are AI-powered and aim to sound lifelike, so small tweaks like speech speed can be adjusted here.
Previewing and Editing Voice Outputs
Once the voice style is set, the generated audio can be previewed directly in Canva. Listening carefully helps to catch any mistakes or awkward phrases. If something sounds off, users can go back, edit the text, or switch voices.
Botnoi Voice allows easy re-generation of the voiceover if needed. Users can also download the audio files for later use. This step ensures the final voiceover fits well with the rest of the design before sharing or publishing.
For more detailed guidance, see the Botnoi Voice app on Canva.
Customizing Audio Options
Users can change voice speed and pitch to match the mood of their project. They can also pick voices in different languages and accents to make their designs more unique and engaging.
Adjusting Speech Speed and Pitch
Botnoi Voice lets users control how fast or slow the voice talks. This helps make the speech easier to understand or fits a specific tone. For example, slowing down the voice can make complex information clearer, while speeding it up can add energy.
Pitch can also be raised or lowered to change how the voice sounds. A higher pitch can make the voice sound lighter or more playful. A lower pitch adds seriousness or warmth. These settings are simple sliders that users adjust until the voice sounds just right.
Using Multiple Languages or Accents
Botnoi Voice offers over 10 languages and many accents to choose from. This allows users to create voiceovers targeted at specific audiences. For example, they can pick British English, American English, or even Spanish with a regional accent.
Switching languages and accents is easy inside Canva. Users select their desired voice, and the app adjusts the pronunciation automatically. This feature is helpful for projects that need real-sounding voices for different cultures or to practice language learning.
Adding Botnoi Voice Audio to Canva Designs
Adding Botnoi Voice audio to Canva designs involves bringing the voice files into the project and making sure they match the visuals well. This means handling the audio files properly and timing the voiceovers with images, texts, or animations.
Importing Audio Files into Canva Projects
To add Botnoi Voice audio, users first export the voiceover from the Botnoi Voice app as an audio file, usually in MP3 or WAV format. Then, they open their Canva project and use the Upload button to import the file.
Once uploaded, the audio appears in the “Uploads” section. Users drag it onto the timeline or design page. Canva allows trimming or adjusting the length right inside the editor to fit the project’s needs.
It’s important to name and organize audio files clearly, especially when working on bigger projects with multiple voice clips. This helps keep track of what belongs where without confusion.
Syncing Voiceovers with Visual Elements
After importing the audio, syncing it with visuals is key. Users can move the audio clip along Canva’s timeline to match the voice with slides, animations, or image highlights.
They should play the presentation or video while adjusting the audio placement to make sure the voiceover starts and ends at the right moments. Canva also offers simple volume controls if the audio needs lowering or raising.
Adding pauses or splitting the audio track helps when syncing longer voice clips to several scenes. This way, the voice matches the flow without rushing or lagging behind important visual points.
Users can layer sounds, combining Botnoi Voice with background music or sound effects directly in Canva for a richer experience.
For detailed steps on importing and syncing, users can explore Botnoi Voice on Canva.
Tips for Enhancing Content with Botnoi Voice App
Using Botnoi Voice in Canva can bring designs to life with clear and natural-sounding audio. Paying attention to script writing and how the voice engages listeners will make content more effective and enjoyable.
Best Practices for Voiceover Scripts
A good script is short, simple, and easy to understand. It should use everyday words and avoid long, complex sentences. This helps the voice sound natural and keeps the listener’s attention.
Breaking the text into small chunks or phrases works best. It allows the voice to pause naturally, just like a real person talking. Adding punctuation marks like commas and periods carefully guides the speech rhythm.
It’s also important to keep the script focused on one idea at a time. Using clear instructions or emphasizing key points can make the message stronger and easier to follow.
Improving Audience Engagement
Using Botnoi Voice, it helps to match the voice style with the audience. For example, a friendly and warm tone works well for tutorials, while a professional tone is good for business presentations.
Adjusting the speed and pitch of the voice can make the audio more interesting. Slowing down for important parts or speeding up for quick facts keeps listeners involved.
Adding background music or sound effects in Canva alongside the voiceover can make content more exciting. But the voice should always be clear and easy to hear over anything else.
Troubleshooting Common Issues
Users may face problems like voice playback not working or errors when connecting Botnoi Voice with Canva. Knowing simple fixes can save time and help keep projects moving smoothly.
Resolving Playback Problems
If the voiceover doesn’t play, the first step is to check the device’s volume settings. Sometimes, the sound is muted or set too low.
Next, ensure the browser or app is updated to the latest version. Older versions can cause issues with audio playback.
Clearing the browser cache or restarting the Canva app often fixes temporary glitches. Also, test on a different browser or device to rule out local problems.
If these steps don’t work, checking internet speed is helpful. Slow connections can interrupt voice loading or cause choppy audio.
Fixing Integration Errors
Integration problems may occur when Botnoi Voice isn’t properly connected to Canva. Sign out of both platforms and then sign back in.
Users should confirm that Botnoi Voice permissions are correctly granted within Canva’s app settings. Without these, the voice feature will not operate.
Reinstalling the Botnoi Voice app inside Canva can clear corrupted files or misconfigurations.
If the issue persists, reviewing the official Botnoi Voice user guide can offer detailed steps tailored to specific errors.
Exploring Advanced Features
Botnoi Voice in Canva offers several advanced features that make voiceovers more dynamic and customizable. Users can select from over 100 realistic voices in more than 10 languages, allowing for a wide variety of tones and accents.
The app lets users adjust speech speed and pitch to better match the mood of their project. This helps create more natural and engaging voiceovers, whether for videos, presentations, or animations.
There is also a feature to add pauses at specific points in the text. This makes the speech sound less robotic and easier to follow. Botnoi Voice supports different voice styles, such as professional, casual, or energetic, to fit the content type.
Users can preview their voiceover instantly before adding it to their design. Plus, the voice clips can be trimmed or repeated to fit the length needed.
Here is a quick overview of key features:
| Feature | Description |
|---|---|
| Voice Selection | 100+ voices in 10+ languages |
| Speech Adjustments | Control speed, pitch, and pauses |
| Style Options | Choose voice moods like casual or professional |
| Instant Preview | Listen to voiceover before adding to design |