Finding free elements on Canva can be a game-changer for anyone looking to enhance their design projects without spending extra money.
To search for only free elements, users can type specific codes like brand
By just focusing on the free resources available, users can access a wide range of design elements, from photos to graphics, that suit their creative needs. This makes designing more accessible for everyone, whether they are working on social media posts, presentations, or personal projects.
With these easy steps, creating stunning designs in Canva becomes more accessible. Discovering how to filter for free elements can significantly enhance a user’s experience, making the process both budget-friendly and enjoyable.
Getting Started with Canva
Getting started with Canva is easy and fun. Users can create a free account to explore the platform’s features and understand the layout of the Canva interface.
Creating a Free Canva Account
To begin using Canva, users must first create a free account. This can be done by visiting the Canva website and clicking on the “Sign Up” button.
Users can register using their email address or connect through Google or Facebook accounts.
Once the account is set up, they can access a vast library of templates and design elements.
It’s a good idea to start by exploring these resources to get an idea of what Canva offers. The platform is designed to be user-friendly, so new users can quickly start working on their projects.
Overview of Canva’s Interface
Canva’s interface is intuitive, with a clear layout that helps users find what they need quickly.
The home screen displays options for creating designs, accessing templates, and viewing recent projects.
On the left side, there is a menu where users can manage designs, brand kits, and folders.
The design editor is where users do most of their creative work. It includes a toolbar on the left for adding elements like text, photos, and shapes.
The central canvas is for designing and editing. Users can easily drag and drop elements or use the design tools to customize their work.
Exploring Free Elements in Canva
Discovering free elements in Canva can enhance your design projects without needing to spend extra. By understanding the categories, using the search feature, and applying filters, users can access a wide range of free graphics, templates, and more.
Understanding Canva’s Element Categories
Canva offers various element categories, which include graphics, photos, text, videos, and audio. Each category serves different design needs and adding them can make your projects more engaging.
Graphics are useful for icons, illustrations, and shapes. Photos can enhance backgrounds or highlight certain aspects of a design. Text elements are vital for titles, subtitles, and body text. Videos and audio can bring dynamic elements into the designs.
Understanding these categories helps users find the right elements quickly, enhancing creativity and design flow. Thus, knowing the purpose of each category can significantly streamline the design process, making it easier to focus on creativity rather than searching.
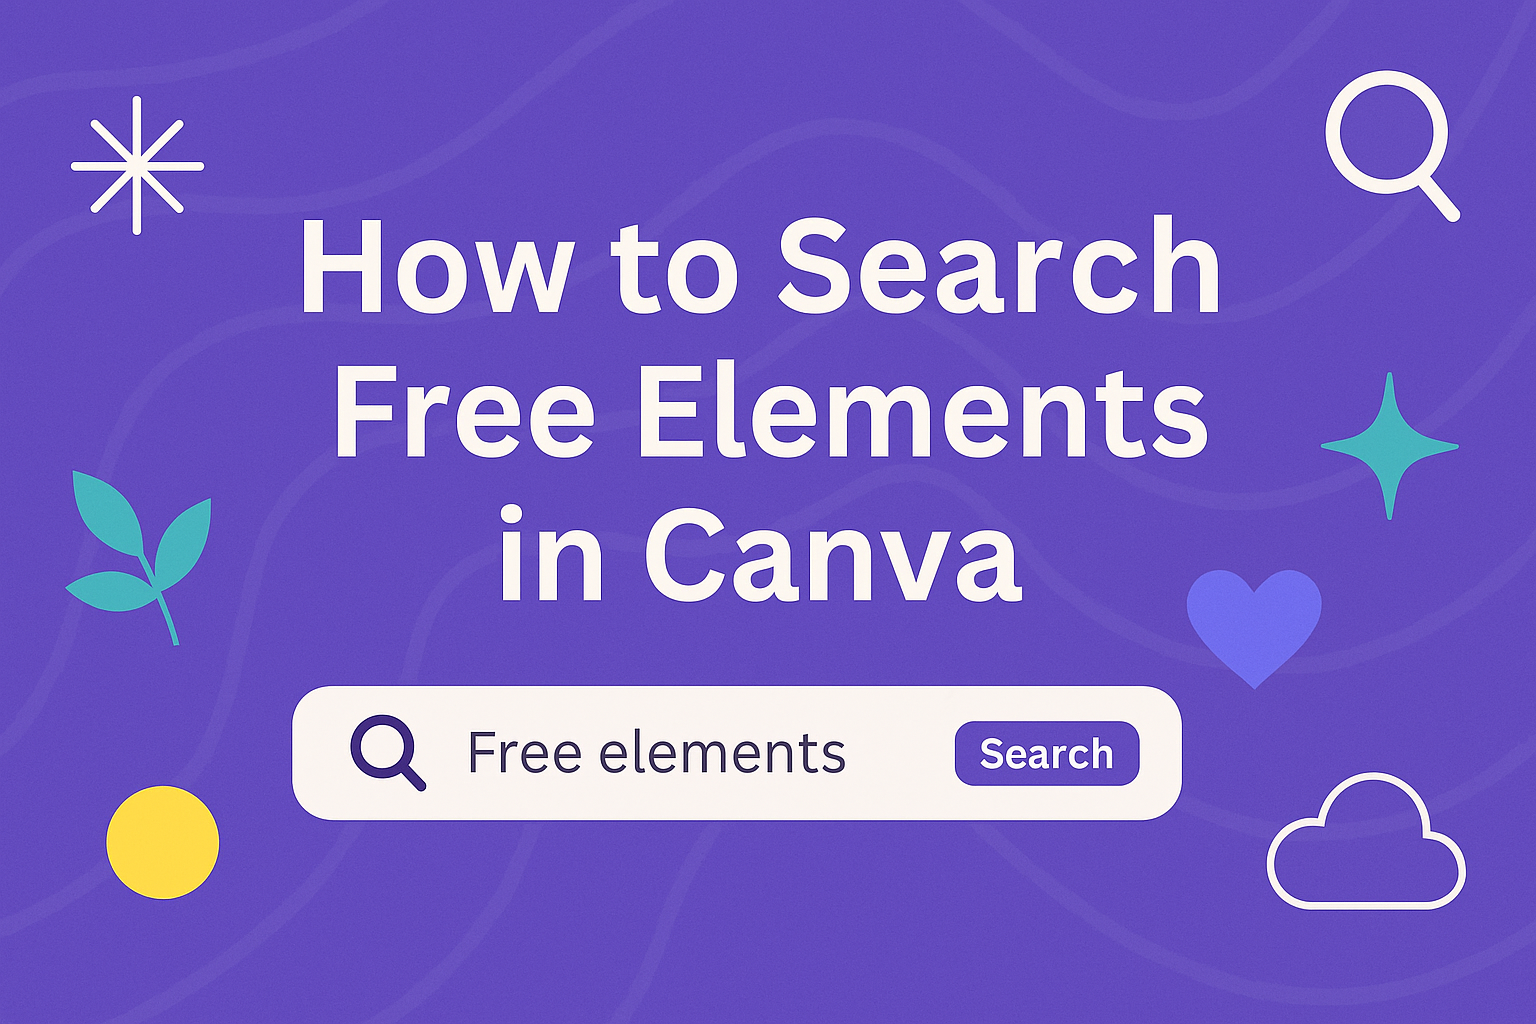
Using the Search Feature
Canva’s search feature allows users to find specific elements based on keywords. By entering relevant terms into the search bar, users can locate items ranging from backgrounds to detailed illustrations.
To narrow down search results, users can specify what they’re looking for, like “summer graphics” or “modern fonts.” The search tool provides a preview of elements, helping users make quick decisions.
Visuals are categorized to further narrow searches, making it easy to find the perfect fit. Users should experiment with different keywords to explore the available options, as a little creativity in search terms can reveal surprising and useful results.
Filtering for Free Elements
Filtering is crucial to finding free elements in Canva. To access free items, users should apply the “Free” filter, which eliminates premium content from search results.
Filter codes can also help refine searches by excluding premium options.
On Canva’s website, users can learn to use filter codes effectively. This helps keep projects cost-efficient and practical.
The filter is user-friendly and ensures access to quality resources without additional expenses. Users can explore categories freely, knowing each element available is cost-free, which opens opportunities for unlimited creativity without financial worries.
Utilizing Free Graphics and Images
Using free graphics and images in Canva can significantly enhance your designs without any added costs. This section provides tips on selecting suitable photos, incorporating versatile vector graphics, and adding illustrations and icons effectively.
Selecting Free Photos
To find free photos in Canva, users can apply filters to their search to narrow down the results. Look for the “Free” label displayed on image thumbnails. This helps to ensure that no unexpected charges occur later.
Photos are available in various categories like nature, business, and lifestyle. Choosing the right image can set the tone for any project. Diverse selections can make designs more engaging and professional-looking without the need for premium options.
Experimenting with different photos can reveal surprising outcomes. Sometimes an unexpected image might perfectly fit and elevate the design. Trying out several options is a good approach to balance creativity and relevance.
Incorporating Vector Graphics
Vector graphics are scalable images that maintain their quality regardless of size. They are perfect for designs that need resizing, such as logos. Canva offers numerous free vector graphics that users can easily customize.
Vector graphics often come in numerous styles and themes to suit different needs. Users should explore these options to find a graphic that complements their design. Customizing colors and sizes can align them with the project’s visual identity.
Accessing these graphics in Canva can be straightforward. Using specific search keywords can lead directly to desired visuals. This feature optimizes the design process, saving time and effort during creation stages.
Adding Illustrations and Icons
Illustrations and icons can add fun and attract attention in a design. With Canva, users can find various free illustrations that fit educational, professional, or casual projects. These elements convey a message simply without using much space.
Icons are ideal for highlighting important text or features within a design. Utilizing these in infographics, presentations, or marketing materials helps in creating a visually appealing layout. Free icons are abundantly available within Canva, providing users with hassle-free options.
Consistency is crucial when incorporating these elements. Sticking to a particular style ensures that the design remains cohesive. Finding illustrations and icons that match the overall theme is an effective way to create a harmonious look.
Design Tips Using Free Elements
Using free elements in Canva can enhance any design project if done right. Key techniques include combining elements creatively, adjusting colors for harmony, resizing and rotating for balance, and utilizing layering and grouping for a cohesive look.
Combining Elements Effectively
Creativity shines when elements are combined in interesting ways. Mixing different shapes, icons, and illustrations can create unique designs.
Users may try pairing geometric shapes with hand-drawn lines for a modern look or combining text elements with decorative graphics.
Matching the atmosphere of different elements ensures they fit together. For instance, mixing flat design icons with vintage fonts can add depth. Experimentation is key, guiding the designer to interesting combinations.
Alignments help create a balanced composition. For example, arranging elements in a symmetrical or grid layout can lead to a professional look.
Adjusting Element Colors
Colors are crucial for the design’s mood and coherence. While Canva offers a lot of free elements, users should know how to adjust colors for consistency with their brand or theme.
Most elements allow color changes to match the specific palette needed for the project.
Choose a limited color scheme to avoid overcrowding. Selecting two to three main colors and using shades or tints of these colors can keep designs unified and visually appealing.
Adjusting colors helps elements stand out or blend in, providing visual hierarchy and focus where needed.
Resizing and Rotating Elements
Resizing and rotating are simple yet effective ways to add dynamism to designs. By enlarging an element, designers can draw attention to it, creating a focal point. Conversely, smaller elements can be used for background detail, contributing to the overall atmosphere.
Rotating elements can add a playful touch or suggest movement. Slight rotation creates subtle interest, while a dramatic tilt can lead to a dynamic composition.
Maintaining proportion is important when resizing to avoid distortion. Using the corner handles in Canva helps keep the correct proportions.
Layering and Grouping Elements
Layering elements gives depth, making designs feel more lively and engaging. It involves placing elements on top of each other, like putting text over a photo. Layering can emphasize parts of the design and create visual interest.
Grouping elements together helps in managing complex designs. By grouping similar items, adjustments become easier.
Adjusting the size or position of grouped elements can be done all at once, saving time.
Strategically layering enables the designer to control what stands out and what recedes into the background, guiding the viewer’s eye effectively.
Staying Within Canva’s Free Offerings
Using Canva’s free elements is a great way to design without costs. It’s crucial to distinguish between free and Pro elements to avoid unexpected charges. Ensuring no accidental upgrades keeps designing smooth and hassle-free.
Identifying Pro vs Free Elements
One of the first steps in using Canva efficiently is recognizing the difference between free and Pro elements. These elements are essential for deciding what to use without charges.
Often, free elements display a simple “Free” tag. By using search filters, users can easily find and select only free items.
Websites like Maker’s Aid provide helpful guides on these filters and techniques.
For added ease, users might sort through categories or apply specific keywords. Tools like these allow them to focus on free resources. This prevents the downloading of costly items by accident.
Avoiding Accidental Pro Upgrades
Avoiding surprise Pro upgrades requires vigilance. Users should always preview elements and check for any associated fees.
Monitoring account settings regularly ensures no unwanted subscriptions are active.
Some tutorials, such as those on Fallon Travels, suggest staying aware of Canva’s prompts. These prompts often offer upgrades, which may seem like a good deal but might not always be necessary.
Turning off automatic purchases within account settings can also prevent unexpected costs. Establishing these practices ensures a focus on free content and keeps account charges at bay. Keeping informed and attentive creates a smooth, cost-effective Canva experience.
Saving and Sharing Your Canva Designs
Creating stunning designs in Canva is just the beginning. Once your project is perfect, you’ll want to save, share, and maybe even collaborate with others. Here’s how you can do all that.
Exporting Your Designs
Exporting your Canva projects is simple and flexible. First, open your design and select the “Download” option from the menu. You can choose from various formats such as PNG, JPEG, or PDF.
If you need a high-quality print, PDF Print is recommended for its quality. Designs can also be downloaded as videos or GIFs if they include animations.
Canva also allows you to download specific elements rather than the entire design. This is useful when you need to focus on a particular part without changing the whole.
Sharing on Social Media
Canva makes it easy to share your designs directly on social media platforms.
To share your work, locate the “Share” button and select the desired social media channel.
You can post directly to Facebook, Twitter, or LinkedIn, among others. Set your post to public or private before sharing, and add a caption if you want to include a personal touch.
Link your social media accounts to Canva for a quick one-click posting. This feature streamlines your social sharing, saving time and hassle.
Collaborating with Others
Involving others in your design process is straightforward with Canva.
First, open your design, and click on the “Share” option. Here you can invite others by entering their email addresses or Canva usernames.
You can set permissions to either “View” or “Edit” based on how much control you want to share. This ensures that you have control over who can alter your designs.
Design teams or groups can collaborate effortlessly.
Team members can comment directly on the design to provide immediate feedback, making communication seamless and effective.