Creating unique art in Procreate starts with mastering its versatile brush engine. By exploring the Brush Studio, artists can customize brushes to fit their personal art style, making their creations truly one-of-a-kind. Whether altering shape, grain, or other settings, there’s potential for endless creativity.
Procreate’s brush engine offers flexibility across various mediums to suit any artist’s needs. Those who dive into brush settings find opportunities to adjust details like spacing and pressure sensitivity, enhancing the artist’s ability to convey their vision. Adjustments can lead to discovering unexpected techniques and styles.
For artists looking to elevate their digital drawing, understanding Procreate’s brush features is key. By accessing the Brush Studio and experimenting with different settings, anyone can transform their artwork into something extraordinary. This blend of technology and creativity opens up a world of new possibilities for artistic expression.
Getting Started with Procreate
Starting with Procreate can be both exciting and overwhelming. This section will guide readers through the essential steps of exploring the app’s interface, understanding its brush library, and setting up a canvas tailored to their needs.
Exploring the Procreate Interface
Procreate’s interface is designed to be intuitive, even for beginners. At the top, there’s a toolbar featuring essential tools like brushes, erasers, and the selection tool. The color wheel and layer panel are conveniently placed on the screen, providing easy access.
The layer panel is crucial for organizing artwork. Users can add, delete, and arrange layers to keep their artwork structured. The QuickMenu can be customized for quick access to frequently used features. This organization helps in smoothly transitioning between tasks.
Experimenting with gestures is another key aspect. Common gestures include pinching to zoom, tapping with two fingers to undo, and drawing with three fingers to redo. These make navigating and editing easier, allowing users to focus on creating without technical hindrances.
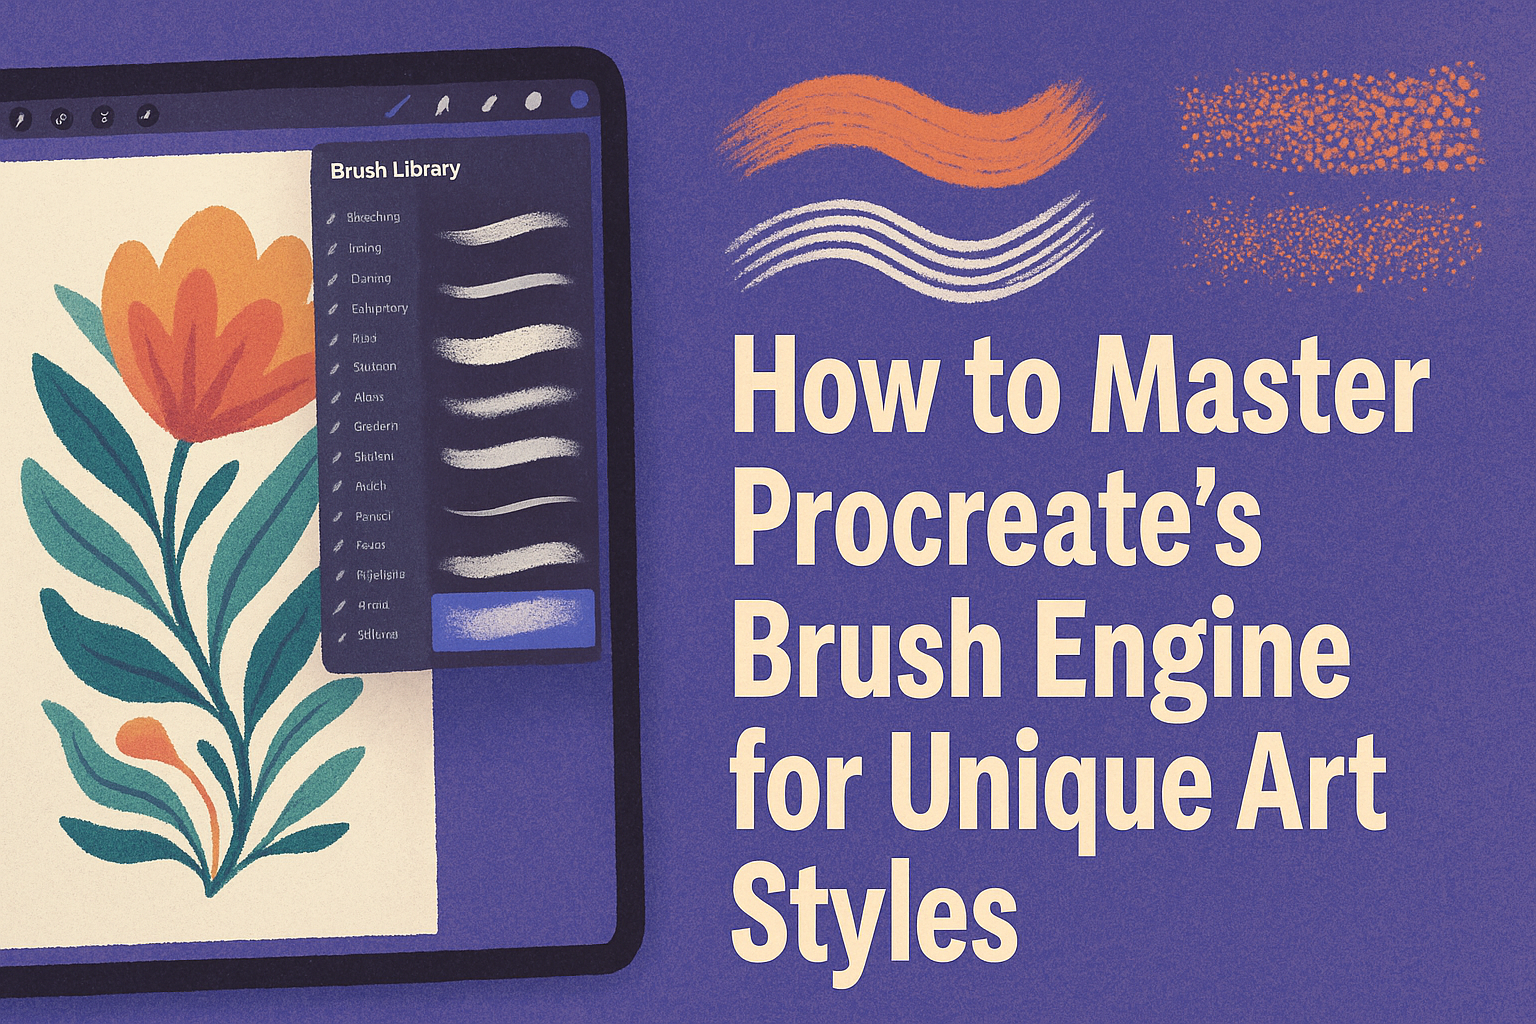
Understanding Procreate’s Brush Library
Procreate’s brush library is diverse, catering to a wide range of artistic styles. Brushes are categorized into sets like sketching, inking, and textures. Each brush can be fully customized to achieve desired effects. Adjusting brush size, opacity, and flow is straightforward, enabling artists to experiment freely.
Creating custom brushes is another exciting feature. Users can tailor brushes by adjusting various settings, offering endless possibilities for personalized art styles. This adaptability enhances the creative process, allowing for unique artistic expression.
The library also includes a search function, making it easy to find specific brushes. Whether starting with default brushes or importing new ones, the well-organized library is a central hub for creativity. Mastery of the brush engine begins here.
Setting Up Your Canvas
Setting up the canvas properly is essential for any project in Procreate. Users can choose from pre-made canvas sizes or create a custom size that fits their project. It’s vital to consider resolution and dimensions based on the intended use of the artwork, whether it’s for print or digital display.
Procreate offers templates for different purposes, like posters or icons. These templates can be adjusted to meet specific needs. The decision on canvas orientation—landscape or portrait—depends on the artwork’s requirements.
Layers are a critical aspect of setting up a canvas. Starting with several layers for different elements helps in making precise edits without affecting the whole piece. With the right setup, the creative process becomes more efficient and organized.
Brush Basics
Procreate’s brush engine offers a wide variety of features that allow artists to shape their tools to match their creative vision. This section explores the core components of brush creation, customization options, and how to adjust basic settings for improved control.
Brush Anatomy 101
Understanding the structure of Procreate brushes is key to making the most of them. Each brush is built from three main components: shape, grain, and rendering settings.
- Shape: This defines the stamp that is applied when using the brush. It controls the outline and structure.
- Grain: This influences the texture inside the brush stroke, giving each stroke its feel.
- Rendering settings: These determine how the brush interacts with the color and other elements on the canvas.
Together, these elements give brushes their unique look and feel. Artists can select different pre-set shapes and grains or import custom ones to experiment with new effects.
Customizing Default Brushes
Default brushes in Procreate can be tailored to meet specific needs or styles. By accessing the Brush Studio, users can alter various aspects such as shape, grain, and pressure dynamics.
To tweak a brush, tap on the brush in the Brush Library and navigate through settings like Opacity Dynamics and Tilt Settings. Artists can modify dynamics to change how the brush behaves with light or heavy pressure. One can also adjust tilt settings to influence how the brush strokes vary with the angle of the pen.
Creating a custom brush allows artists to have a tool that perfectly matches their vision and technique. This creative control enhances the artistic process and can make painting more intuitive.
Brush Size and Opacity
Procreate allows easy adjustment of brush size and opacity. On the sidebar, two sliders enable quick changes: the top one for size and the bottom one for opacity.
Brush Size: Adjusting this slider changes how thick or thin the stroke will appear on the canvas. This is helpful for details in close-up work or broad strokes.
Opacity: With this setting, artists can control the transparency of a stroke. A lower opacity results in lighter strokes, which can be used for layering colors and creating depth.
Fine-tuning these settings provides increased control over the artwork, leading to more precise and varied outcomes.
Advanced Brush Techniques
Learning advanced brush techniques in Procreate opens up opportunities to create unique art styles. Mastering these skills involves creating custom brush shapes, designing engaging textures, and fine-tuning brush dynamics for distinctive effects.
Creating Custom Brush Shapes
Creating custom brush shapes can greatly enhance an artist’s toolkit. To start, users should explore the Procreate Brush Studio. Here, they can experiment with different shapes and sizes. It’s essential to understand how each shape interacts with the brush stroke. Procreate allows artists to import their own shapes by drawing in black and white, where black is the active area and white remains transparent.
Custom shapes can transform simple lines into intricate patterns or thematic designs. Experimentation is key, so artists are encouraged to try various approaches and see which results fit their style. Remember, a small change in shape can significantly alter how a brush behaves, affecting overall art composition.
Designing Brush Textures
Brush textures add depth and personality to digital paintings. In Procreate, artists can create or import their own textures to layer over brush shapes. To design a texture, work within Procreate or another graphic tool to create grayscale images. These reflect how light and dark areas affect the brush’s impression on the canvas.
Textures help simulate different materials, like fabric or stone, adding realism or abstract elements. An effective texture can set the mood of a piece or highlight specific areas of interest. Artists should experiment with overlays, combining multiple textures for complex effects. When used thoughtfully, brush textures can elevate artwork from simple to extraordinary.
Adjusting Brush Dynamics
Brush dynamics control how natural or expressive a brush feels during use. In Procreate, options like pressure sensitivity and tilt control are crucial. Adjust settings to see how differences in speed or pressure alter stroke weight and opacity. Artists should explore the ‘Jitter’ controls, modifying parameters like ‘Scatter’ or ‘Rotation Jitter’ to achieve varied stroke outcomes.
Dynamics also include settings for smoothing or stabilization, allowing for consistent strokes or intentional chaos. These adjustments help match the artist’s desired technique, whether they prefer crisp, clean lines or fluid, organic designs. By mastering dynamics, they can ensure each stroke is perfectly aligned with their creative vision.
Mastering Brush Effects
In Procreate, artists can enhance their artwork by mastering different brush effects. These effects help create diverse textures, moods, and styles in digital art.
Using Jitter Effectively
Controlling jitter can change how a brush behaves, adding randomness and texture to strokes. In Procreate, users can adjust jitter settings by modifying certain sliders, such as scatter and rotation jitter. These sliders add variation, making strokes look less uniform.
Experimentation is key. Artists should try different settings to see what works best. For instance, increasing scatter makes strokes scatter around the stroke path, creating a textured appearance. Lowering it results in smoother lines.
Combining jitter settings with brush tips like sponges or rough textures can result in interesting effects. This combination helps in achieving unique looks in art with minimal effort.
Applying Blending Modes
Blending modes in Procreate determine how colors and textures interact with each other. They are crucial for layering and achieving depth in artworks. There are several modes, such as multiply, screen, and overlay, each with unique effects.
Artists can experiment with different modes to see how layers react. For example, using the multiply mode darkens an image, enhancing shadows and depth. This can add realism to a scene.
The screen mode lightens colors, making it ideal for highlights. By adjusting layer opacity with the blending mode, artists can achieve subtle transitions and harmonize colors effectively. This technique adds vibrancy and a complex visual appeal to art pieces.
Achieving Realistic Strokes
Realistic strokes are essential for creating lifelike art in Procreate. To achieve these, customizing brush settings is vital. Artists can adjust settings like flow and pressure sensitivity to mimic traditional brushes.
Flow controls the paint amount from the brush. Lowering it creates smooth, gradual strokes, while higher settings produce bold lines. Pressure sensitivity changes stroke opacity and size based on stylus pressure, allowing for dynamic lines.
Texture is another key factor. Selecting brushes with textures that mimic real-world materials enhances realism. By combining these settings, artists can create strokes that closely resemble those from traditional media, adding authenticity to digital work.
Developing Your Artistic Style
Developing a unique artistic style in Procreate involves using mixed media tools, manipulating color and texture, and effectively utilizing layers. These elements can set your art apart, making it distinctly yours.
Incorporating Mixed Media
Blending different media is a great way to develop a unique style. Procreate allows the artist to combine digital brushstrokes with textures that mimic traditional media like watercolor, ink, or charcoal.
Artists can mix these elements to create depth and interest in their work. Using custom brushes tailored to specific art styles can also add a personal touch. This versatility encourages experimentation, helping artists discover what aligns best with their creative vision.
Experimenting with Color and Texture
Color and texture are key components in defining an art style. Procreate offers a wide range of tools and settings that let artists explore vibrant or muted color palettes and varied textures.
Using Procreate’s feature for adjusting grain scale and texture overlays, artists can create dynamic effects that engage the viewer. By experimenting with these elements, artists can find combinations that resonate and define their artistic identity.
Harnessing the Power of Layers
Layers are a powerful feature in Procreate, allowing for more intricate and controlled artwork. Artists can use layers to separate different aspects of their work, such as line art, color blocks, or textures.
This separation enables adjustments without altering other elements of the artwork. Using mask layers can aid in achieving complex compositions, adding or removing details without disruption. This organized approach to artwork creation allows artists to refine their style with precision and clarity.
Workflow Optimization
Mastering Procreate’s brush engine involves more than just understanding brush settings. To optimize your workflow, it’s important to make the most of shortcuts, keep your brush library organized, and ensure easy sharing and backup of your creations.
Utilizing Shortcuts and Gestures
Procreate offers several shortcuts and gestures that are essential for speeding up the creative process. These include double-tapping to undo recent actions and using a three-finger swipe to redo.
Artists can hold and drag a finger to adjust the size or opacity quickly. Customizing gestures according to personal preference can make navigating the interface smoother. This flexibility helps in focusing more on art creation rather than menu navigation. Beginners and experienced users alike can find immense value in learning these shortcuts to enhance productivity.
Organizing Your Brush Library
A tidy brush library is crucial for an efficient workflow in Procreate. By creating folders, known as “Set,” artists can group similar brushes together, like line art or texture brushes. Organizing helps in quickly accessing the right tools for different styles or projects.
Renaming brushes or sets to reflect their use can also aid in efficiency. For those who own a vast collection, tagging or color-coding might be useful. Using these strategies ensures that time is spent creating rather than searching for the right brush.
Backing Up and Sharing Brushes
Backing up brushes prevents loss in case of device malfunction. To safeguard creations, artists should regularly export their custom brushes or “brushsets” and save them to a cloud service or external drive. This not only preserves the work but also facilitates easy sharing with others.
Sharing is simple through Procreate’s export feature. Artists can send brushes directly via email or upload to a shared drive, allowing easy collaboration or distribution. Learning how to import and export brushes ensures that all the hard work in customization is never lost and can be shared with other digital artists.
The Art of Brush Maintenance
Keeping Procreate brushes fresh and functional involves two essential practices. The first is staying updated with new features from Procreate, while the second is conducting regular reviews and cleanups of existing brushes.
Updating Brushes for New Procreate Features
Procreate frequently releases updates with enhanced features that can vastly improve brush functionality. Staying informed about these updates ensures artists can optimize their tools. They should first explore Procreate’s announcements and patch notes to understand new capabilities.
Adjusting brush settings to incorporate these features can unlock new creative possibilities. For example, if a new texture option becomes available, adding it to a favorite brush might lead to more dynamic strokes. Additionally, integrating improvements can keep a brush set modern and compatible with current digital art standards.
Regular Brush Review and Cleanup
Over time, artists may accumulate an overwhelming number of brushes. Regular review and cleanup sessions help in maintaining an organized brush library. This involves assessing each brush’s use and deleting those that no longer serve a purpose.
Creating categories for brushes can streamline the workflow. For instance, grouping brushes according to function or style makes selection easier during projects. It’s also helpful to rename brushes with clear, descriptive titles, which aids in quickly finding the right tool. Storing brushes in dedicated folders based on use can also improve efficiency.