Creating eye-catching Pinterest pins can be a game changer for anyone looking to stand out on the platform.
Using PicMonkey, individuals can easily make custom pins with unique text overlays that grab attention and drive engagement. This tool allows for creativity without needing advanced design skills, making it accessible for everyone.
With just a few simple steps, users can turn their ideas into stunning visuals that reflect their brand. They can customize colors, fonts, and layouts to ensure their pins align perfectly with their overall aesthetic.
Whether it’s for a blog, a business, or personal projects, PicMonkey simplifies the design process, making it enjoyable.
Understanding how to leverage these features can significantly enhance a Pinterest strategy. Readers will find valuable tips and tricks to elevate their pins and make a lasting impression on potential followers.
Getting Started with PicMonkey
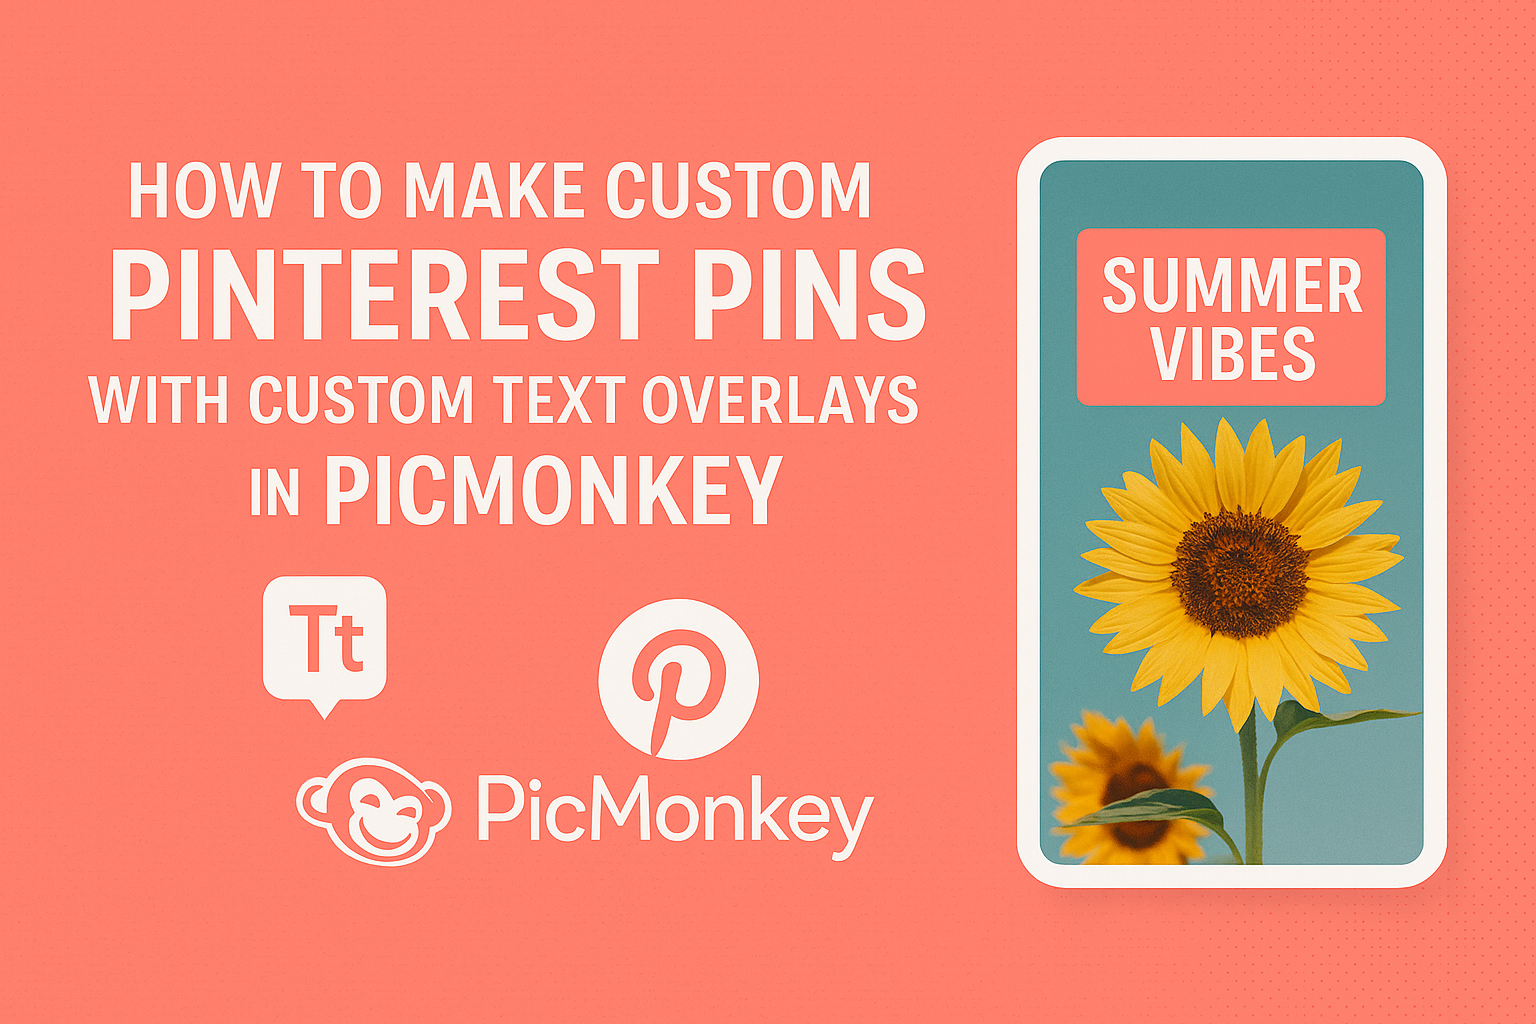
PicMonkey is a user-friendly online tool for creating stunning Pinterest pins with custom text overlays.
Before diving into design, it’s important to set up an account and become familiar with the interface.
Creating an Account
To start using PicMonkey, a user must create an account. They can visit the PicMonkey website and click on “Sign Up.”
Users have the option to register using their email or link to their Google or Facebook accounts.
After entering necessary information, they will receive a confirmation email. Clicking the link in this email helps verify the account. Once confirmed, they can log in and explore the platform.
PicMonkey offers a free trial, allowing users to try out features before committing to a subscription. This is a great way to see if it meets their design needs.
Navigating the PicMonkey Interface
Once logged in, navigating the PicMonkey interface is simple. The main dashboard displays various options, including templates, designs, and images for editing.
The sidebar on the left provides access to key tools. Here, users can choose different categories such as ‘Photos’ or ‘Graphics.’
Users can browse through templates specifically designed for Pinterest pins. Each template offers customization options, such as changing colors and fonts.
The editing area is intuitive, with drag-and-drop functionality for adding images and elements. This makes it easy for users to create visually appealing designs.
Taking a few minutes to familiarize themselves with these features can greatly enhance the design experience.
Designing Your Pinterest Pin
Creating a Pinterest pin involves careful selection of templates and customization options. The aim is to attract attention and communicate the message clearly. Each aspect plays a crucial role in making the pin visually appealing.
Selecting the Right Template
Choosing the right template sets the foundation for a successful Pinterest pin. PicMonkey offers a variety of templates designed specifically for Pinterest.
These templates are usually in a vertical format, recommended at a 2:3 ratio, such as 1000 x 1500 pixels.
When browsing templates, consider the style that best fits the brand or message. A clean and simple design can make the text stand out better.
It’s essential to pick a template that allows for flexibility in adding custom elements without feeling cluttered.
Customizing the Background
Once the template is selected, customizing the background is the next step. The background sets the tone of the pin.
PicMonkey allows users to choose solid colors, gradients, or even images as backgrounds.
Using a color palette that aligns with the branding is important. Soft colors can create a calming effect, while vibrant colors may grab attention.
Ensure the background doesn’t overpower the text. If using an image, opt for one that doesn’t detract from the main focus of the pin, which is the text overlay.
Adding Images and Graphics
Incorporating images and graphics helps to enhance the visual appeal of the pin. PicMonkey lets users upload custom photos or choose from their stock image library.
High-quality images work best, as they attract attention and convey professionalism.
Adding graphics, such as icons or shapes, can help emphasize the main message. It’s wise to position these elements strategically so they don’t overcrowd the design.
Additionally, using consistent styles and colors for images and graphics creates a cohesive look, making the pin more engaging for viewers.
Adding and Styling Text Overlays
Custom text overlays can enhance the appeal of Pinterest pins. By carefully choosing fonts and colors, adjusting sizes and alignment, and applying effects, a designer can create eye-catching visuals that attract more viewers.
Choosing Fonts and Colors
Selecting the right fonts and colors is crucial. Fonts should match the mood of the content. For example, a playful font suits travel pins, while a bold font works for fitness tips.
When choosing colors, consider the background image. High contrast between text and background improves readability.
Tools like PicMonkey allow users to preview combinations easily. Using a limited color palette keeps the design cohesive.
Stick to 2-3 different fonts to avoid clutter. Combining a decorative font with a simpler one can create balance. Always consider the target audience when picking styles.
Adjusting Text Size and Alignment
Text size can greatly impact visibility. It should be large enough to read, especially on small screens.
Usually, a larger title draws attention while smaller bodies of text provide details.
Alignment also plays a role in design. Centered text often looks cleaner on graphics, especially those without main focal points. Left or right alignment can work well when there’s a clear subject in the image.
Experimenting with text size and alignment helps determine the best fit. PicMonkey allows users to easily resize and reposition text, which is essential for creating visually appealing pins.
Applying Text Effects and Shadows
Text effects can add depth and make the text stand out. Shadows are a popular choice, as they can create contrast and give the text a 3D look.
In PicMonkey, users can apply effects like outlines and gradients to enhance text visuals.
These effects should be used sparingly to maintain readability. Ensuring that the text remains the focal point is vital.
Subtle shadow effects can improve the overall layout. They make the text pop against backgrounds. Testing different styles before finalizing the design can lead to the best outcomes.
Saving and Sharing Your Custom Pin
After creating a custom Pinterest pin in PicMonkey, saving it is an important step. To do this, the user should click on the “Download” button located at the top right of the workspace.
They can choose the file type.
Common options include PNG and JPG. PNG is preferred for better quality, especially if there are text overlays.
Next, it’s time to share the pin. Users can upload their saved image directly to Pinterest. They should go to their Pinterest account, click the plus sign, and select “Create Pin.”
In the upload window, they simply drag and drop their custom pin or use the “Upload” button.
Adding a title and description can help attract more viewers.
Finally, the user should choose a relevant board for the pin. This helps in organizing the content and makes it easier for others to find.
Once everything is filled out, clicking the “Save” button shares the pin with the Pinterest community.