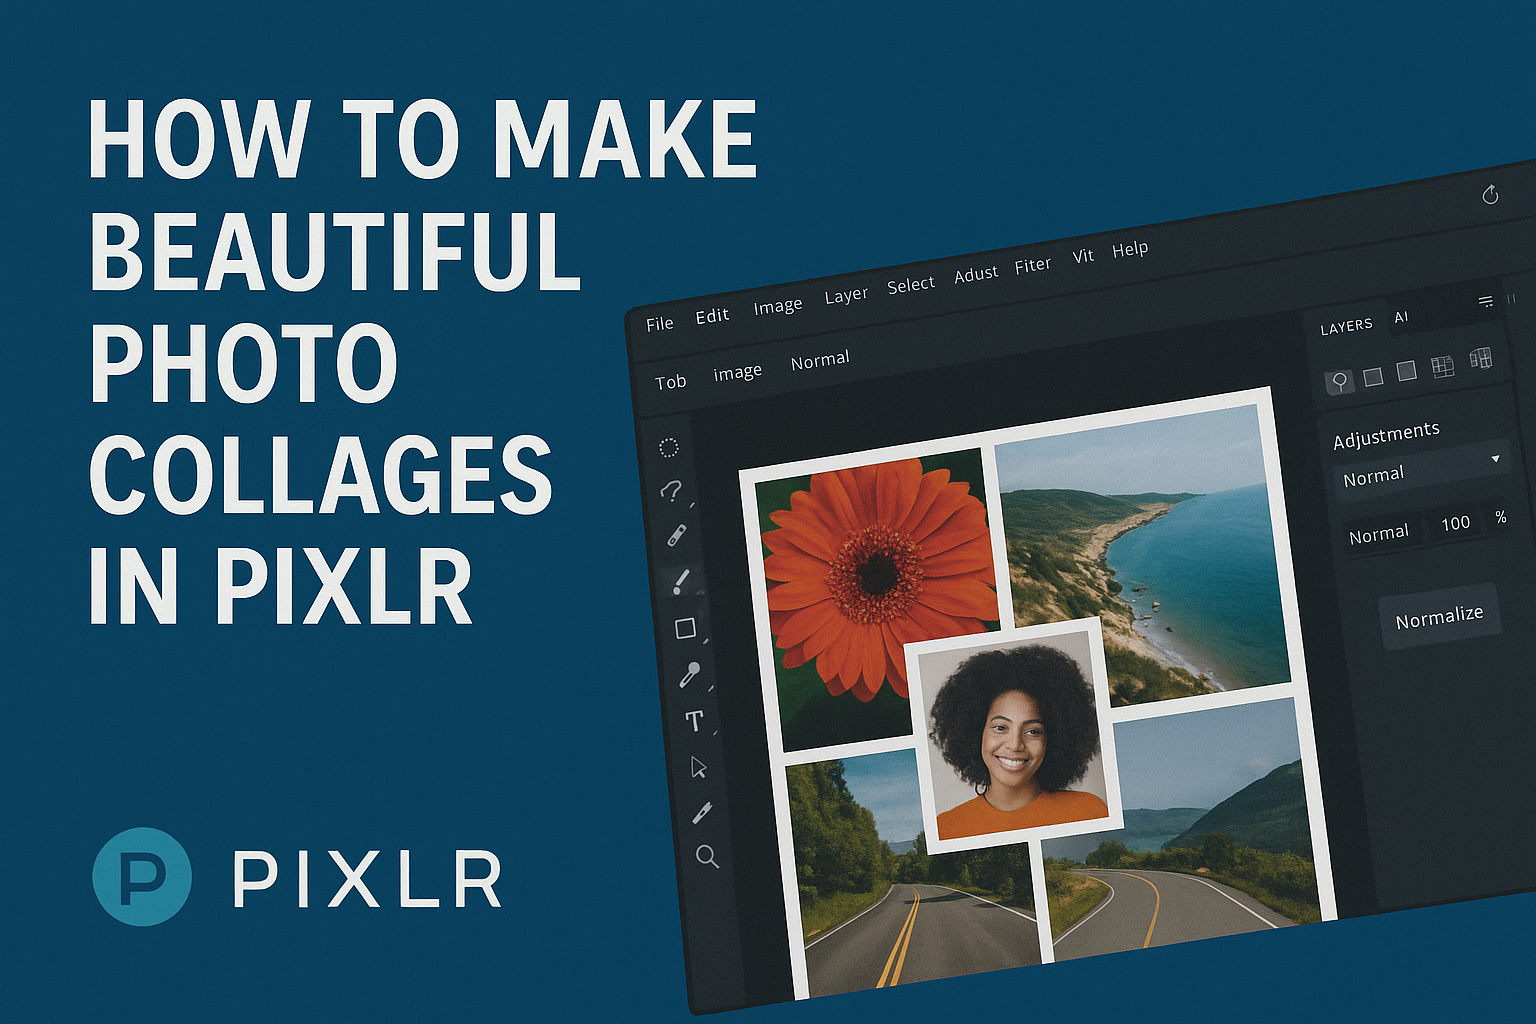
Creating stunning photo collages is easier than ever with tools like Pixlr. With its user-friendly interface and a variety of customizable templates, anyone can turn their favorite photos into beautiful works of art in just a few minutes.
Whether showcasing cherished memories or crafting a themed project, Pixlr offers the perfect solution for all collage-making needs.
After accessing Pixlr, users can easily choose from a collection of layouts to start their creative journey. They can upload their photos, adjust the layout, and personalize the collage to reflect their unique styles.
This flexibility allows for endless possibilities, making collages that are not only attractive but also meaningful.
In today’s digital age, sharing memories has become a fun way to connect. With Pixlr’s collage maker, creating memorable and engaging visuals is just a few clicks away, allowing everyone to capture and celebrate their moments effortlessly.
Getting Started with Pixlr
Pixlr offers a user-friendly way to create stunning photo collages. Familiarity with the Pixlr interface and starting a new project is essential for getting the best results.
Creating a New Project
To begin, users should navigate to the Pixlr website and select “Collage Maker.” Once there, clicking on “Create New” allows them to choose from various templates. This step instantly sets the foundation for making a personalized collage.
After selecting a template, users can upload photos directly from their device or cloud storage. It’s important to choose images that are clear and vibrant.
Once uploaded, they can drag and drop these photos into the chosen template, adjusting their size as needed.
When the layout is ready, users can click on “Save” to keep their work or continue customizing further.
Making a new project in Pixlr is quite straightforward and opens up endless creative possibilities.
Understanding the Pixlr Interface
The Pixlr interface is simple and intuitive. It includes several key areas: the toolbar, workspace, and layer panel.
-
Toolbar: Located on the left, this area contains various tools. Users can select items like text, shapes, and filters to enhance their collage.
-
Workspace: The central area shows the active collage being created. Here, users can see their images as they organize and adjust them.
-
Layer Panel: This panel, typically on the right, helps manage different elements in the collage. Users can reorder images or layers for better composition, giving them full control over the project’s appearance.
By getting familiar with these components, users can efficiently navigate and utilize features to make beautiful collages.
Selecting the Right Photos
Choosing the right photos is essential for creating a beautiful collage. The images should not only look good on their own but also work together to tell a cohesive story. Here are some important aspects to consider when selecting photos for a collage.
Image Quality and Resolution
High-quality images are key to a stunning collage. Photos should have a resolution of at least 300 DPI (dots per inch) for clear, sharp details. Lower resolution images may appear pixelated or blurry when enlarged.
When selecting images, check for brightness and contrast. Bright, vibrant images can draw attention and create a lively mood. Avoid dark or dull photos unless they add intentional depth or contrast to the collage.
Using images with similar styles, such as color palette or filter effects, can help unify the collage. This consistency makes the final product look more polished and professional.
Choosing Complementary Images
Complementary images bring balance and interest to a collage. He or she can start by choosing a main photo that sets the theme or mood. Then, select additional images that enhance the story. This strategy makes the collage cohesive.
Consider color harmony when choosing photos. For example, pairing warm tones like reds and yellows can create a cheerful vibe. Cool tones, like blues and greens, can evoke a calm feeling.
Mix different subjects, such as people, nature, and objects, to create a rich variety. However, keep an eye on how they interact. Ensure each photo adds value to the overall look without overwhelming it.
Creating Your Photo Collage
Creating a stunning photo collage in Pixlr involves carefully arranging photos, adjusting layers, and adding fun elements like text and stickers. These steps help highlight memorable moments while making the collage visually appealing.
Arranging Photos on the Canvas
To start, users can choose a template in Pixlr’s Collage Maker. This tool offers various layouts to fit different styles.
They can upload photos by clicking the “+” symbol or dragging and dropping them onto the canvas.
Once the photos are uploaded, they can be easily resized and dragged to the desired position.
It’s important to think about balance and spacing when arranging the photos.
Creating a flow between the images can help in telling a story.
Users should also consider using grids or guides to maintain even spaces between the pictures.
Adjusting Layers and Effects
After arranging the photos, it’s time to refine the collage using layers and effects.
Pixlr allows users to adjust the order of photos simply by dragging them in the layers panel.
This feature lets important images stand out or blend into the background, depending on the design.
Adding effects, like shadows or borders, can enhance the photos’ visual appeal.
Users should explore different filters and slide bars to find the perfect look.
Experimenting with opacity can also create unique styles.
This step adds depth and character to the final piece, making it more captivating.
Adding Text and Stickers
The last touch in creating a photo collage is adding text and stickers.
Users can select the text tool to write a catchy title or a thoughtful caption.
Choosing the right font and color is crucial; it should complement the photos without overpowering them.
Pixlr offers various fonts that allow for creative expression.
In addition, users can enhance their collage with stickers or icons to add personality.
Stickers can be resized and rotated to fit well with the rest of the design.
Together, these elements allow users to add a final personal touch, making the collage truly unique.
Final Touches and Exporting
In this stage, the focus is on enhancing the collage’s visual appeal and ensuring it is saved and shared effectively. By applying filters and adjustments, users can give their collages a unique flair. Once satisfied, they can easily export their creations to share with friends or on social media.
Applying Filters and Adjustments
To make a photo collage stand out, applying filters is essential. Pixlr offers various options, from subtle enhancements to bold styles.
Users can explore filters that adjust brightness, contrast, and saturation.
In addition to filters, adjustments can improve the overall look. For example:
- Brightness: Increase or decrease to add mood.
- Contrast: Make colors pop or create a softer look.
- Saturation: Enhance colors for vibrancy or mute them for a vintage effect.
Pixlr’s tools make these adjustments straightforward, allowing for quick changes. It’s a great way to personalize the collage before export.
Saving and Sharing Your Collage
Once the collage looks perfect, it’s time to save and share. Pixlr provides several formats, including JPEG and PNG, which are great for different uses.
Users should select the format that fits their needs best. To save, click on the “Save” option.
Next, choose the desired quality and file format. Sharing can be done directly via social media platforms or stored on personal devices.
This flexibility allows for easy access to collages anytime, whether on a computer or a mobile device.