Creating a unique stream overlay can elevate the look of any live broadcast. Canva offers an easy way to design stunning stream overlays that help streamers stand out on platforms like Twitch.
With a variety of templates and customizable options, anyone can make professional graphics without needing advanced design skills.
For those looking to improve their streaming setup, using Canva not only saves time but also allows you to express personal style.
From colorful gaming themes to sleek, minimalist designs, there’s something for every streamer. Watching a few helpful tutorials can further enhance the creative process, making it fun and engaging.
Whether new to streaming or a seasoned pro, learning to make a stream overlay in Canva opens doors to creative possibilities. It’s about transforming the online experience for both the streamer and their audience. Engaging visuals play a crucial role in building a channel and making viewers feel more connected.
Getting Started with Canva
Canva is an excellent tool for creating custom stream overlays. Setting up an account and learning the interface are the first steps to designing unique graphics that enhance your streams.
Creating Your Account
To begin, one must create a Canva account. This is a straightforward process.
Users can sign up using an email address, Google account, or Facebook account.
After entering basic details like name and password, Canva will send a verification link. It’s important to check the email for this link to complete the registration.
Once verified, the user can log in and start exploring the platform’s features.
Canva offers a free version with many useful tools. However, a Pro plan is available for those who want more advanced features.
Navigating the Canva Interface
Once logged in, users will encounter a user-friendly interface. The dashboard displays templates, projects, and design options.
On the left side, there’s a toolbar that includes options like “Templates,” “Uploads,” and “Elements.”
By selecting a template, users can see a preview and further customize it.
The top menu provides design tools such as text options, color palettes, and image filters.
Users can drag and drop elements into their design space, making it easy to create visually appealing graphics.
Getting familiar with the layout will help streamline the design process. Exploring various options will boost creativity and effectiveness.
Selecting the Right Canva Plan
Canva offers several plans tailored for different needs.
The free version is a great starting point for beginners. It includes a variety of templates, graphics, and fonts.
For those seeking more advanced features like brand kits or an extensive image library, the Canva Pro plan may be beneficial. This plan permits users to access premium templates and tools that elevate their designs.
The Enterprise plan is ideal for teams. It allows collaboration on projects and provides added functionality.
By weighing the options carefully, users can choose the best plan for their streaming needs.
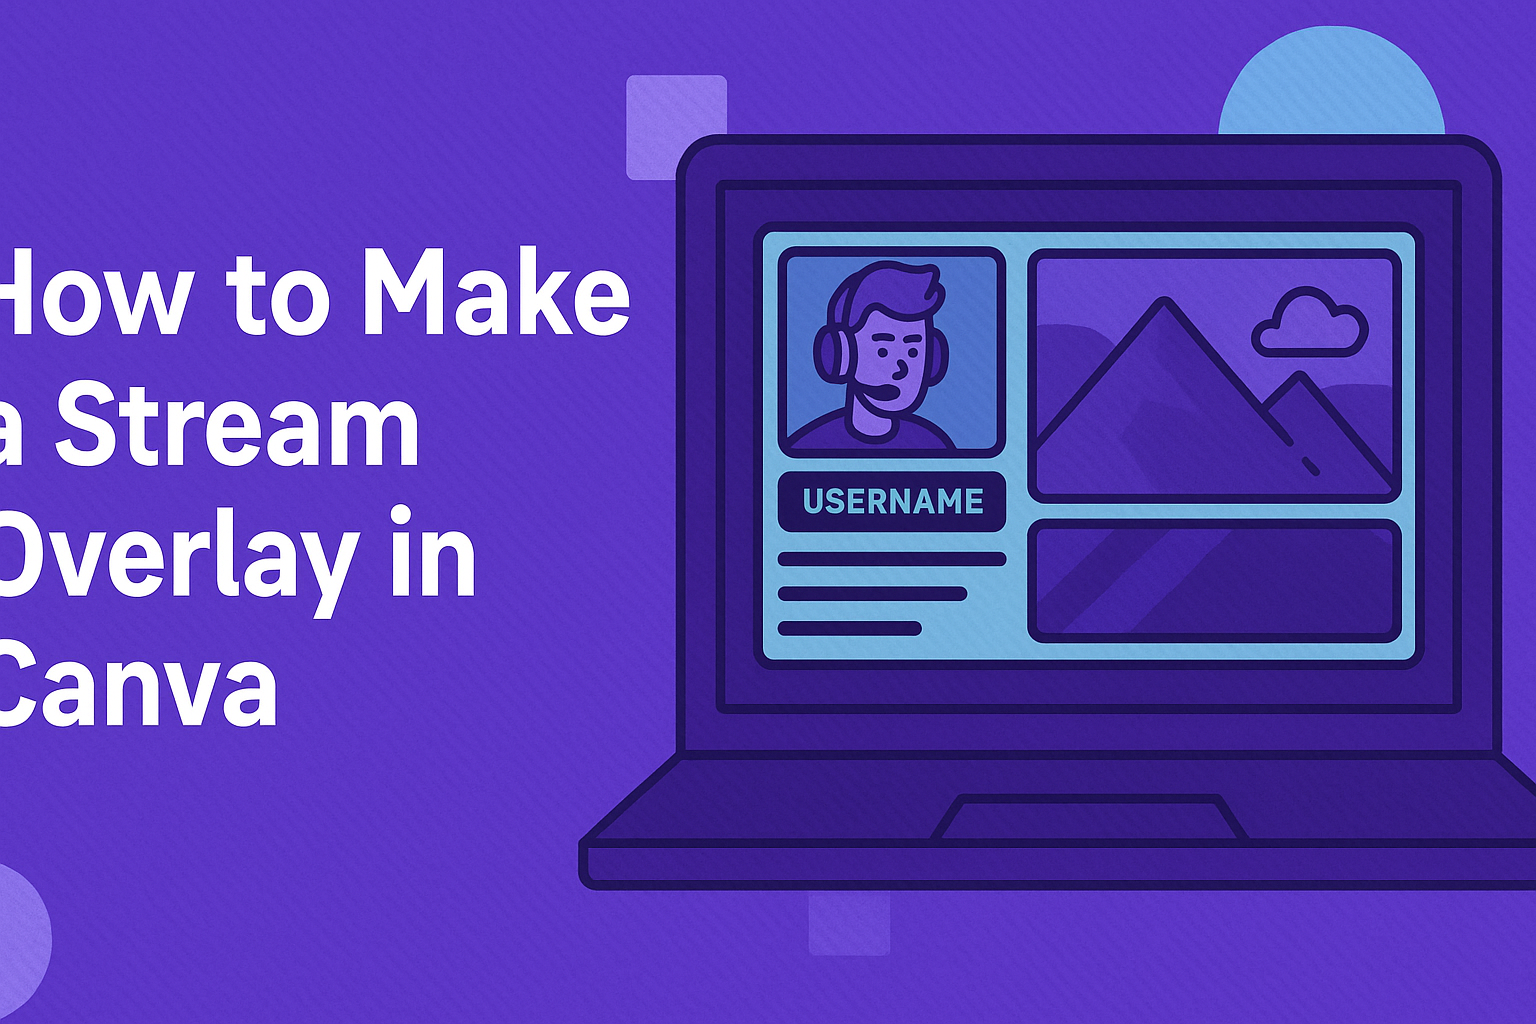
Designing Your Stream Overlay
When designing a stream overlay in Canva, it’s important to focus on layout, aesthetics, and personal branding. By selecting the right templates and customizing them, a unique look can be achieved that fits the streaming style perfectly.
Choosing a Template
Choosing an appropriate template is a crucial first step. Canva offers a variety of templates specifically designed for stream overlays.
He or she can explore the available options to find one that matches the desired theme and style.
Consider the layout of the template. Ensure it has enough space for necessary elements like your webcam feed and alerts. Simple and clean designs can help viewers focus on the content without distractions.
Customizing Your Design
After selecting a template, customization can truly bring the overlay to life.
Change colors to align with the streamer’s brand. A specific color palette can make the overlay more recognizable.
Include the streamer’s logo and font that matches their personality. It can help create a consistent and engaging experience for viewers.
Adjusting sizes and placements is also essential. Make sure the elements are balanced and visually appealing.
Adding Unique Elements
To make the overlay stand out, adding unique elements is key. This might include custom graphics or animations.
He or she can incorporate personal icons or themed stickers that resonate with the streaming content.
Using Canva’s tools, users can easily add these elements. It offers millions of options including shapes, illustrations, and more. Unique touches can enhance the visual experience and draw in viewers. Custom designs signal professionalism and creativity, setting the stream apart from others.
Finalizing and Exporting
Before finishing the stream overlay, it is important to adjust the dimensions, download the overlay properly, and test it to ensure it looks as expected. These steps will help create a polished final product that enhances any stream.
Adjusting Dimensions and Resolution
To make the overlay fit perfectly, dimensions and resolution must be adjusted.
Typically, stream overlays are created with dimensions of 1920 x 1080 pixels for full HD.
It’s crucial to ensure that the resolution is set to at least 72 DPI (dots per inch) for online use.
In Canva, users can click on the resize option. This allows them to set the custom size, ensuring it aligns perfectly with their streaming software like OBS Studio.
Keeping the overlay in a transparent PNG format is advisable for better blending with the game or video content.
Downloading Your Overlay
Once the overlay looks great, it’s time to download it.
In Canva, users can click on the Share button at the top right corner.
Next, they should select Download and choose PNG for the file type. If an animated overlay is needed, selecting MP4 is the way to go.
Before clicking the final download button, ensure to check the “Transparent background” option if that is required. This setting will allow the overlay to seamlessly integrate with different backgrounds while streaming.
Test Your Overlay
After downloading, testing the overlay before going live is essential.
First, users should open their streaming software, like OBS Studio. They can add the overlay by selecting + in the sources section and choosing Image.
Then, they should navigate to where the overlay file is saved. Once added, it’s important to ensure its positioning and size are correct.
Testing the overlay during a private stream or recording can help verify that everything looks good on-screen. This step ensures that the overlay will enhance the viewing experience without any issues.