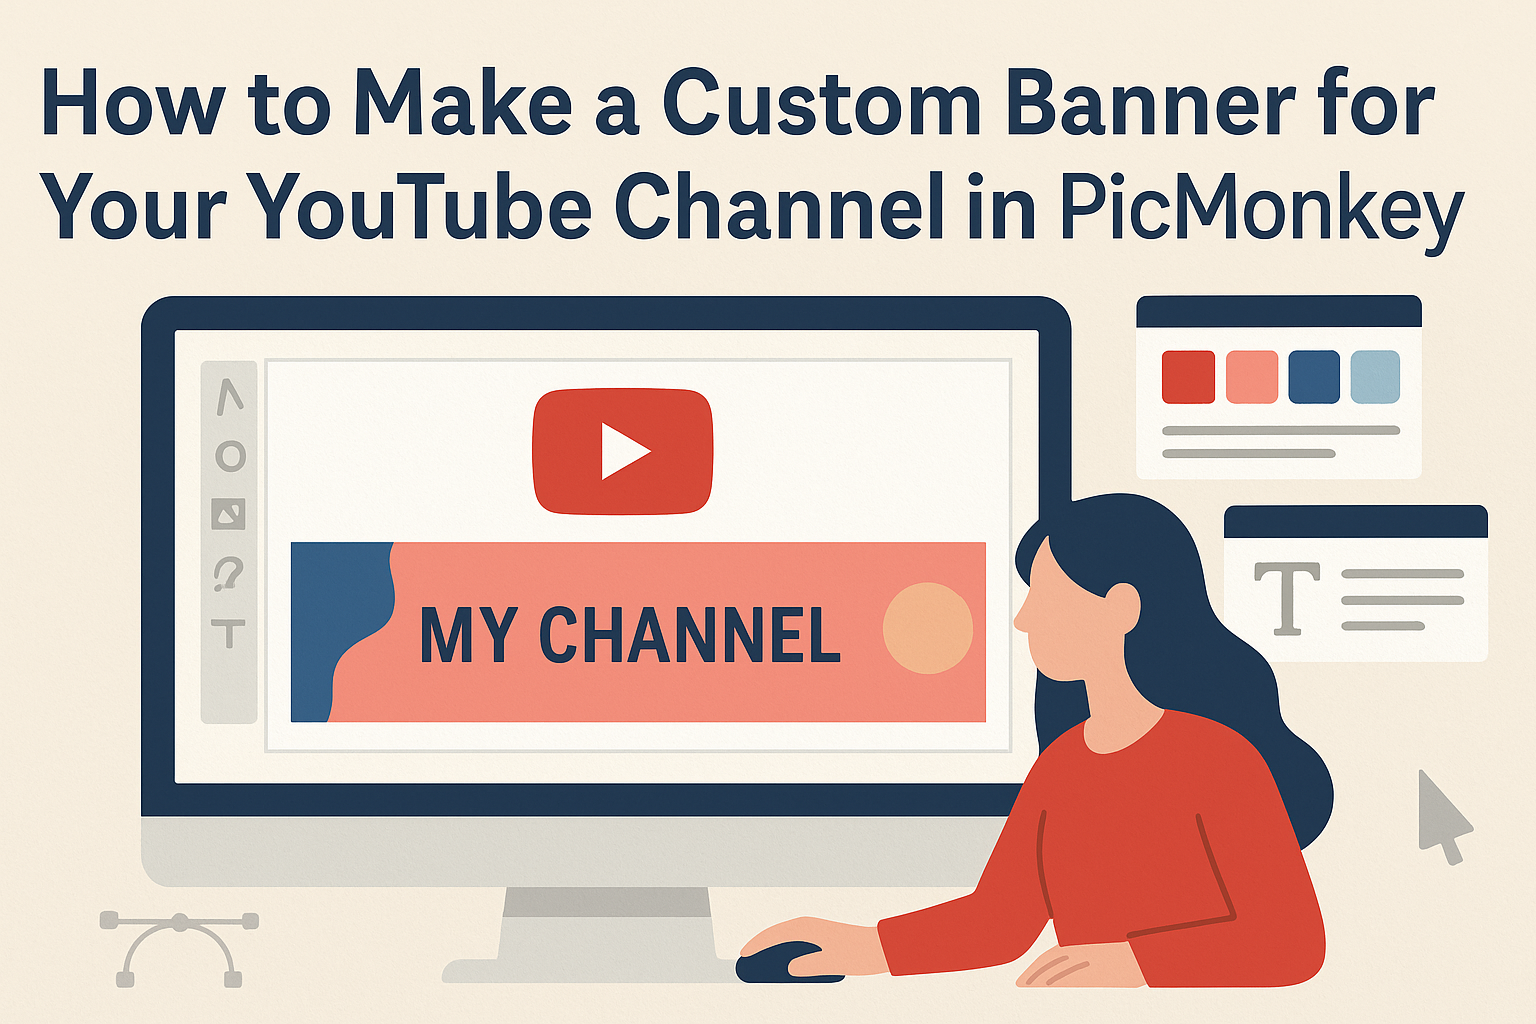
Making a custom banner for a YouTube channel can greatly enhance its visual appeal and create a strong first impression. To create a stunning banner, use PicMonkey’s user-friendly design tools that allow for easy customization of templates.
With just a few simple steps, anyone can design an eye-catching banner that reflects their unique style and brand.
PicMonkey offers a variety of pre-sized templates specifically designed for YouTube. This means creators can start with a great foundation and personalize it with images, graphics, and text.
By following a straightforward process, they can capture the essence of their content and engage viewers right away.
Getting Started with PicMonkey
To begin using PicMonkey for creating a custom YouTube banner, users need to start by setting up an account.
Once that is done, they can smoothly navigate the platform to access its many design features.
Creating an Account
To use PicMonkey, the first step is to create an account. This can be done by visiting the PicMonkey website and clicking on the “Sign Up” button.
Users can choose to sign up with an email address or via Google or Facebook for more convenience.
After filling in the required details, including a password, users will receive a confirmation link in their email.
Following confirmation, they can log in and access the platform.
It’s important to note that PicMonkey offers a free trial. After the trial, users can decide whether to continue with a subscription for additional features.
Navigating the Interface
Once logged in, users will find the PicMonkey interface user-friendly. The main dashboard displays several options, such as templates, design tools, and saved projects.
On the left side, a menu shows different categories, including banners, social posts, and flyers.
By clicking on “YouTube Banners,” users can access a variety of customizable templates perfect for their channels.
The editing tools are located at the top and include options for adding text, images, and graphics.
Users can easily adjust colors, fonts, and sizes with just a few clicks.
Helpful prompts guide users through each step, making the design process simple and enjoyable.
Designing Your Banner
Creating a custom YouTube banner involves careful planning and execution. Key steps include selecting the right dimensions, choosing a suitable template, and customizing the design to reflect the channel’s brand and personality.
Selecting the Right Dimensions
To make a great first impression, it’s crucial to use the right dimensions for the YouTube banner. The recommended size is 2560 x 1440 pixels. This ensures that the banner looks sharp on any device.
YouTube also has a safe area for text and logos. This area is 1546 x 423 pixels, which works well for viewing on mobile devices.
Using these dimensions helps avoid a cropped or distorted banner. Always check the guidelines from YouTube to keep your banner visually appealing and functional.
Choosing a Template
Using a template can save time and effort while ensuring a polished look. PicMonkey offers various templates tailored for YouTube banners.
When selecting a template, consider the channel’s theme. There are templates for gaming, lifestyle, education, and more.
Using a template allows for creativity without starting from scratch. They can be customized easily to fit personal style and brand identity. Choose a template that resonates with the channel’s vision.
Customizing Your Design
Customization is where creativity shines. PicMonkey provides tools to add personal touches to the chosen template.
Users can change colors, fonts, and images to align with their brand. Uploading logos or personal graphics enhances uniqueness.
It’s essential to maintain visual balance and ensure readability. Using contrasting colors can help important text stand out.
Incorporating elements like social media links can also engage viewers. Each design choice should reflect the channel’s personality and attract the right audience.
Adding Personal Touches
Personalizing a YouTube banner can make a channel stand out. By incorporating brand colors, using filters and textures, and adding unique text and graphics, a creator can showcase their style and attract viewers.
Incorporating Brand Colors
Choosing brand colors helps in creating a cohesive look. It connects the banner with other visuals like logos and thumbnails.
To start, they should identify the colors that represent their brand. This could be a mix of 2 to 3 primary colors.
Using tools in PicMonkey, they can fill the background or accent areas with these colors. This ensures harmony in design.
A color palette can evoke emotion and communicate the channel’s theme. It plays a vital role in making the channel memorable to viewers.
Using Filters and Textures
Filters and textures add depth and interest to the banner. They can transform a flat design into something dynamic.
PicMonkey offers various filters that enhance images and backgrounds. Creators should experiment with these to find the best fit.
Textures can be added to give a more tactile look. For example, a subtle grunge texture can make the banner feel more artistic.
Using these elements wisely helps highlight key parts of the design. It also ensures the banner is visually appealing and unique, attracting potential subscribers.
Adding Text and Graphics
Text and graphics are essential for conveying information. A clear title or channel name grabs attention instantly.
When adding text, creators should choose readable fonts. They can mix styles like bold for the channel name and lighter fonts for a tagline.
Incorporating logos or unique graphics reflects the channel’s personality. It can be images related to content, like camera icons for a photography channel.
Using PicMonkey, they can position text and graphics for balance. Proper alignment makes the banner attractive and easy to understand.
Finalizing and Uploading
Before uploading the banner, it is important to save it properly and ensure it meets all YouTube requirements. This section covers how to save the banner correctly and the steps to upload it to your channel, making it a simple process.
Saving Your Banner
To save the banner in PicMonkey, first, click on the “Save” button located in the upper right corner.
Users should choose the file format carefully; a PNG format is recommended for high quality.
Next, they need to select the appropriate size. YouTube banners should be 2560 x 1440 pixels to ensure they display correctly on all devices.
Finally, after confirming the settings, click on “Save” again.
It’s essential to note where the file saves on the computer, making it easy to find later for uploading.
Uploading to YouTube
To upload the banner to YouTube, the user should first open the YouTube website and log into their account.
From there, they can navigate to their Channel by clicking on their profile icon.
Once on the channel page, selecting the “Customize Channel” option will allow them to access channel art settings.
Here, they can click on the “Add Channel Art” option.
After that, they should select the previously saved banner file and follow the prompts.
It’s crucial to check how the banner appears on different devices to ensure it looks great for everyone.
Finally, they can click “Save” to set the new banner.