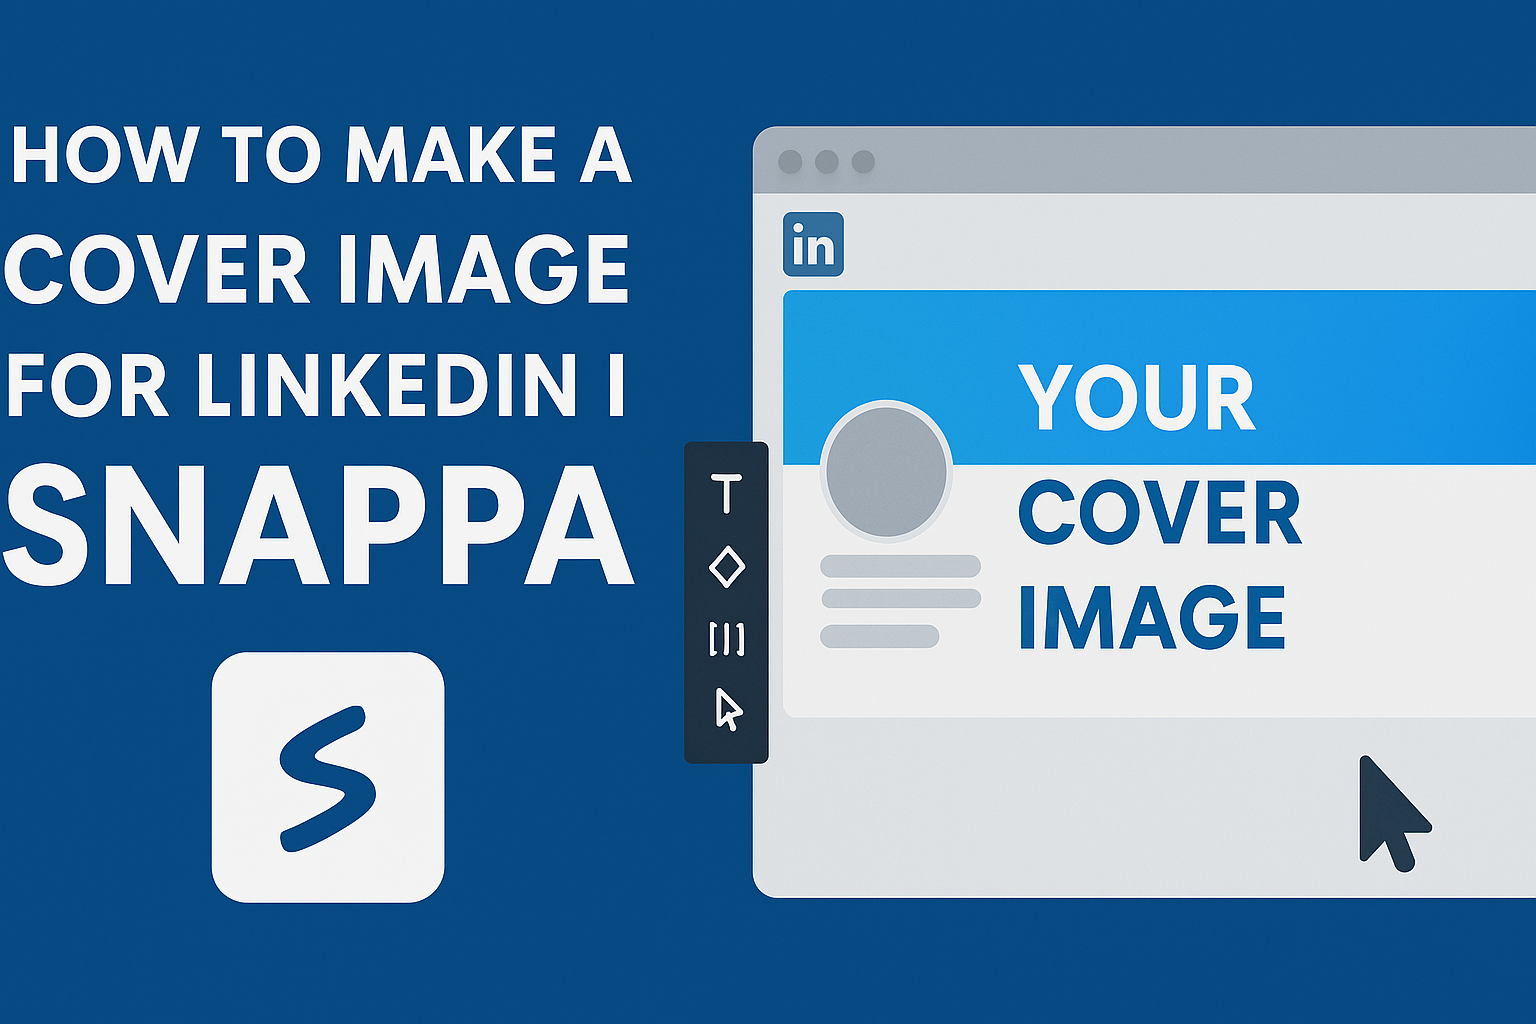
Creating a captivating cover image for LinkedIn can set a professional tone and attract attention.
Using Snappa, anyone can easily design a unique and engaging LinkedIn cover image that represents their personal brand or company.
With a variety of templates and customization options, crafting the perfect banner is both simple and efficient.
A well-designed cover image can enhance a LinkedIn profile and make a strong first impression.
Snappa offers tools that allow users to choose from ready-made templates, making it easy for anyone to create a visually appealing banner.
By selecting the right dimensions and personalizing the design, individuals can showcase their skills and personality effectively.
With just a few clicks, a LinkedIn cover image can be transformed to stand out in a crowded online space.
This article will guide readers through the process, ensuring they make a memorable impact.
By the end, they will be ready to create a cover image that captures their professional identity.
Getting Started with Snappa
To begin using Snappa for creating a LinkedIn cover image, it’s essential to first sign up for the service.
Once signed up, understanding the user interface will make the design process smooth and enjoyable.
Signing Up for Snappa
Getting started with Snappa is straightforward. Users need to visit the Snappa website and click on the “Sign Up” button.
They can register using an email address or connect through Google or Facebook.
After entering the necessary information, users will receive a confirmation email. Clicking on the verification link will complete the registration.
Snappa offers both free and paid plans. The free plan provides access to basic features, while the paid plans unlock more advanced tools and assets.
Understanding the User Interface
Once inside Snappa, users will find a clean and user-friendly interface.
The dashboard displays templates, images, and a variety of design tools.
On the left side, users can access templates specifically for LinkedIn cover images.
The center area is where the design happens. Users can drag and drop elements into their design.
The right side shows adjustments and options for various layers. Familiarizing oneself with these sections will enhance the overall design experience and efficiency.
Designing Your Cover Image
Creating a LinkedIn cover image involves careful planning to ensure it reflects personal or professional branding.
This section will focus on essential steps like selecting dimensions, choosing templates, and customizing design elements for an eye-catching cover image.
Selecting the Correct Dimensions
The first step in designing a LinkedIn cover image is selecting the right dimensions.
LinkedIn recommends a cover photo size of 1584 x 396 pixels for optimal display across devices. Using the correct size ensures that the image appears sharp and professional.
When resizing images, pay attention to the file format as well. JPEG or PNG formats are ideal for LinkedIn.
Always preview how the image looks on both mobile and desktop versions to make sure everything aligns properly.
Choosing a Template
Choosing a template can simplify the design process. Snappa offers a variety of professionally designed LinkedIn banner templates.
Each template can be customized to reflect personal taste and brand identity.
When selecting a template, consider the theme that best represents professional goals or industry.
Choose a template that complements the profile photo and aligns with the overall branding. This helps make a cohesive look that stands out to viewers.
Customizing the Design Elements
Once a template is chosen, it’s time to customize the design elements.
Adjust colors, fonts, and images to reflect personal or professional branding. Using a consistent color palette helps create a visually appealing design.
Incorporate elements such as logos, personal photos, or statistics that represent achievements.
Adding a call-to-action can also make the cover image more engaging. Be mindful not to overcrowd the design; simplicity can often speak volumes about professionalism.
Adding Personal Touches
A unique LinkedIn cover image can make a personal statement about professionalism and branding. Customizing elements like colors, images, and fonts helps make the profile stand out.
Incorporating Brand Colors
Using brand colors in a LinkedIn cover image reinforces personal identity. They can help communicate a professional vibe and create a visual connection to other marketing materials.
To do this effectively, it’s important to find the right shades that match the brand. Many designers recommend using a color palette tool to select complementary colors.
A good guide is to use two or three main colors from the brand’s palette. Using these colors as backgrounds or accents can make the cover image visually appealing and consistent.
Uploading Custom Images
Custom images add a unique flair to LinkedIn profiles. They provide an opportunity to showcase interests, passions, or even personal achievements.
Images should be high-resolution to avoid pixelation. This is crucial for making a good first impression.
For a personal touch, individuals can consider using photos of their work environment or a professional event they attended. This can make the profile relatable and interesting.
Be sure to keep in mind LinkedIn’s guidelines for image size. A cover photo should ideally be 1584 x 396 pixels for the best quality.
Adjusting Fonts and Typography
The right fonts can enhance the overall look of the cover image.
Choosing fonts that reflect a person’s professional style can make a significant difference.
He or she should select fonts that are clear and easy to read. Script or decorative fonts might look nice but can be hard to read at smaller sizes.
Many people find it helpful to use bold or larger fonts for names or titles. This helps important information stand out. Mixing one or two types of fonts can create a dynamic look without being overwhelming.
Finalizing and Exporting
At this stage, the cover image is getting close to completion. It is important to ensure everything looks just right before moving on to download and upload the image to LinkedIn.
Previewing the Cover Image
Before exporting, it’s crucial to preview the cover image. Snappa offers a preview feature that allows users to see how the image will appear on different devices.
This is important because the design might look different on a desktop compared to a mobile phone.
To preview, simply click the preview button on Snappa. This lets users assess the visibility of text and images.
They can make adjustments to ensure everything is clear and professional-looking. Checking for consistency in colors and themes also helps maintain a cohesive brand image.
Downloading the Final Design
Once satisfied with the preview, users can download the final design. In Snappa, the download button is easy to find.
Users should choose the right file format based on their preferences.
The recommended formats for LinkedIn cover images are JPG or PNG. These formats maintain high quality without large file sizes.
Users should select the option for a high-resolution download to ensure sharpness when uploaded to LinkedIn.
Uploading to LinkedIn Profile
After the image is downloaded, it’s time to upload it to the LinkedIn profile.
Users need to go to their LinkedIn profile page and click on the cover photo area.
From there, they can upload the newly created image.
It’s important to check the alignment and ensure it fits correctly.
Adjustments might be needed after the upload, so users should review it once more to make sure it looks great in the LinkedIn layout.