Creating a banner for a blog can enhance its visual appeal and attract more visitors.
Using Easil makes this process easy and fun, even for those new to design. With numerous templates and user-friendly tools, anyone can create a professional-looking banner in no time.
In Easil, users can choose from a variety of pre-designed templates tailored for different themes and purposes. This allows for a personalized touch that reflects the blogger’s brand.
The platform offers simple editing features, making it accessible for everyone to experiment and find their style.
Understanding the Basics of Blog Banners
Blog banners play a key role in attracting readers and enhancing the visual appeal of a blog. They serve specific functions that are important for creating an engaging experience for visitors.
The Purpose of a Blog Banner
The primary purpose of a blog banner is to capture attention. It is often the first thing a visitor sees when they land on a blog page. A well-designed banner can draw readers in and encourage them to explore the content further.
Banners also communicate the theme of the blog post. This can be done through colors, images, and text. For instance, a cooking blog may use warm colors and appetizing images to entice food lovers.
Moreover, banners can be used for branding. A consistent style helps build recognition, making it easier for readers to identify a specific blog. This consistency can develop a loyal audience over time.
Standard Banner Sizes and Dimensions
Understanding standard banner sizes is crucial for ensuring optimal display across devices. Common blog banner sizes include 1200 x 628 pixels and 1920 x 1080 pixels. These dimensions work well for most layouts and platforms.
It is also important to consider responsive design. Banners should look great not just on desktops but also on tablets and smartphones. Utilizing flexible layouts or alternative sizes can help achieve this.
Using high-resolution images is essential. This ensures the banner appears crisp and clear. Images that are too small may become pixelated, detracting from the blog’s professional look.
Designing Your Banner
Creating a banner requires careful planning and attention to detail. Selecting the right colors, typography, and visuals will enhance the banner’s impact and make it stand out.
Choosing the Right Color Scheme
Color plays a crucial role in design. It sets the mood and communicates the message. For a blog banner, it’s important to choose colors that align with the blog’s theme.
Consider these tips:
- Complementary Colors: These are colors opposite each other on the color wheel. They create a vibrant look.
- Analogous Colors: These are next to each other on the wheel. They offer a harmonious feel.
Try using tools like Adobe Color or Canva to help choose color schemes. It’s also essential to think about the emotions colors evoke. For example, blue can convey trust, while red can signal urgency.
Incorporating Effective Typography
Typography conveys a lot about a brand. It can attract attention and improve readability. For a blog banner, selecting the right font style and size is key.
Here are some guidelines:
- Choose Readable Fonts: Stick to simple and clean fonts. Script fonts can be beautiful but may not be easy to read.
- Limit Font Choices: Use no more than two or three different fonts to keep the design cohesive.
Ensure that the main message is clear. Highlight important words by making them bold or using a larger font size. This approach will make the banner more engaging.
Using Visuals and Images Creatively
Visual elements capture attention and enhance the message. Incorporating images or graphics can make the banner more appealing.
Consider these strategies:
- High-Quality Images: Use clear and crisp images. Avoid pixelated visuals as they look unprofessional.
- Graphic Elements: Simple shapes or icons can add interest without overwhelming the banner.
Position visuals to guide the viewer’s eye toward the main message. Balancing images with text will create a pleasing layout. Using white space effectively will prevent a cluttered appearance.
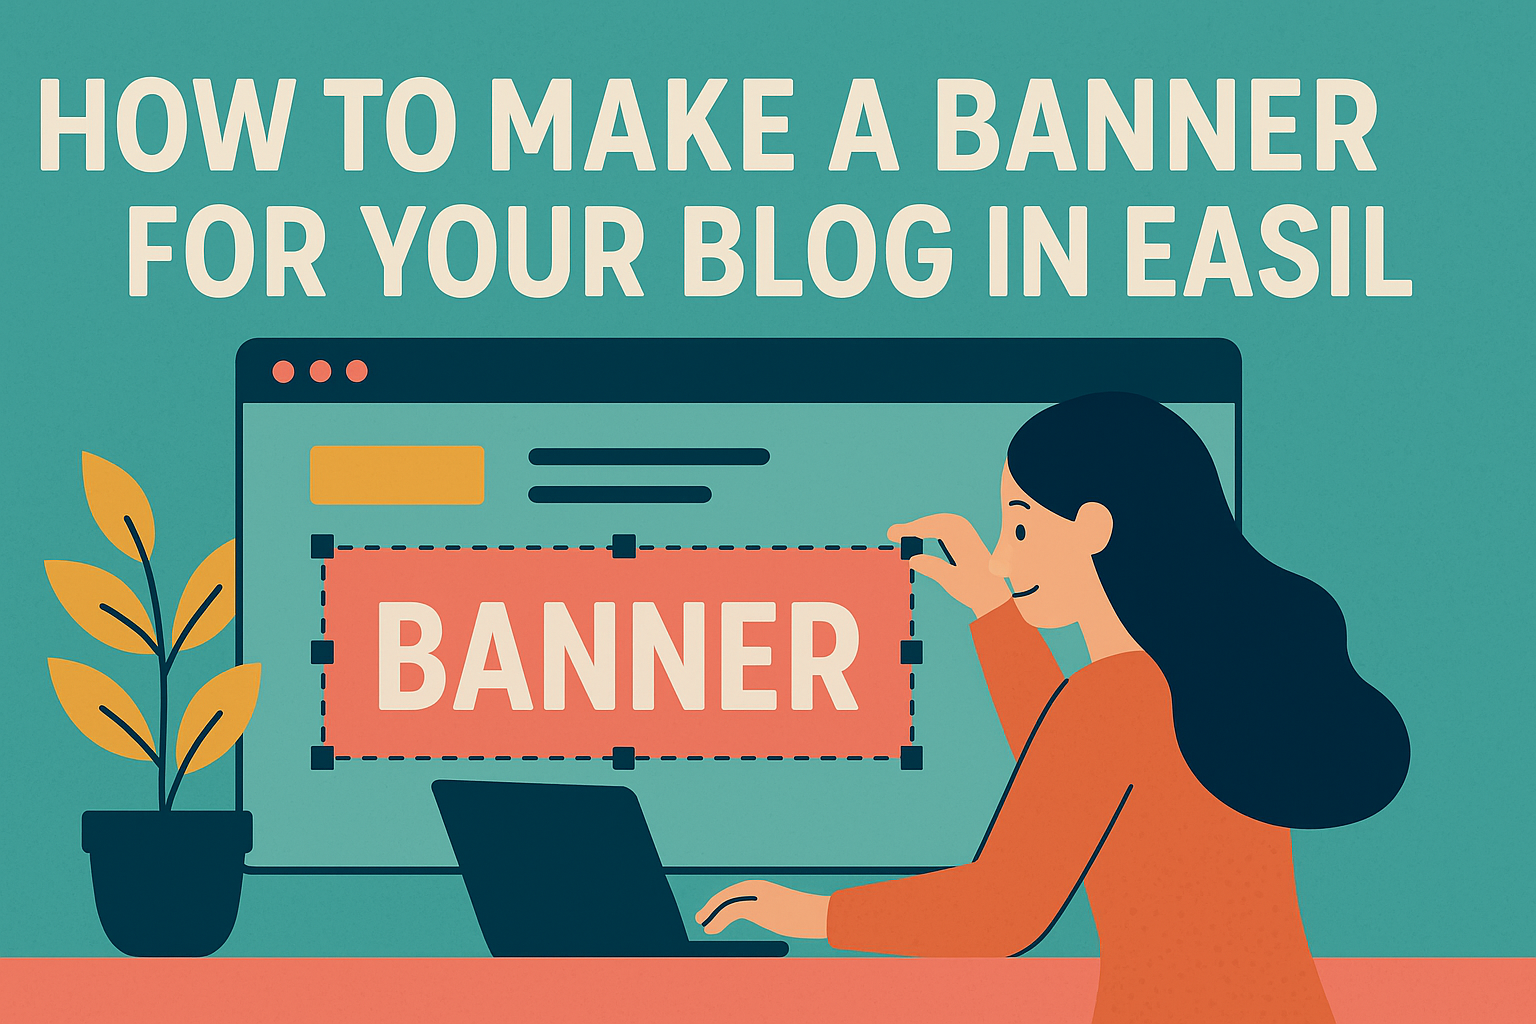
Creating a Banner in Easil
Creating a banner for a blog can be a fun and creative process. Easil offers an easy way to design eye-catching banners using its features and templates.
Getting Started with Easil
To begin, users should sign up for an account on Easil. The platform is user-friendly, making it accessible for everyone.
After logging in, they can explore a variety of templates designed for blogs and social media.
Once a template is chosen, users can click on it to open in the editor. Easil provides helpful tutorials to guide new users through the basics. This makes it easier for them to create a polished look for their banner.
Using Easil Templates and Tools
Easil features a wide range of templates that cater to different styles and themes. Users can filter options based on the type of banner they want to create.
These templates offer a solid foundation to start designing.
In addition, Easil provides various design tools within the platform. Users can adjust backgrounds, add shapes, or include text boxes. This gives them the freedom to customize their banners to fit their specific needs.
Customizing Your Design in Easil
Customization is key to making a banner unique. Users can easily edit text to convey their message. They can change fonts, sizes, and colors to match their brand.
Adding images and graphics is another simple step. Easil allows users to upload their own images or choose from its library.
After making adjustments, users can preview their designs to ensure they look just right.
Finally, when satisfied, users can download their banner in different formats. This ensures the banner is ready for online use or printing.
Best Practices for Blog Banners
Creating an effective blog banner requires attention to detail. Important aspects include maintaining brand consistency, optimizing for performance, and continually refining design choices based on feedback.
Maintaining Brand Consistency
It’s crucial for a blog banner to reflect the brand’s identity. This means using the same colors, fonts, and logos that are found throughout the blog.
Key elements to ensure consistency include:
- Color Palette: Use brand colors to create a uniform look.
- Font Choices: Stick to 1-2 fonts that embody the brand’s personality.
- Logo Placement: Always include the logo in a consistent area of the banner.
These elements work together to strengthen recognition and build trust with the audience.
Optimizing for Load Time and SEO
A banner should be visually appealing, but it also needs to load quickly. Slow-loading images can increase bounce rates and frustrate users.
To optimize for performance:
- Image Size: Use the right dimensions for blog spaces to avoid unnecessary scaling.
- File Format: Choose formats like JPEG or PNG for balance between quality and size.
- Alt Text: Include descriptive alt text for SEO benefits and improved accessibility.
These steps help ensure that the banner not only looks good but also fits seamlessly into the blog’s structure.
Testing and Iterating on Your Design
Design is an ongoing process. It’s vital to test different designs for effectiveness and engagement.
Observing how readers interact with banners allows for necessary adjustments.
Consider these testing methods:
- A/B Testing: Create two versions of a banner to see which performs better.
- Feedback Surveys: Ask readers what they think about the banner.
- Analytics: Use tools to track click-through rates and user behavior.
By gathering data and insights, it becomes easier to iterate and enhance the design for maximum impact.