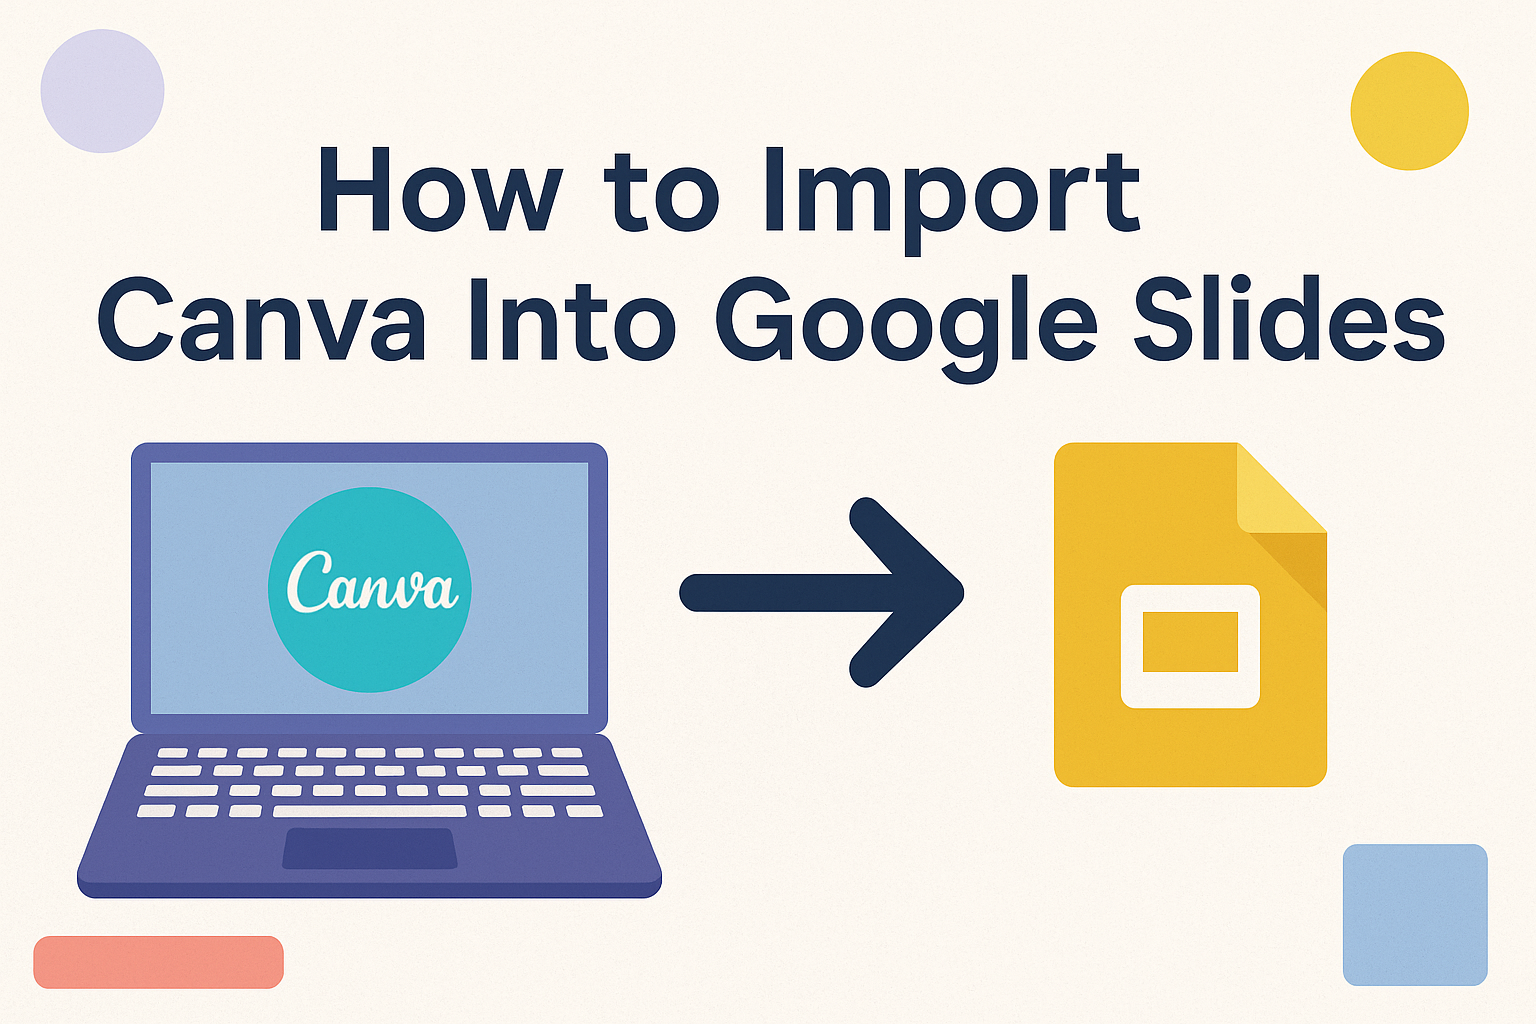
In the digital age, combining creativity with collaboration can make a big difference in presentations. Canva offers unique design tools, perfect for crafting visually stunning slides. On the other hand, Google Slides excels in real-time collaboration and sharing.
To import Canva presentations into Google Slides, users can easily export their designs and upload them for seamless collaboration.
This process blends Canva’s artistic templates with the teamwork-friendly environment of Google Slides. By learning how to merge these platforms, users can enhance both the style and functionality of their presentations.
For those looking to elevate their presentation game, this combination can offer the best of both worlds. The steps are straightforward and empower users to create and collaborate with ease, making their slides both attractive and functional.
Understanding Canva and Google Slides Integration
Integrating Canva with Google Slides brings a creative edge and flexible editing capabilities together. Users can enhance their presentations with Canva’s design tools while benefiting from Google Slides’ collaborative features and easy accessibility.
Benefits of Combining Canva Designs with Google Slides
Bringing Canva designs into Google Slides offers a unique blend of creativity and functionality. Canva provides a wide range of design elements, templates, and intuitive design tools that allow users to create visually appealing slides.
These designs can then be easily edited and shared within Google Slides, making it perfect for collaboration.
Google Slides supports real-time editing, so teams can work together across different locations. Additionally, it offers cloud storage that ensures constant access to presentations from any device with internet connectivity. This integration lets users enjoy the best of both platforms, fostering efficient teamwork.
Required Preparations for Import Process
Before starting the import process, ensure that files are accessible on both platforms.
First, log into Canva and open the desired presentation file. Users should check that all design elements in Canva are finalized. Any changes are best made at this stage to avoid extra steps later.
Connecting Canva to Google Drive is crucial, as it allows for seamless file transfers. Users should click on the share button in Canva, select the Google Drive option, and follow prompts to complete the connection.
It’s important to review the presentation once imported into Google Slides to verify that all elements appear correctly and nothing has been altered during the conversion.
Starting with Canva
Starting with Canva involves creating a presentation that meets your needs, choosing a suitable template, and customizing it to your liking. This section covers these aspects in simple steps.
Creating a Design in Canva
To begin, users log into Canva and select the “Presentation” option from the dashboard. This navigates them to a workspace with a blank presentation or a template gallery.
A user-friendly drag-and-drop interface makes it easy to add elements like text boxes, images, and charts. Users can explore different features such as changing background colors or adding animations to slides.
Designs can be continuously updated, as changes are saved automatically. This ensures that users can always come back to edit or enhance their presentation later.
Selecting the Appropriate Canva Template
Canva offers a diverse selection of templates, each tailored for different purposes. Whether it’s for a corporate meeting or a school project, users can browse through categories to find a suitable template.
Choosing the right template is important. It sets the tone for the presentation and helps communicate the intended message effectively. Users can preview each template to decide if it aligns with their vision.
This makes the selection process easier and ensures that the final presentation is both visually appealing and functional.
Customizing Your Canva Slide
Customization allows users to personalize each slide according to their needs. This may involve tweaking the text, changing fonts, or modifying images.
Canva provides options to upload personal photos and logos, enabling brand-consistent presentations.
Colors can be adjusted to fit the desired theme or mood, and elements can be resized or rearranged for optimal layout. Using Canva’s extensive library of icons and stickers can also enhance the presentation’s creativity and engagement.
With these tools, users can create a distinctive presentation that stands out.
Exporting Your Canva Creation
When exporting a design from Canva for use in Google Slides, it’s important to choose the right file format and know how to download it properly. These steps ensure a smooth transition as you move your creative work from one platform to the other.
Choosing the Right File Format
Selecting the correct file format is key. Canva offers various options such as PDF, PNG, and JPEG. For presentations, PDF is often the best choice because it maintains the layout and quality of your slides.
PNG is also a good option if you need high-quality images. However, PDF files are easier to import into Google Slides, as they keep the structure of the slides intact.
It’s helpful to decide based on what works best for your specific needs. File size and quality might impact your choice too. Keeping these factors in mind helps when you upload your design to Google Slides.
Downloading Your Design from Canva
Downloading your design from Canva is straightforward. Start by clicking the Share button at the top right corner of the Canva interface. A menu will appear with various options to save your work.
Choose the correct file format for Google Slides. Then, click Download. Make sure to save it in an easy-to-find location on your computer. This makes the upload to Google Slides quicker.
If you face any issues, retracing your steps or checking the file format could help. Taking care of these details will lead to smoother integration into Google Slides.
Setting Up Google Slides
Starting with Google Slides is easy and helps in successfully importing Canva designs. Two main steps are creating a new presentation and familiarizing yourself with the layout and features of Google Slides.
Opening Google Slides and Creating a New Presentation
To begin, the user needs to open Google Slides. This can be done by navigating to the Google Apps grid on the homepage of any Google service like Gmail or Google Search. Clicking on the Slides icon takes them to the main interface.
Once on the Slides homepage, they can start a new presentation by clicking on the blank slide thumbnail labeled “Blank”. This opens up a fresh document where they can name their project by clicking on “Untitled presentation” at the top left. It’s important to give the presentation a clear and descriptive title to easily identify it later.
Creating a new presentation lays the foundation for importing Canva presentations. Users must ensure they are logged into the correct Google account to avoid confusion. They should also keep the Slides interface open in a separate tab to switch between Canva and Google Slides easily.
Understanding Google Slides’ Layout and Features
Google Slides offers several features designed to make editing and collaboration simple. The menu bar at the top gives access to key functions like File, Edit, and View, while the toolbar just below it provides quick access to formatting tools.
On the left, there is a sidebar that shows slides in thumbnail form. This helps users navigate between slides. The main area is the slide itself, where users will spend most of their time editing.
Another key feature to explore is the ability to share and collaborate in real-time. Users can invite collaborators by clicking the “Share” button and entering email addresses. Understanding how to add comments and assign tasks enhances teamwork, making Google Slides a powerful tool for group projects.
Importing Design into Google Slides
When moving designs from Canva to Google Slides, there are a few steps involved. It includes adding images or content and making necessary adjustments to fit the slide’s layout and design.
Inserting Images or Content to Google Slides
To add your Canva design to Google Slides, start by exporting your Canva project. First, open Canva, choose your completed design, and download it as a PowerPoint file. This makes the transfer smooth and easy. After downloading, open Google Slides.
In Google Slides, click on “File” and select “Import Slides.” Choose the “Upload” tab and navigate to your saved PowerPoint file. This will open a dialog to pick which slides to import. Select the slides and click “Import.”
These imported slides appear ready to edit just like any other slide in Google Slides. It’s a quick way to get your Canva work into the presentation format you need for Google Slides. For more detailed instructions, check out the guide on importing Canva presentations into Google Slides.
Adjusting the Imported Content on the Slide
Once your design is in Google Slides, there might be some tweaks needed. The formatting or layout may not always match perfectly since Canva uses different design systems. Check the slides for issues like image misalignment or text overflow.
To adjust, click on any element to resize or move it. Text boxes can be dragged to fit better or edited to match the Google Slides style. Images might need resizing to ensure they appear correctly on all devices.
Using Google Slides editing tools can help align and perfect your presentation. For further tips, you might find the step-by-step process of importing Canva designs into Google Slides helpful.
Tips for a Seamless Presentation
To deliver a smooth presentation, start by familiarizing yourself with the slide order and key talking points.
Practice transitioning from one slide to the next, maintaining a steady pace. This ensures confidence during the actual presentation.
Use the Present option in Google Slides to rehearse. This can give a feel for how the slides will appear to the audience.
It also allows you to adjust the flow and timing of your speech.
Ensure technical equipment is ready. Check the internet connection if you plan to present online.
Test the projector or display screen to prevent last-minute glitches. Having backups like a PDF version can be a lifesaver in case of technical failures.
Finally, engage the audience by asking questions or including interactive elements. This keeps everyone interested and makes the presentation more memorable.