For anyone working on designs in Canva, the snap to grid feature can feel frustrating at times. Many users want more freedom in placing their elements without those annoying alignment guides popping up.
To turn off the snap to grid feature, simply go to the “View” menu and uncheck the “Snap to Grid” option.
Understanding how to control this setting can greatly enhance the design process. It allows for more creativity and flexibility when arranging images, text, and other elements.
With just a few clicks, designers can customize their workspace to better suit their individual style and needs.
Taking control of the snapping feature can make a significant difference. Designers should feel empowered to create exactly what they envision without limitations.
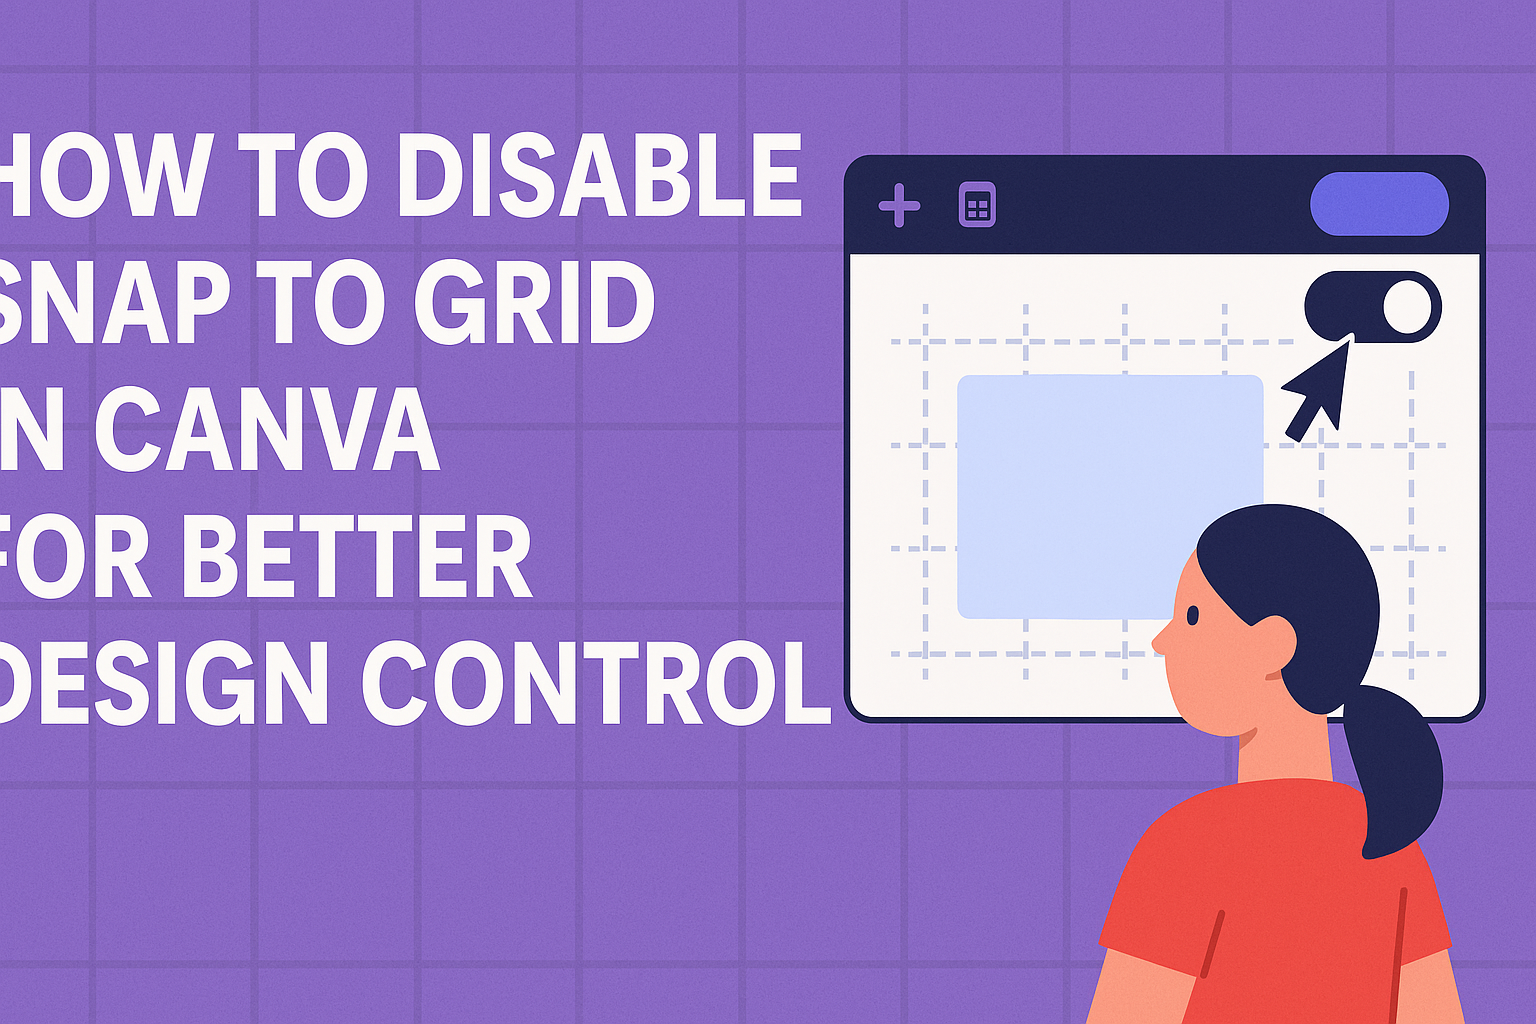
Understanding ‘Snap to Grid’ in Canva
‘Snap to Grid’ helps users align elements easily while designing in Canva. It creates a more organized look and aids in precise placement of objects.
Knowing how this function works can greatly enhance the user’s design experience.
Purpose and Functionality of Snap to Grid
The main purpose of ‘Snap to Grid’ is to facilitate alignment. When this feature is enabled, elements will automatically adjust to connect with the grid lines on the canvas. This allows for consistent spacing and layering of items, making designs neater.
For instance, when moving an image or text box, it will “snap” into place when it gets close to a grid line. This function is beneficial for those looking to maintain symmetry in their designs, especially in layouts that require precision.
Additionally, the feature can be toggled on or off from the ‘View’ menu, allowing flexibility based on the user’s needs. Knowing when to use this tool can help in creating visually appealing designs without much hassle.
Preparing to Disable Snap to Grid
Before turning off the snap to grid feature in Canva, users need to access their designs and become familiar with the Canva interface. These steps will make the process smoother and more efficient.
Accessing Your Canva Design
To start, the user needs to log into their Canva account.
Once logged in, they can either create a new design or open an existing project. If using a template, selecting it from the available options is simple.
After opening the design, the user will see the workspace. Here, all elements like text, images, and shapes will be clearly visible. This is the space where adjustments will be made.
It is important to familiarize themselves with the layout at this stage. Recognizing where tools and controls are will help them disable the snap to grid feature more easily.
Navigating the Canva Interface
The Canva interface is user-friendly. The top menu bar includes various options such as File, Edit, and View. The “View” menu is crucial for this task.
To find the snap to grid setting, the user should look for the “View” option. Once selected, a dropdown menu appears. Here, they need to check for “Snap to Grid” and uncheck it to disable this feature.
Additionally, knowing how to select individual elements is helpful. Clicking on any object lets the user move it freely. Understanding these features simplifies the design process and allows for greater creativity.
Step-by-Step Guide to Disabling Snap to Grid
To disable the Snap to Grid feature in Canva, users need to follow specific steps. This guide provides clear instructions on how to select the right design elements and turn off the Snap to Grid setting for a better design experience.
Selecting the Right Elements
First, users should select the elements they want to adjust. In Canva, this includes text boxes, images, and shapes.
-
Click on the Element: Start by clicking on the element directly on the canvas. This highlights the item and allows for adjustments.
-
Multi-Select: If multiple items need changes, hold down the Shift key and click each element. This will select all chosen items together.
-
Grouping Elements: For better control, users may want to group elements. They can do this by clicking on “Group” in the top menu after selecting the items. Grouping lets them move and adjust multiple elements at once without snapping to grid.
Turning off Snap to Grid Feature
Disabling Snap to Grid can be done quickly within Canva’s settings. Here’s how:
-
Access File Menu: Click on the File menu at the top left of the screen.
-
Toggle Grid Settings: Look for the option labeled Show rulers and guides. Uncheck this option to turn off the Snap to Grid feature.
-
Using Keyboard Shortcuts: For an even faster method, users can hold down the Ctrl key (or Command for Mac users) while dragging their elements. This allows precise placement without snapping.
By following these steps, users can successfully disable the Snap to Grid feature in Canva, giving them greater flexibility in their designs.
Adjusting Your Design After Disabling Snap to Grid
Once the Snap to Grid feature is turned off in Canva, designers can freely move elements around. This flexibility allows for more creative control, but it also requires attention to alignment and spacing. Here are some effective ways to adjust designs after disabling this feature.
Aligning Elements Manually
Manually aligning elements can be a straightforward process. Designers can click on any object and drag it to their desired position. Using the arrow keys on the keyboard can provide precise adjustments for fine-tuning the placement.
To make sure elements look good together, it’s helpful to use consistent spacing. For example, keeping a distance of at least 10 pixels between objects can create a more polished look. If two elements are close together, they can feel cramped.
Additionally, turning on the grid view temporarily may assist with placing items where intended. Even without Snap to Grid, it can help with visual reference.
Using Guides for Precision
Canva offers guide lines that can make positioning elements easier. To add these lines, designers can click on the ruler at the top or side of the canvas and drag them into place. These guides help in ensuring that components align perfectly.
Setting guides at key points can aid in creating symmetry. For example, one could place a guide in the center for vertical and horizontal alignment, which is useful for balanced compositions.
It is also beneficial to group elements that are meant to stay together. By selecting multiple items and clicking Group, they will move as one, maintaining their arrangement. This feature enhances the overall design process by minimizing misalignment.
Troubleshooting Common Issues
Sometimes, problems may arise while trying to disable the Snap to Grid feature in Canva. Users can encounter issues like features not responding or accidentally re-enabling the function. Here are solutions to help resolve these common problems.
Re-enabling Snap to Grid
If the Snap to Grid feature keeps turning back on, users should first check their settings. Going to the “View” menu at the top of the screen is a good start.
- Click on “View.”
- Look for the “Snap to Grid” option.
- If it’s checked, click it to uncheck and disable the feature.
If the issue persists, refreshing the browser or clearing cache may help. Sometimes, glitches happen.
It’s also useful to ensure that no keyboard shortcuts are being mistakenly activated. Users can also try using a different browser, as this can resolve unexpected problems.
Handling Unresponsive Features
When Canva features do not respond, it can be frustrating. Here are steps to troubleshoot this issue.
- Refresh the Page: A quick refresh often fixes minor glitches.
- Check Internet Connection: A stable connection is essential for Canva to function properly.
- Clear Cache and Cookies: This can help with performance issues and loading errors.
If the problem continues, restarting the device may help.
It’s also wise to ensure that the browser is updated to the latest version. In some cases, switching browsers can clear up persistent issues.
Users should remember that sometimes, the system might be undergoing maintenance, which could also cause features to be unresponsive.
Best Practices Without Snap to Grid
Working without the snap to grid feature in Canva can provide more freedom for creative designs. Here are some best practices to help create great visuals.
Use Guides and Rulers
Canva offers guides and rulers to help align elements. This can be especially useful for keeping designs organized and balanced. It allows for precise placement without snapping.
Adjust Element Positioning
When moving elements, she can use the arrow keys for small adjustments. This helps to fine-tune positions and create a cleaner look. It’s a simple way to gain control without snap features.
Utilize Layering
Layering elements can enhance the depth of a design. She should play around with bringing elements forward or sending them backward. This creates a layered effect that looks professional.
Maintain Consistent Spacing
He should pay attention to the space between elements. Maintaining consistent spacing creates a harmonious design. This can be achieved by visually assessing distances rather than relying on a grid.
Experiment Freely
Without snap to grid, there’s room to experiment. Try different placements to see what works best. Creativity can flourish when she feels unbound by strict guidelines.
Saving and Exporting Your Canva Design
After finishing a design in Canva, saving it is essential. Canva saves changes automatically, but users can manually save their work too.
To save a design, click on the File menu at the top left.
Selecting “Save” ensures that all recent changes are secured.
When ready to export, several formats are available:
- PNG: Great for images with a transparent background.
- JPEG: Ideal for photos and web graphics.
- PDF: Perfect for printing or professional sharing.
- MP4 or GIF: Used for animated designs.
To export, go to the Share button in the top right corner.
Choose “Download,” select the desired file type, and click the Download button.
Before downloading, users can adjust settings. For example, they can change image quality or choose to export a specific page. This helps in getting the best final product.
After downloading, the design can be found in the computer’s downloads folder.
From there, it can be shared, printed, or uploaded to other platforms.