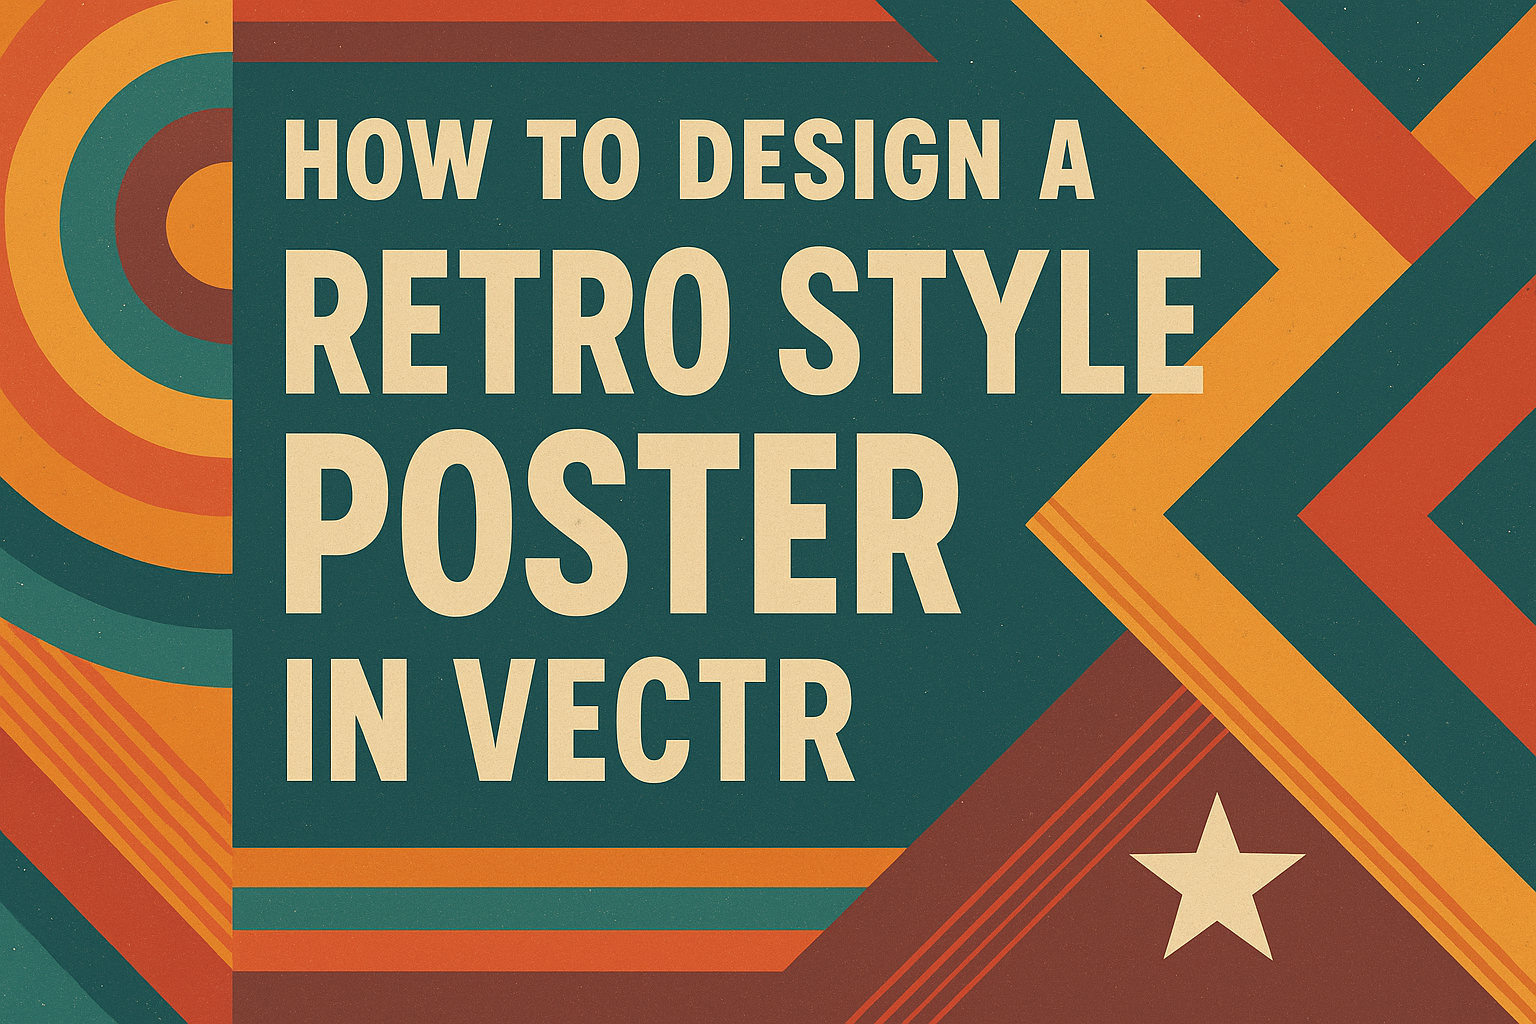
Designing a retro style poster can be an enjoyable and creative process.
To create a stunning retro poster in Vectr, one needs to focus on using bold shapes, vibrant colors, and interesting patterns. These elements help capture the nostalgic feel of vintage designs.
Throughout the article, readers will find step-by-step guidance on how to effectively use Vectr’s tools to bring their vision to life. They can learn how to combine different shapes and patterns to create a unique look that stands out.
Getting Started with Vectr
Vectr is a user-friendly vector graphics design tool that makes it easy to create stunning visuals. Understanding how to navigate its workspace and set up a new document is key for beginners.
Understanding the Vectr Workspace
When a user first logs into Vectr, they are greeted by a clean workspace. The workspace includes a menu bar, a sidebar, and a canvas area.
The menu bar at the top offers options to create, open, and save projects.
The sidebar contains useful tools for designing. It provides access to shapes, text, icons, and layers. Users can easily switch between tools or select items on the canvas. On the right side, properties like color, stroke, and effects can be modified.
These elements come together to form a smooth design experience. Familiarizing oneself with the layout will boost confidence while working.
Setting Up a New Document
Creating a new document in Vectr is straightforward.
To start, users should click on “Create File” in the menu bar. This action opens a box where they can choose the page size.
Users can select from standard sizes or input custom dimensions. After choosing the size, clicking “Create” will lead them to the canvas.
Once the document is open, a user can begin designing right away. Saving the work regularly is important to prevent any loss. They can simply click “File” and then “Save” to secure their progress.
Taking these initial steps will help users get comfortable with Vectr and make their design process enjoyable.
Design Elements of a Retro Style Poster
Creating a retro style poster involves several key design elements that work together to capture that nostalgic feel. Important aspects include choosing the right color palette, selecting appropriate fonts, and incorporating vintage graphics. Each element plays a vital role in bringing a retro aesthetic to life.
Choosing a Color Palette
A retro color palette typically features muted tones and vibrant pops of color. Popular choices include soft pastels, earth tones, and bold primary colors. For instance, colors like mustard yellow, avocado green, and burnt orange can evoke a 70s vibe.
Using complementary colors enhances visual interest. A well-planned color schema can set the overall mood and emotion of the poster.
He or she can experiment with color combinations and gradients to achieve depth.
An effective way to create a color palette is to use online tools. There are many resources available that offer inspiration for color combinations.
Selecting Retro Fonts and Typography
Typography is crucial in establishing the retro feel of a poster. Fonts often reflect the design trends of their time. Popular styles include bold sans-serifs and playful scripts.
When choosing fonts, it’s essential to consider readability. Retro fonts should be eye-catching yet legible from a distance. Brands often used specific typefaces to create a unique identity during different eras.
Using different font sizes and weights helps create a hierarchy in the design. This makes important information stand out while maintaining an overall cohesive look. He or she can also mix fonts, as long as they complement each other.
Incorporating Vintage Graphics and Icons
Vintage graphics and icons contribute significantly to a retro style poster’s charm. This can include illustrations, patterns, and symbols that were popular in past decades. For example, geometric shapes and floral motifs could add character to the design.
He or she should consider using retro clipart or hand-drawn elements. These choices reinforce the nostalgic aspect of the poster.
Incorporating textures can also heighten the vintage feel. A grainy or distressed effect adds depth and interest, making the design feel authentic. Finding the right balance is key, as too many elements can overwhelm the viewer.
Creating Your Poster
This section focuses on key steps in designing a retro style poster using Vectr. The process includes arranging the layout, applying textures and effects, and finalizing the design for export.
Arranging the Layout
The layout sets the foundation for a poster. Begin by selecting the canvas size suited for your project. A common size is 18×24 inches.
Next, use grids to help align elements neatly. This can make everything look organized and professional. Add the main graphic or image you want to feature, such as an eagle or vintage travel theme.
Balance is key, so consider the placement of each element. Leave enough negative space to prevent clutter. Make use of layers to keep items distinct, allowing for easy adjustments later.
Applying Textures and Effects
Textures add depth and interest.
Start by choosing backgrounds that complement the theme. For a vintage look, consider muted colors or patterns.
Vectr offers various effects, such as gradients. Use these to create a sense of light and shadow. For instance, a slight gradient on text can help it pop against the background.
Additionally, layer transparency can give a worn look, enhancing the retro feel. Experiment with textures like paper or fabric to enrich the design. Don’t forget to preview the effects, as they can change the entire look.
Finalizing and Exporting the Design
Before exporting, it’s crucial to review the poster thoroughly. Look for any alignment issues or color mismatches.
Adjust layers for the best visual impact.
Once satisfied, export the design in high-resolution formats. Common options include PNG or PDF, depending on the intended use.
For print, ensure the resolution is at least 300 DPI.
Finally, keep a working file for any future edits. This way, changes can be made easily without starting from scratch.
Include any elements like logos or tags if required.