Designing a flat design character can be a fun and creative process. With Gravit Designer, anyone can turn basic shapes into unique characters with just a few steps.
This guide will show readers how to create a stylish flat design character using the intuitive tools available in Gravit Designer.
For those eager to explore character design, Gravit Designer is an excellent choice thanks to its user-friendly interface.
Artists can easily work with shape tools and the pen tool to build their creations. By following along, they will learn how to effectively use these tools to express their ideas and concepts.
Whether an artist is new to design or looking to sharpen their skills, this article will provide valuable tips and techniques. Crafting a character not only helps enhance design abilities but also opens up new possibilities for storytelling and visual expression.
Getting Started with Gravit Designer
Gravit Designer is an intuitive tool for creating flat design characters. It offers a user-friendly interface, flexible canvas setup, and essential tools to jumpstart any design project.
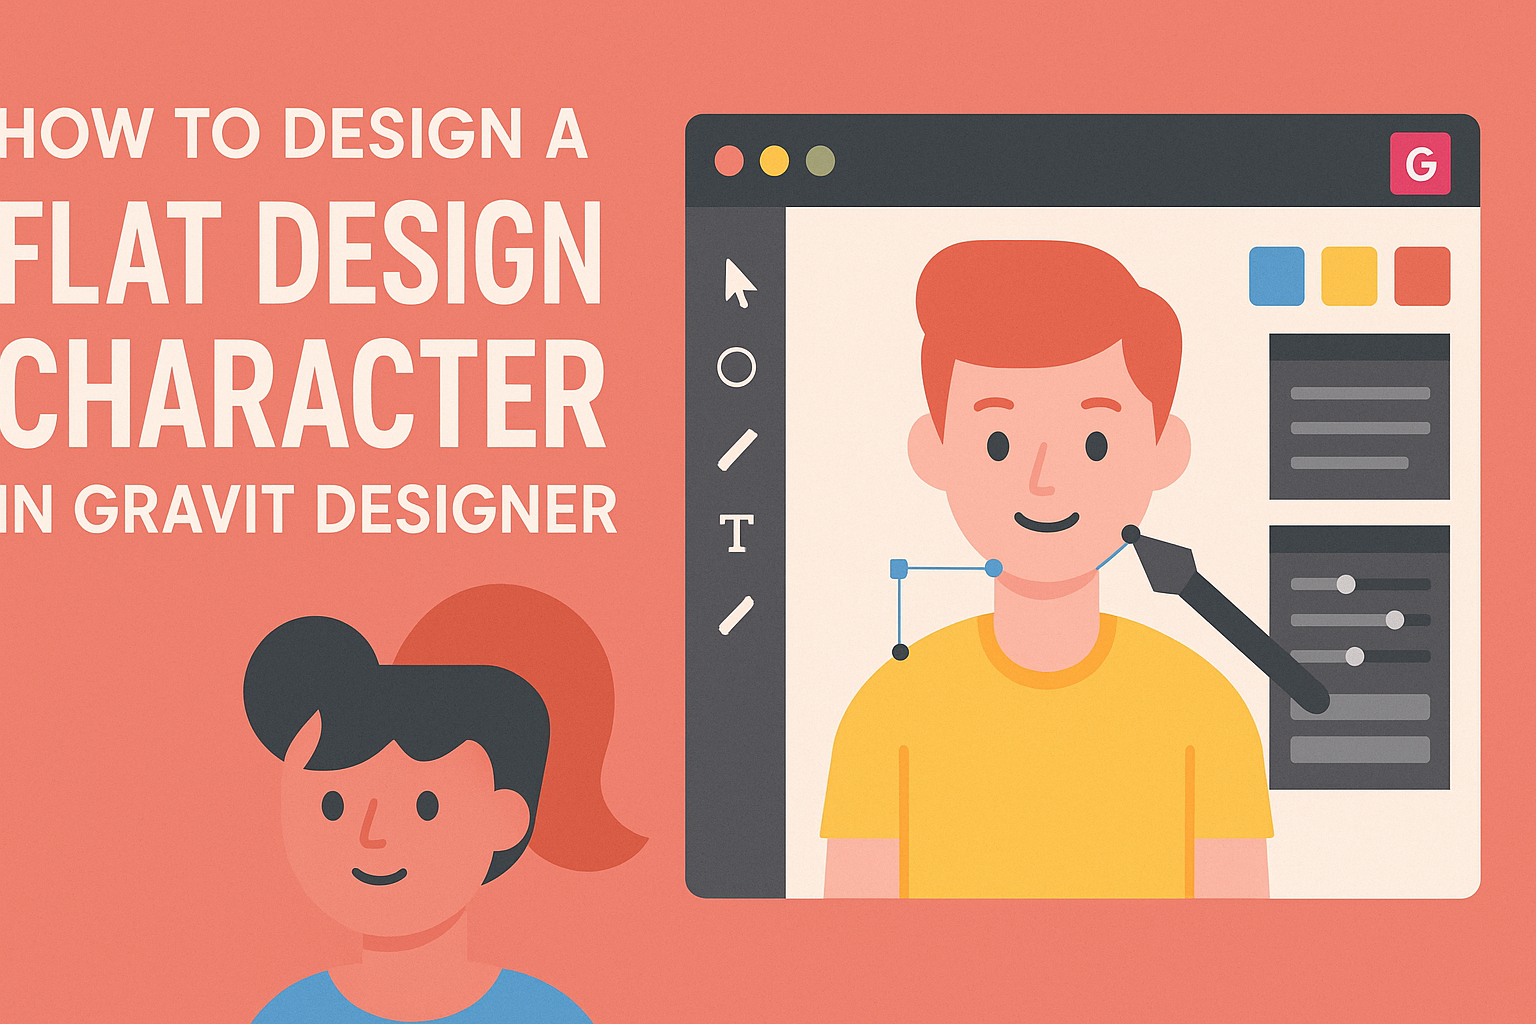
Understanding the Interface
When first opening Gravit Designer, users will see a clean interface.
The toolbar on the left has various design tools such as shapes, lines, and text options. The right side shows the properties panel, where users can adjust colors, sizes, and layers.
The top menu provides additional options like file management and view settings.
It’s beneficial to familiarize oneself with shortcut keys to improve efficiency. This understanding helps create a smooth workflow as they explore their creative ideas.
Setting Up Your Canvas
To begin, users need to create a new project. This can be done by selecting File > New Document.
There are different presets to choose from, such as A4, A5, or custom sizes.
Once the document is open, users can set up their canvas dimensions.
This is important for ensuring the design fits its intended use, whether for web or print. They can also choose RGB or CMYK color modes depending on their final output needs.
Selecting the Right Tools
Gravit Designer features a variety of tools tailored for different aspects of design. For creating flat design characters, the shape tools are essential.
Users can find basic shapes like rectangles, circles, and polygons in the toolbar.
The pen tool is also crucial for drawing more complex shapes and curves.
By practicing with these tools, users can create unique designs. Additionally, utilizing the text tool allows for adding personality through typography.
Selecting the right tools based on the desired character style makes the design process easier.
Designing Your Character
Creating a flat design character involves several key steps that help bring your ideas to life. From choosing a specific style to adding final details and colors, each phase plays a crucial role in character development.
Choosing a Style
Choosing the right style sets the tone for the entire character. Flat design often features bold colors and simplified forms.
He can explore different influences like cartoons, minimalism, or pop art to determine what resonates best.
It is important to create a mood board with images that inspire him. This board helps him visualize how different elements work together.
A clear style guides the design process and ensures consistency throughout.
Sketching the Basic Shape
Once the style is chosen, sketching the basic shape is the next step. Using basic geometric shapes like circles, rectangles, and triangles can simplify this process.
He can start by drawing a rough outline of the character’s body and head. Keeping proportions in mind helps create a balanced figure.
Using Gravit Designer’s shape tools simplifies this task.
Once the primary shapes are in place, he can refine the lines and adjust them as needed.
This stage provides a solid foundation for further detailing.
Adding Details and Colors
Adding details brings the character to life. He can begin by defining facial features, clothing, and any accessories. Simple expressions can add personality.
Using layers in Gravit Designer allows for easy adjustments.
Color is essential in flat design. He should use a limited color palette for consistency.
Bright, contrasting colors will make the character stand out.
Shadows or highlights can add depth but should remain subtle to maintain the flat design style.
Taking time with these details will enhance the overall charm of the character.
Refining Your Design
Refining a flat design character involves careful attention to detail. By aligning elements properly, using layers effectively, and applying the right effects, the overall design becomes clearer and more professional.
Aligning Elements
Alignment is crucial in design. Properly aligned elements create a polished look.
To start, use Gravit Designer’s alignment tools to center shapes and text. This tool ensures that all parts of the character line up correctly.
He can also use the grid and smart guides to assist with alignment. These features help position elements evenly and maintain balance throughout the design.
Creating a visual hierarchy is important too. Emphasizing key features with larger sizes or bolder colors can guide viewers’ eyes effectively.
Using Layers Effectively
Layers are a powerful feature in Gravit Designer. They help organize different parts of the design.
He should name each layer clearly, so it’s easy to find specific elements when editing.
Using groups is another way to manage layers. By grouping related elements, she can move them around together without losing their relative position.
He should also consider the order of layers. Placing important elements on top ensures they stand out. Regularly reviewing the layer structure can prevent confusion as the design evolves.
Applying Effects and Shadows
Adding effects can enhance the character’s presence. He can experiment with shadows to give depth. Soft shadows are great for a subtle effect, while harder shadows might add drama.
In Gravit Designer, it’s simple to apply shadow effects. Just select the object, go to the effects panel, and tweak the settings to achieve the desired look.
Additionally, consider using gradients or color overlays to bring more life to the character. This can add dimension and interest, helping it stand out more in any setting.
Exporting and Sharing
When a designer finishes creating a flat design character in Gravit Designer, the next step is to export and share the artwork. This process involves selecting the right export options and saving the design in a preferred format. Both steps are crucial for ensuring the artwork maintains its quality when shared.
Export Options
Gravit Designer provides several export options to suit different needs. Users can choose from formats like PNG, SVG, or PDF, depending on how they want to use their design.
- PNG: Great for web use, as it keeps the background transparent.
- SVG: Ideal for scalability without losing quality, perfect for logos and icons.
- PDF: Useful for print materials, ensuring the design stays sharp and clear.
To export, designers can go to the file menu, select “Export,” and choose their desired format. Users should ensure they set the resolution and dimensions based on the intended use, which can impact the final result.
Saving Your Design
Saving a design in Gravit Designer is straightforward. After completing the character, users should select “File” and then “Save” to keep their progress.
It’s wise to save frequently to avoid losing work.
Additionally, designers can create copies of their designs for different versions or modifications. This can be done using “Save As” to store variations under new names.
Regular backups help in maintaining versions and prevent losing earlier drafts if changes are needed later.