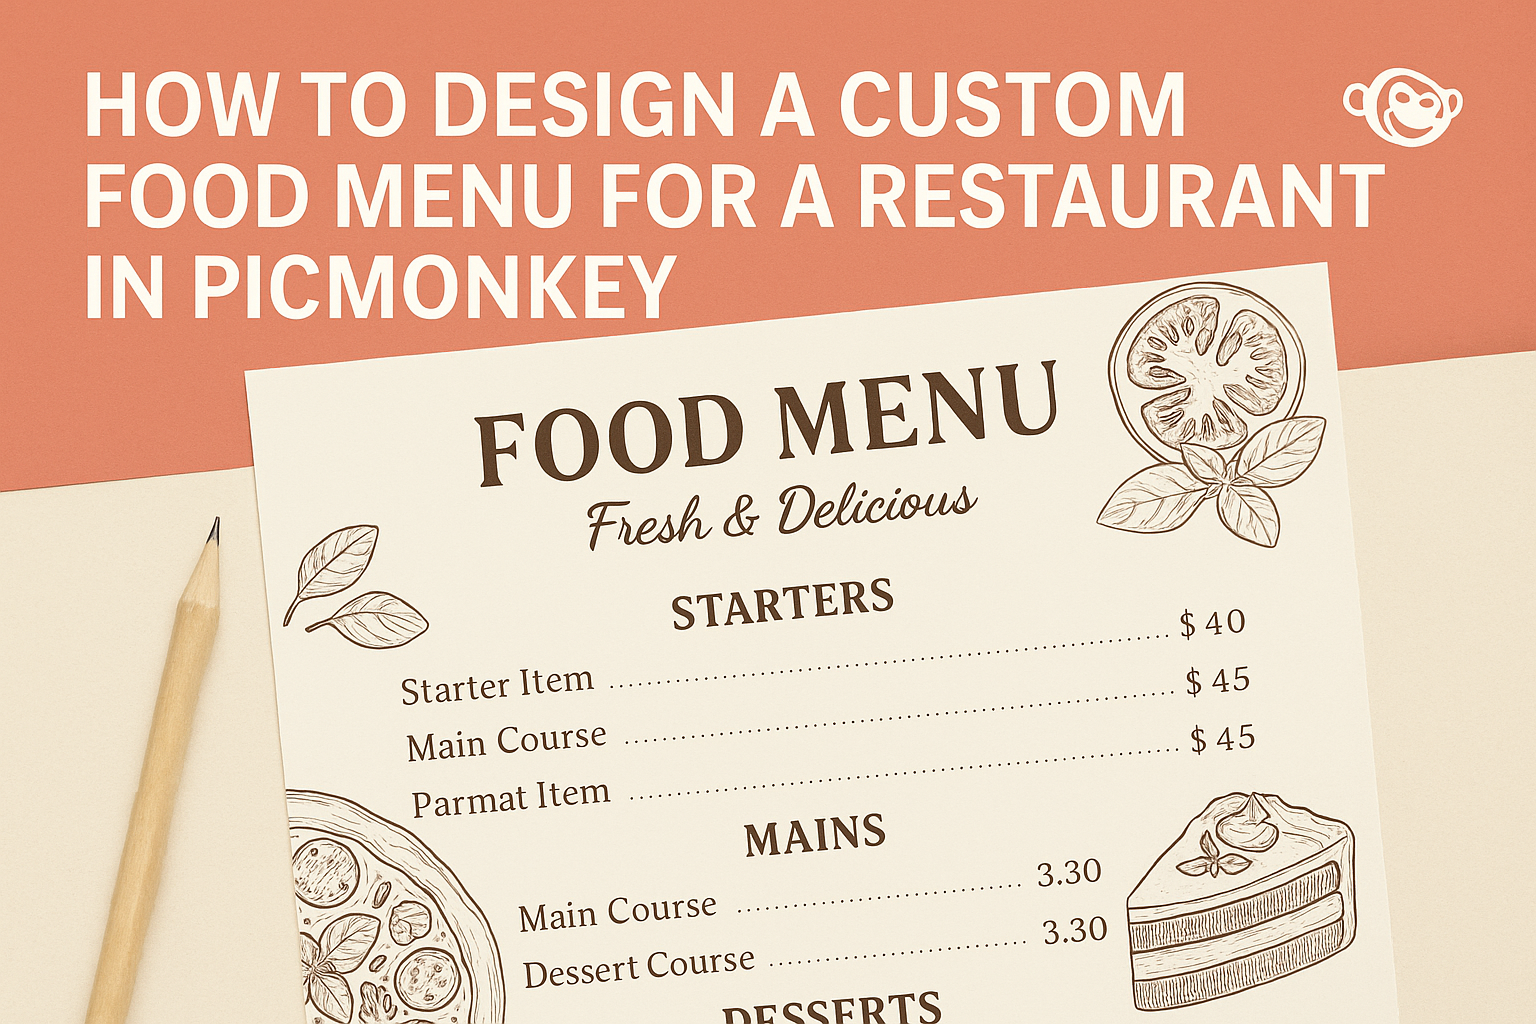
Creating a custom food menu for a restaurant can be an exciting process that showcases a chef’s unique style and offerings.
Using PicMonkey simplifies this task by providing easy-to-use tools and templates that help design an eye-catching menu. Coupled with beautiful food photography, a well-designed menu can entice customers and enhance their dining experience.
In today’s competitive market, a memorable menu can set a restaurant apart. PicMonkey allows users to experiment with layouts, colors, and fonts, making it easy to match the design with the restaurant’s brand identity.
With flexible options and templates available, anyone can create a professional-level menu without needing extensive design skills.
Whether starting from scratch or using a template, anyone can bring their vision to life in just a few clicks.
By focusing on appealing design elements and delicious imagery, a custom menu created in PicMonkey can significantly impact a restaurant’s success.
Understanding PicMonkey Basics
PicMonkey offers a user-friendly platform for designing custom food menus. By grasping the basic functions and tools available, a user can create unique and appealing designs suitable for their restaurant.
Creating an Account and Overview of Tools
To get started with PicMonkey, a user must create an account.
This process is straightforward: visit the PicMonkey website, click on “Sign Up,” and follow the prompts. Users can choose between a free trial or subscription plan based on their needs.
Once logged in, users can access a range of essential tools. These tools include photo editing features, templates, graphics, and text options.
Familiarity with these tools allows for better customization of menu designs. It’s beneficial for users to explore each feature to understand how they can enhance their projects.
Navigating the PicMonkey Interface
Navigating the PicMonkey interface is simple and intuitive.
At the top of the screen, users will find the main menu bar. This bar contains options for creating new designs, accessing saved projects, and viewing templates.
On the left side, the tool panel is located. Here, users can choose from different editing tools, including cropping, resizing, and applying filters.
Understanding the layout of the interface helps users work efficiently and effectively on their menu projects.
Choosing the Right Template
Selecting the right template is crucial for designing a food menu.
PicMonkey offers a variety of templates tailored for restaurants. Users can choose from single-page or multi-page layouts depending on their menu size.
When browsing templates, consider the restaurant’s theme and aesthetic. The right template should align with the branding and overall atmosphere of the restaurant.
Users can easily customize these templates, changing colors, fonts, and images to fit their vision. Choosing a suitable template sets the foundation for an attractive menu design.
Designing Your Menu
Creating a custom menu involves careful attention to detail. It’s important to choose the right theme, colors, fonts, and images that will reflect the restaurant’s personality and appeal to customers.
Selecting a Theme and Color Scheme
The theme sets the mood for the entire menu. It should match the restaurant’s style, whether it’s casual, elegant, or eclectic.
Choosing a color scheme is key. Select 2-3 colors that work well together. For example, a rustic theme might use earth tones, while a modern look could incorporate bold, contrasting colors. Tools in PicMonkey allow users to easily experiment with different palettes.
It’s also wise to consider color psychology. For instance, red can stimulate appetite, while blue is often less appealing for food. Keeping these aspects in mind will create an inviting atmosphere.
Working With Text and Fonts
Text and fonts are crucial for readability and branding.
Pick a font that reflects the restaurant’s theme. A diner might use a fun, retro font, while a fine dining place may prefer elegant script. It’s best to combine a decorative font for headings with a simple font for item descriptions to enhance clarity.
Font size is another important factor. Menu items should be legible from a distance. A good rule of thumb is to use larger text for headings and slightly smaller text for descriptions.
Consider spacing as well; enough space between items helps customers read easily and makes the menu look organized.
Adding Images and Visual Elements
Images can make a menu more appealing and informative. High-quality photos of food draw attention and make items more enticing.
When using images, ensure they fit well within the layout. Proper cropping and resizing can enhance their presentation. For best results, use PicMonkey’s editing tools to adjust brightness and clarity.
Visual elements like icons or borders also add personality. Simple graphics can help categorize sections of the menu, making it easy for customers to navigate.
Combining all these components thoughtfully will result in a menu that not only looks good but also reflects the restaurant’s vibe.
Customizing the Layout
Customizing the layout of a restaurant menu in PicMonkey is essential for creating an inviting and easy-to-read design. It impacts how customers perceive the offerings and helps them find what they want quickly. Here are some important aspects to consider when designing the layout.
Arranging Menu Items
When arranging menu items, organization is key. Group items into categories like appetizers, entrees, and desserts. This structure helps customers navigate the menu effortlessly.
Using bullet points or tables can make items stand out. For example, each section can start with a bold heading, followed by a list of items. Include prices next to each dish for clarity.
For visual appeal, consider varying font sizes. Larger fonts can highlight special dishes or seasonal items. This draws attention and adds personality to the menu.
Spacing and Alignment Tips
Proper spacing and alignment enhance readability.
It’s important to leave enough space between menu items to avoid a cluttered look. A good rule of thumb is to use at least 10-15 pixels of spacing between each item.
Alignment matters too. Left-aligned text is often easiest to read. Ensuring that items and prices line up creates a tidy appearance.
In PicMonkey’s design tools, using grids can help achieve perfect alignment. He or she should also check how the menu looks from a distance. This ensures customers can read everything clearly, even from across the table.
Saving and Updating Your Menu
Keeping a food menu up to date is essential for any restaurant. This includes saving designs properly and making necessary revisions over time. Below are important steps to consider for effective management.
Exporting Your Design
When a menu is complete, exporting the design is a critical step.
PicMonkey offers various export options to suit different needs. Users can choose to download their menu as a JPEG, PNG, or PDF.
JPEG and PNG are best for online sharing or social media.
PDF is ideal for high-quality printing.
By selecting the right format, it ensures that the menu looks great whether displayed online or in print. Once the desired format is selected, simply click the export button and follow the prompts to save the file.
Making Revisions for Seasonal Updates
Menus often require seasonal updates to keep offerings fresh.
Users can easily revise their PicMonkey designs to add new dishes or change prices.
To make updates, she should open the existing design in PicMonkey. From there, changes can be made directly on the menu.
Adding new images, modifying text, and adjusting layouts can all be done with ease.
It is helpful to save frequently during this process to avoid losing changes.
After revisions are complete, remember to export the updated version in the desired format. This way, the menu remains current and appealing to customers.