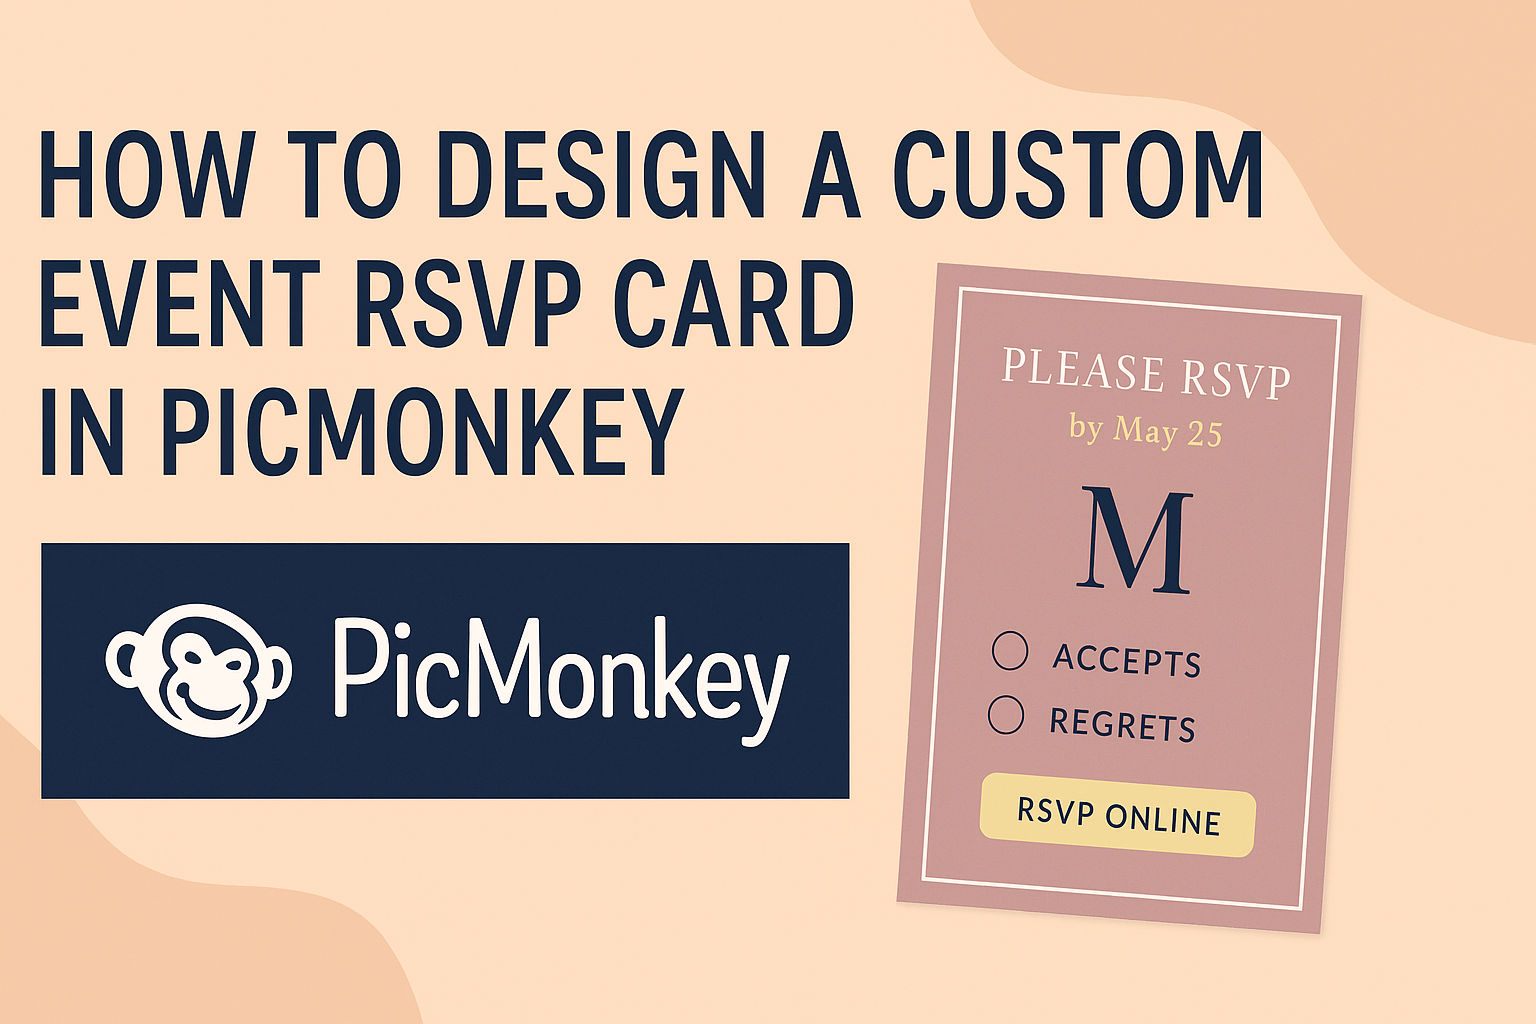
Creating a custom event RSVP card can make a big difference in how guests feel about attending an occasion. Using PicMonkey, you can design a unique RSVP card that reflects the theme of the event and stands out in the mailbox.
This simple tool allows for a fun and creative way to gather responses while adding a personal touch.
When planning an event, it’s essential to keep guests informed and engaged. By designing a card that captures the spirit of the celebration, you not only get the needed responses but also build excitement.
PicMonkey offers various templates and design options to make the process enjoyable and easy.
Whether it’s a wedding, birthday party, or any special gathering, an outstanding RSVP card is a must-have. You can choose colors, fonts, and images that resonate with the event’s theme, ensuring that each card is a true reflection of what’s to come. This adds a layer of charm that guests will appreciate.
Getting Started with PicMonkey
PicMonkey is a user-friendly design tool that makes creating custom event RSVP cards simple. By following some easy steps, anyone can begin designing with PicMonkey, starting with setting up an account and exploring the interface.
Creating a PicMonkey Account
To start using PicMonkey, one must first create an account. This process is straightforward.
- Visit the PicMonkey website.
- Click on the “Sign Up” button.
- Enter the required information, including an email address and password.
After confirming the email, users can choose between a free trial or a paid subscription. A free trial allows exploring all features for a limited time. This way, you can see if PicMonkey fits your design needs before committing financially.
Navigating the PicMonkey Interface
Once logged in, navigating the PicMonkey interface is essential for effective design. The layout is intuitive, making it easy to find tools.
- Top Toolbar: This section includes options for creating new designs, accessing templates, and saving projects.
- Left Sidebar: Here, users will find various tools like text, images, and effects. Templates can be accessed by clicking “Templates.”
For a smoother experience, it’s helpful to familiarize yourself with the options available. Choosing the right template can greatly speed up the process, especially for custom event RSVP cards.
With practice, this interface becomes a powerful ally in creating stunning designs.
Designing Your Event RSVP Card
Creating a custom event RSVP card can be a fun and creative process. The design will reflect the theme of the event, making it appealing for guests. Here’s how to get started.
Choosing the Right Canvas Size
Selecting the correct canvas size is essential for your RSVP card. Common sizes include 4” x 6” or 5” x 7”, which work well for printing.
To set the canvas size in PicMonkey, choose a blank canvas and adjust the dimensions in the settings menu. This ensures that the design fits properly when printed.
Consider the event type, as a wedding might use a different size compared to a birthday party. Ensure that the size also complements the layout of any text and images used.
Selecting a Template or Starting from Scratch
PicMonkey offers a variety of pre-designed RSVP templates that can be tailored to fit any occasion. Browsing through these options can save time and spark inspiration.
If preferred, it’s also possible to start with a blank canvas. This allows for complete creative control. Using shapes, colors, and text, the design can be made unique.
Templates are beneficial because they provide a structure. However, starting from scratch is great for personal expression. Both options have their advantages depending on the designer’s goals.
Adding Background Colors or Textures
Adding background colors or textures gives the RSVP card depth and character. This can set the mood for the event.
In PicMonkey, the background can be easily changed by selecting different colors or uploading images.
Textures like linen or floral patterns can enhance the theme. A soft color palette may work wonderfully for a wedding, while bold colors may suit a lively birthday party.
Utilizing layers can help create an interesting background without overshadowing the main content. Balance is essential for a polished look, so keep that in mind when choosing colors and textures.
Customizing Your Design
Customizing an RSVP card in PicMonkey allows for a unique touch that reflects the event’s theme. By adjusting text elements, adding graphics or icons, and uploading personal images, users can create an eye-catching design.
Working with Text Elements
Text is a key part of any RSVP card. In PicMonkey, users can easily change the font, size, and color of text.
-
Font Selection: Choose from a variety of fonts to match the event style. Elegant scripts work well for weddings, while bold sans-serif fonts are great for casual gatherings.
-
Text Placement: Position the text to ensure it is readable and visually appealing. Centering titles can create balance, while left-aligned details are often easier to read.
-
Text Effects: Utilize features like shadows or outlines to make text stand out against the background. Keep it simple to maintain elegance.
Incorporating Graphics and Icons
Adding graphics can enhance the invitation’s visual appeal. It brings life and context to the design.
-
Graphic Options: Access the built-in library in PicMonkey for a variety of icons, such as flowers for a garden party or musical notes for a concert.
-
Alignment and Sizing: Place graphics thoughtfully to ensure they complement but do not overwhelm the text. Icons should be sized appropriately—too large can distract from the message.
-
Layering: Adjust layers to place graphics behind or in front of text. This technique can create interesting effects and depth in the design.
Uploading Custom Images
Personal images can make an RSVP card truly special. Users can upload images that resonate with their event’s theme.
-
Image Formats: PicMonkey supports various file types like JPEG and PNG. Ensure images are high-quality to avoid pixelation.
-
Editing Options: After uploading, users can crop or adjust images to fit perfectly with their layout. Filters and effects can also enhance the image’s visual quality.
-
Background Choices: Custom images can serve as backgrounds. If so, make sure any text remains readable by adding overlays or choosing contrasting colors.
These features make designing a personalized RSVP card in PicMonkey an enjoyable and fulfilling experience.
Finalizing and Sharing Your RSVP Card
After the design process, it’s important to finalize the RSVP card to ensure it meets all your expectations. This includes reviewing the design elements, properly saving the file, and exploring options for sharing and printing the card.
Reviewing Your Design Elements
Before finalizing the RSVP card, a careful review of the design elements is crucial. This includes checking fonts, colors, and overall layout. Ensuring that the text is clear and the images are well-placed can make a big difference.
It’s helpful to look at the RSVP card on different devices. What looks good on a computer might not translate well to a phone screen.
Also, ensure that all necessary information is included. This usually involves the event details, RSVP deadline, and any additional instructions. Asking a friend for feedback can provide fresh perspectives on the design.
Saving Your RSVP Card
After making the necessary adjustments, it’s time to save the finished product. When saving in PicMonkey, users should choose a file format that best suits their needs. JPEG is great for easy sharing online, while PNG is better for printing due to its higher quality.
Select the appropriate resolution for the card. A higher resolution ensures a crisp print. PicMonkey offers an option to save in different sizes, so choose one that fits the intended use.
Don’t forget to save a version that can be edited later. This could be useful if changes need to be made after sharing.
Options for Sharing and Printing
Sharing the RSVP card can be done in several ways.
Digital sharing through email or social media is quick and efficient. Users can also create a QR code linked to an online RSVP form for easy access.
For printing, select a reliable print service.
Options range from local print shops to online services. It’s important to choose quality paper that complements the design.
Lastly, consider if envelopes are needed.
Choosing matching envelopes can enhance the card’s overall appeal. Confirming the card’s size ensures everything fits perfectly.