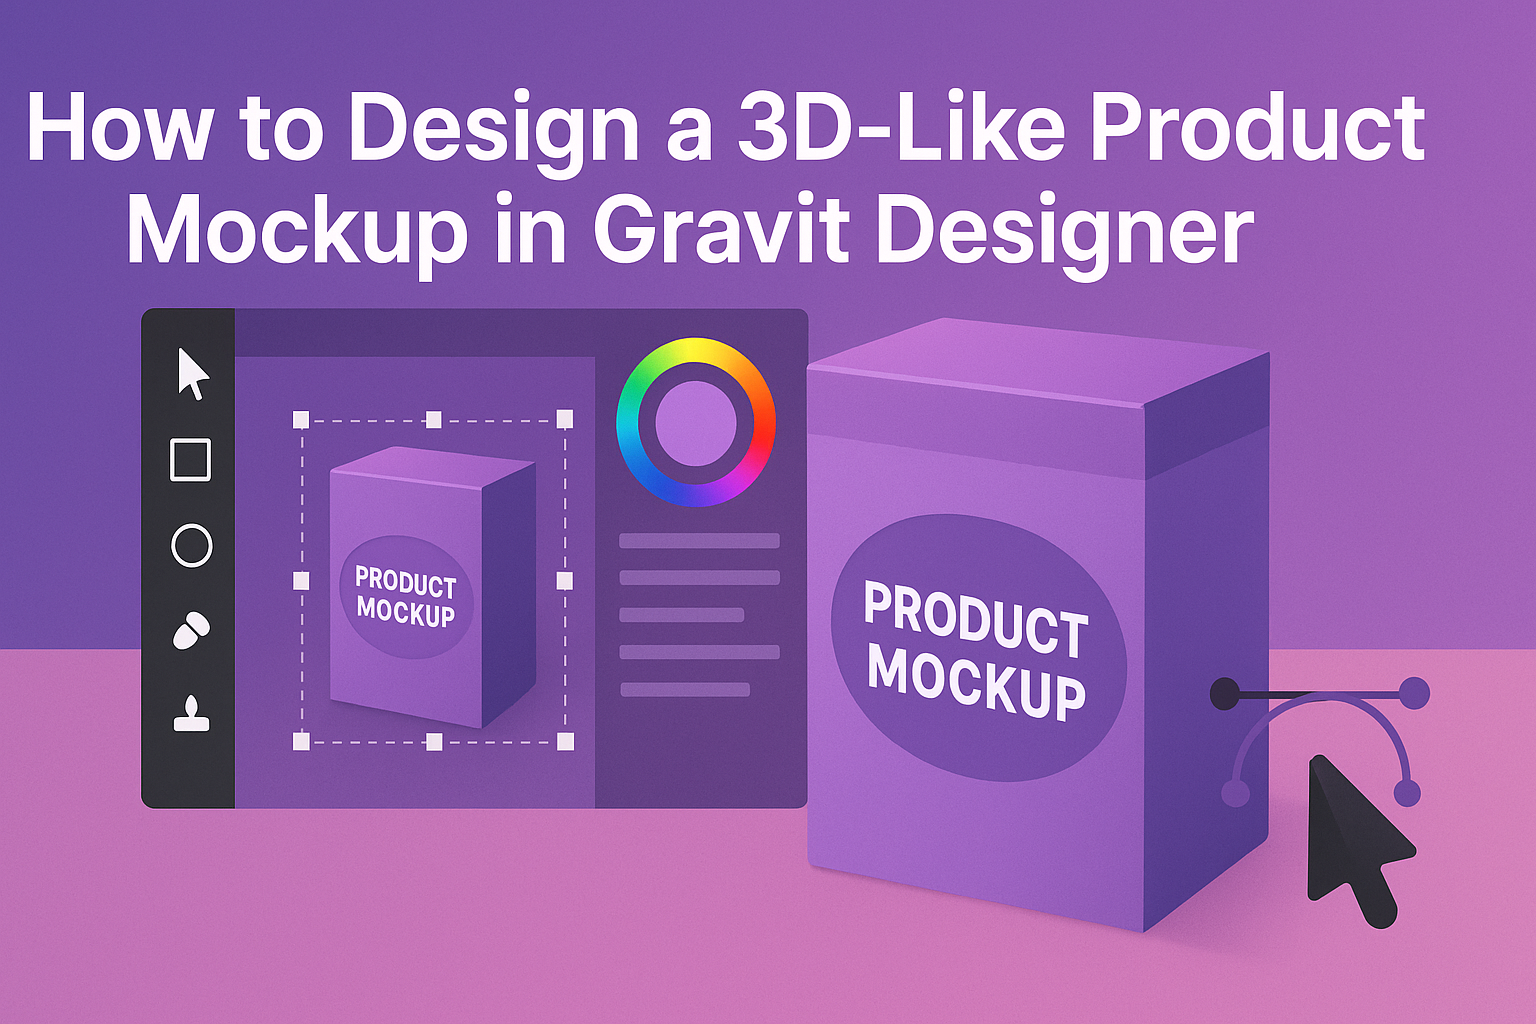
Creating product mockups can elevate how a design is presented. Designers often want their products to stand out with a touch of realism. By using Gravit Designer, anyone can create an impressive 3D-like product mockup that captures attention and showcases their creativity.
In this article, readers will learn practical techniques that simplify the design process while enhancing visual appeal. Gravit Designer is a versatile tool that provides everything needed to produce stunning graphics without the steep learning curve.
With the right approach, transforming ideas into eye-catching 3D mockups becomes an enjoyable task.
Whether one is a beginner or looking to refine their skills, this guide offers step-by-step instructions to make effective designs. Exploring the unique features of Gravit Designer can lead to extraordinary results. Dive in to discover how to bring product ideas to life with realistic mockups.
Getting Started with Gravit Designer
Gravit Designer is a versatile design tool that is great for creating various graphics, including product mockups.
Knowing how to navigate the interface and set up a canvas is essential for any user.
Overview of Gravit Designer Interface
The Gravit Designer interface is user-friendly and well-organized. At the top, users will find the menu bar with options like File, Edit, and View.
Below it, there is a toolbar with essential tools for creating designs.
On the left side, the Layers panel helps manage different elements in a design. The Inspector panel on the right shows properties and settings for the selected object. This setup allows users to easily access the tools they need while designing.
Setting Up Your Canvas
To start designing, the first step is to set up a canvas.
Open Gravit Designer and click on Create New Design. Users can choose from various presets like A4, A3, or custom sizes.
After selecting the size, the canvas will appear.
It’s helpful to know how to use the Grid and Guides for alignment. Gravit Designer lets users toggle these features from the View menu. This helps in ensuring that elements are placed accurately throughout the design process.
Designing Your Product Mockup
Creating a product mockup in Gravit Designer involves several key steps. First, the designer will establish the basic shapes to serve as the foundation of the mockup. Next, adding textures and details will help bring the design to life. Finally, using effects can enhance the look, making it appear more three-dimensional.
Creating the Basic Shapes
To start designing a product mockup, focus on laying out the basic shapes.
Use the rectangle, ellipse, and polygon tools in Gravit Designer to create the objects needed for the mockup.
For example, if designing a box, users should create a rectangle to represent the front view. Then, additional rectangles can define the sides and top. Group these shapes for easy manipulation.
Once the basic shapes are created, adjust their dimensions to fit the product design. It’s essential to ensure the proportions look realistic. This stage is crucial, as it sets the stage for details and textures later on.
Applying Textures and Details
After the basic shapes are in place, it’s time to add textures and details.
Using Gravit Designer’s image tool, users can import textures, such as wood grain or fabric patterns, to apply to the surfaces.
To make the mockup vibrant, adjust the colors and opacity of the textures. This creates depth and interest.
Designers should also add smaller details like logos or text with the type tool to personalize the mockup.
Using layers effectively allows for easy adjustments if the designer wants to change something later on. This flexibility is key to refining the final look of the mockup.
Utilizing Effects for a 3D Appearance
To achieve a realistic 3D appearance, leveraging effects within Gravit Designer is vital.
Applying shadows can give depth to shapes, making them pop from the background.
The designer can use the “Shadow” effect found in the style panel. Selecting the right blur and offset settings will dramatically enhance the 3D effect.
Additionally, using gradients can help mimic light and depth on surfaces. Designers should experiment with different gradient directions to see what looks best for their design. Combining these effects creates a more dynamic and engaging product mockup.
Fine-Tuning Your Mockup
Fine-tuning a mockup is essential for achieving a polished, professional look. This involves adjusting various elements like lighting and shadows, as well as adding reflections to enhance realism.
Adjusting Lighting and Shadows
When adjusting lighting in Gravit Designer, it is crucial to think about the source of light. Adding light from a specific angle can create depth.
Use the “Opacity” and “Blur” settings to control how strong the light appears.
Shadows should be placed opposite the light source. Use a darker shade of your product’s color for shadows to maintain consistency. The position of the shadow should mimic where it would fall in real life.
Experiment with different shadow styles, such as soft or hard edges, to see which looks best. This kind of detail adds realism and makes the mockup more engaging.
Adding Reflections for Realism
Adding reflections can significantly boost the visual appeal of a mockup.
To create realistic reflections, duplicate the product layer and flip it upside down. Lower the opacity of this reflection layer to make it subtle.
Adjust the reflection’s position so it aligns with the surface it’s on. This helps in making the mockup look like it’s sitting on a real surface.
Consider using gradients to enhance the reflection further. A gradient can mimic how light bounces off various materials, adding depth. This small adjustment helps achieve a polished effect, making the product feel more tangible.
Exporting Your Design
When finishing a 3D-like product mockup in Gravit Designer, exporting is a crucial step. Proper export settings ensure the design looks great in its final form.
Choosing the Right File Format
Selecting the correct file format is vital for maintaining quality and usability. Common formats include:
- SVG: Ideal for vector graphics and scalability without loss of quality.
- PNG: Great for web images, especially for designs with transparency.
- JPG: Suitable for high-quality photos, but it doesn’t support transparency.
Gravit Designer allows easy exports in these formats. The choice depends on the mockup’s final use. For online use, PNG or SVG is preferred. In contrast, JPG is more suitable for print.
Always check the resolution settings before exporting to ensure clarity and sharpness.
Optimizing for Different Media
Different media might require specific optimization.
For web, aim for a balance between great visuals and file size. Reducing image size helps with loading speeds without compromising quality significantly.
When preparing for print, ensure the design is at a high resolution, typically 300 DPI. This quality is necessary for clear and crisp images in a physical format.
Users should also consider color profiles. RGB is best for screens, while CMYK is ideal for printing.