Creating a striking 3D book cover can elevate a writer’s work and attract more readers. Gravit Designer offers a user-friendly platform for designing realistic 3D book covers that stand out.
Whether someone is a novice or has some experience, this tool makes it easy to bring creative ideas to life.
In this post, readers will learn step-by-step techniques to create their own 3D book covers using Gravit Designer.
From selecting the right templates to adding depth and texture, these tips will help ensure the final product looks professional and eye-catching. By the end, they will have the skills to impress with their unique designs.
Getting Started with Gravit Designer
To begin designing a 3D book cover in Gravit Designer, it’s essential to grasp the basics of the software.
This section covers an overview of Gravit Designer, tips for setting up a workspace, and guidance on navigating the interface effectively.
Overview of Gravit Designer
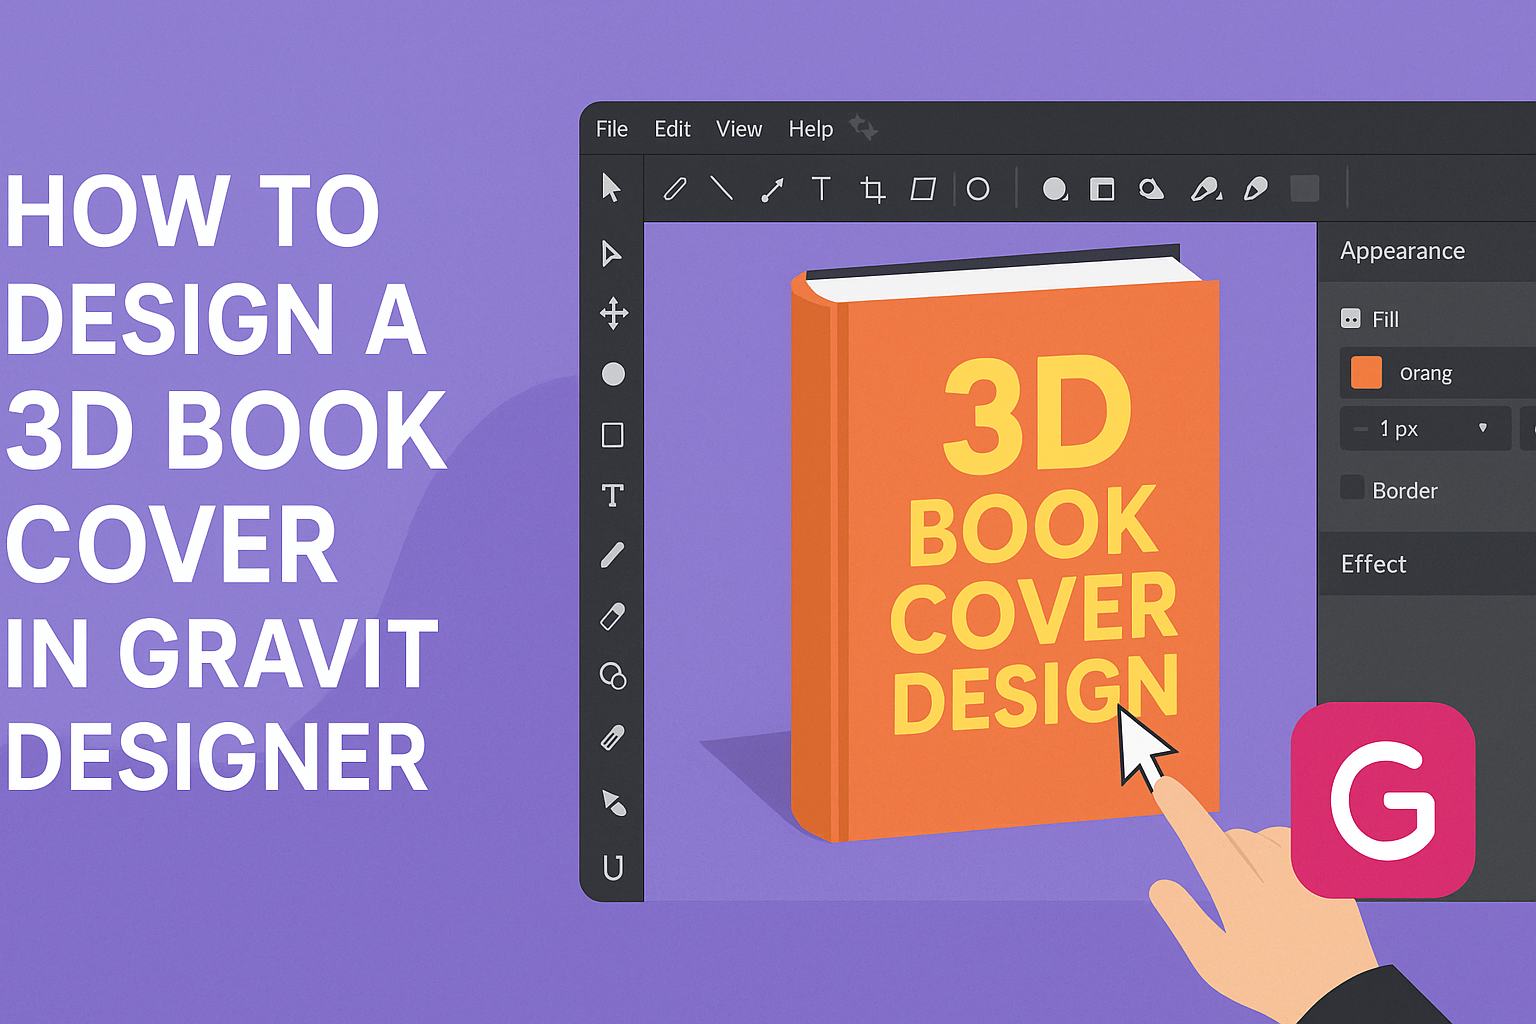
Gravit Designer is a free vector design application ideal for creating graphics, including book covers. It runs in web browsers and is available on various platforms, including Windows, Mac, Linux, and ChromeOS. The software offers a range of powerful tools for both beginners and advanced users.
One of Gravit Designer’s standout features is its user-friendly toolset, which includes shapes, text, and image manipulation tools.
Users can easily export their designs in various formats, making it a flexible choice for graphic design projects.
Setting Up Your Workspace
Setting up the workspace in Gravit Designer helps streamline the design process. When users first open the application, they can choose a blank canvas or a template.
Templates can simplify starting points for book covers, providing users with a structured layout.
Users can customize their workspace by rearranging panels to fit their workflow. Important panels include Layers, Assets, and Styles.
Setting preferences for grids and snapping options can also improve precision during the design phase.
Navigating the Interface
The Gravit Designer interface is intuitive, making it easier for users to find tools and options.
The main toolbar at the top provides quick access to essential functions, such as selecting, drawing shapes, and adding text.
On the left side, users will find the tools panel featuring options for drawing and editing. On the right side, the properties panel allows for detailed adjustments like color, size, and effects.
Familiarizing oneself with these panels is key to working efficiently in Gravit Designer.
With its straightforward layout, Gravit Designer allows users to focus on creativity without unnecessary distractions.
Designing Your 3D Book Cover
Creating a 3D book cover requires careful consideration of design elements.
Key areas include selecting an appropriate template, managing layers, incorporating text, and enhancing with textures. Each section covers important steps to ensure a polished final product.
Choosing the Right Template
Selecting the right template sets the foundation for a striking 3D book cover.
Gravit Designer offers a variety of customizable templates. Users should consider the genre of their book.
For instance, a romance novel might benefit from soft colors and elegant designs, while a thriller could use bold and dark themes.
When browsing templates, look for ones that allow for significant customization. This will help in making the final design unique.
It’s also helpful to choose a template that reflects the book’s content and target audience. A well-matched template can attract more readers.
Working with Layers and Shapes
Layers and shapes are crucial in building depth in a 3D book cover. In Gravit Designer, they help in creating a sense of dimension.
To start, the background shape can set the mood. This might be a solid color or a gradient.
Next, it’s time to add the book’s main shape. This often looks like a rectangular block. Users can adjust the angles to create a 3D effect that mimics a real book.
Remember to use multiple layers for different aspects, such as shadows or highlights. Proper layering will enhance the visual appeal of the cover.
Adding Text and Typography
Text is a vital aspect of any book cover. In Gravit Designer, users can experiment with various fonts and styles.
Choosing the right typeface is essential. For example, serif fonts often convey tradition, while sans-serif fonts can appear modern.
Place the title prominently on the cover. Users should consider the text size and color, making sure it stands out against the background. Using contrasting colors can enhance readability.
Don’t forget to include the author’s name; it can be smaller but still needs to be noticeable.
Applying Textures and Effects
Textures and effects add depth and interest to a book cover. Gravit Designer allows users to apply various textures easily.
For instance, adding a paper texture can give the design a more realistic feel.
Shadows and highlights are vital in creating a 3D effect. These can be applied to the edges of the book cover to create the illusion of depth.
Users should also consider adding a subtle glow or shadow behind the main text. This helps it stand out and feel more integrated into the design.
Finalizing Your Book Cover
At this stage, the design process is nearly complete. It is essential to focus on elements like colors, lighting, and final transformations to ensure a polished look. Each detail enhances the visual appeal and marketability of the book cover.
Adjusting Colors and Lighting
Getting the colors just right is crucial for a captivating book cover. She can use the color adjustment tools in Gravit Designer to fine-tune hues, saturation, and brightness.
Using layers effectively allows her to apply color changes to specific elements. It’s a good idea to experiment with different shades to see which ones pop.
Lighting also plays a significant role. Adding highlights and shadows can create depth, making the cover more engaging.
She might want to use gradients to simulate light effects, giving the cover a three-dimensional feel.
3D Transformations
3D transformations can significantly enhance the cover’s appeal. In Gravit Designer, she can manipulate objects to achieve a layered, dynamic look.
Positioning elements at various angles adds sophistication. This technique makes the design more relatable to readers, suggesting depth and action.
Using the 3D tools, she can simulate perspective changes. This allows her to showcase different aspects of the design, transforming a flat image into something exciting.
Remember to keep the focal point clear to maintain visual harmony.
Exporting Your Design
Finally, once she is satisfied with the design, exporting the cover is the next step.
Gravit Designer offers several formats to choose from. She should consider the final use, whether for print or digital, when selecting the export settings.
For print covers, high-resolution formats like PDF are recommended. This ensures that every detail remains crisp.
For eBooks, JPEG or PNG formats work well, maintaining quality while offering flexibility.
Before exporting, it’s wise to preview the design. This last look helps identify any adjustments needed before finalizing.