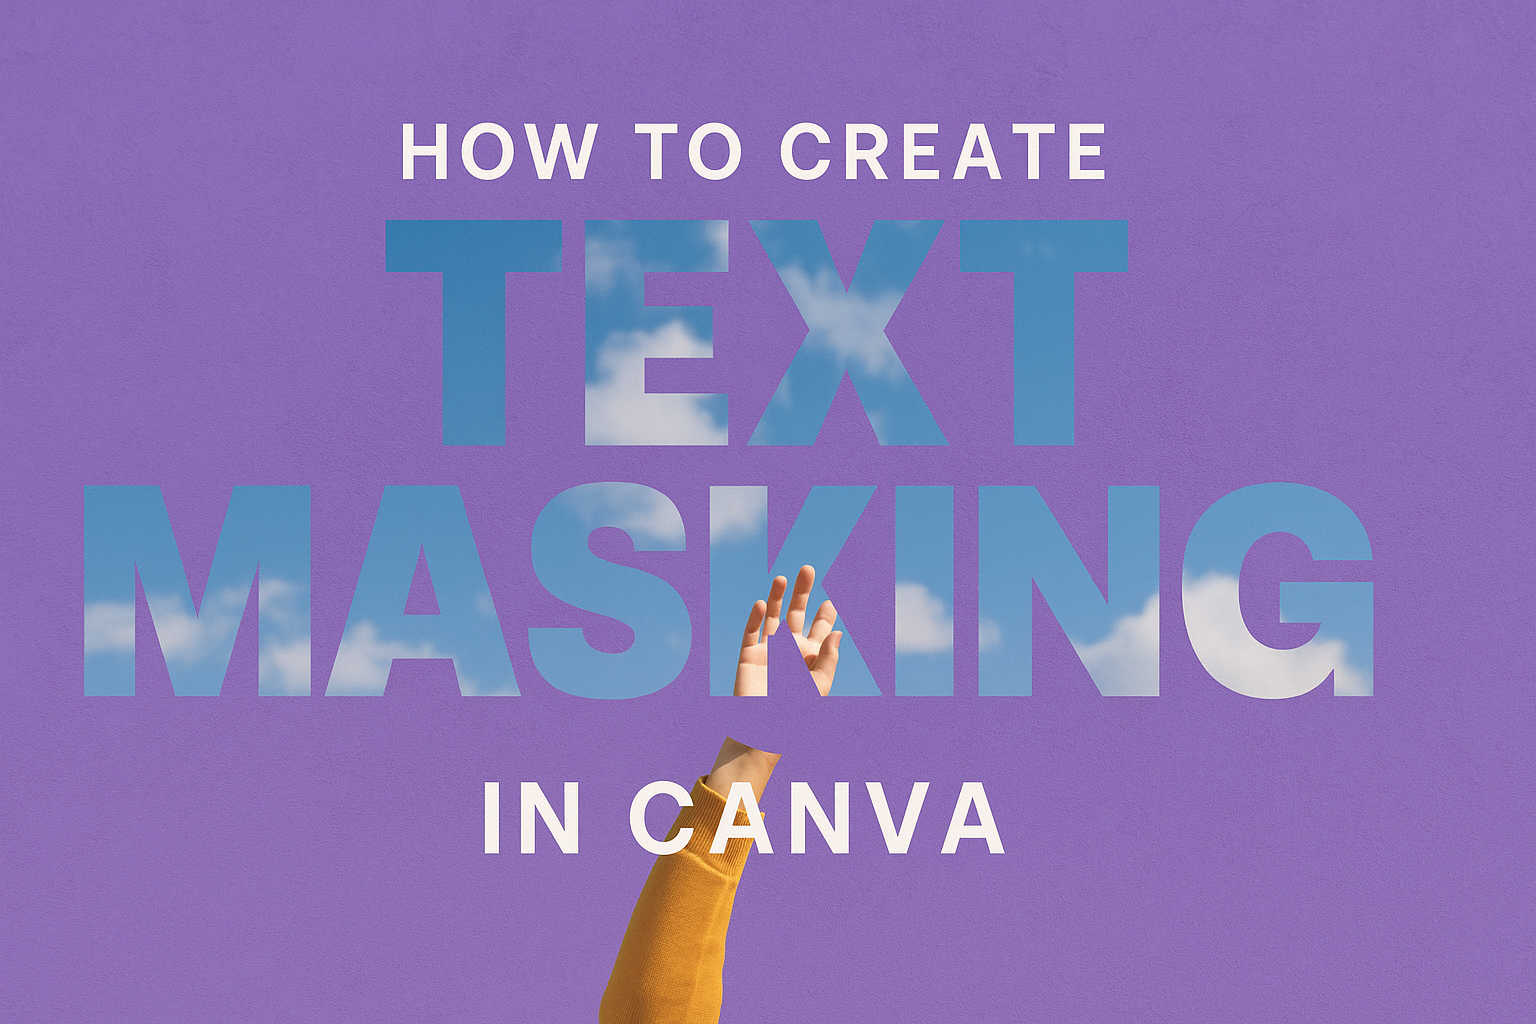
Text masking in Canva lets designers create eye-catching visuals by filling text with images or patterns instead of solid colors. Users can create professional-looking text masks in Canva by using frames, positioning text elements, and applying the “Set as Mask” feature to clip images inside letter shapes. This technique works great for social media posts, posters, and marketing materials.
Many people think text masking requires expensive design software, but Canva makes it simple with built-in tools. The process involves selecting the right fonts, preparing images, and understanding how layers work together. Anyone can learn this skill with a few basic steps.
This guide covers everything from setting up the workspace to advanced masking techniques that create stunning effects. Readers will learn how to choose fonts that work best for masking, position elements correctly, and export their finished designs. The step-by-step approach helps both beginners and experienced users master this powerful design feature.
Understanding Text Masking in Canva
Text masking lets users fill text with images or patterns instead of solid colors, creating eye-catching designs where photos appear inside letters. This technique works differently from standard clipping masks and opens up creative possibilities for social media posts, posters, and marketing materials.
What Is Text Masking
Text masking is a design technique that uses text as a window to show images or graphics underneath. The text acts like a cookie cutter that reveals only the parts of an image that fit inside the letter shapes.
In Canva, users can create text mask effects by placing images behind text elements. The image becomes visible only through the text outline, creating a filled-in appearance.
This effect works best with bold fonts and thick letters. Thin fonts don’t provide enough space for the image to show clearly.
The process involves layering elements in the right order. Text goes on top while the image sits underneath as the fill material.
Text Masking vs. Clipping Masks
Text masking and clipping masks serve different purposes in design work. Text masking uses letters as the shape that reveals underlying content, while clipping masks use any shape or object to hide parts of an image.
Clipping masks work by cutting away unwanted portions of images. The mask acts like scissors that trim the image to fit a specific boundary.
Text masking keeps the text readable while adding visual interest. The letters remain functional as typography elements that communicate a message.
Clipping masks focus more on image composition than text readability. They help designers fit images into specific areas or remove backgrounds.
Both techniques help create layered designs, but text masking specifically enhances typography while clipping masks handle general image editing tasks.
Popular Uses of Text Masking
School communications benefit greatly from text masking in newsletters and announcements. Teachers can transform boring headlines into engaging visuals that grab attention.
Social media posts use text masking to combine messages with brand imagery. The technique helps text stand out against busy backgrounds while maintaining readability.
Marketing materials like flyers and posters rely on text masking for impact. Product images can fill company names or promotional text to create memorable designs.
Student projects become more creative with text masking. Research papers and presentations gain visual appeal when titles incorporate relevant imagery.
Business presentations use this technique to reinforce brand identity. Company logos or product photos can fill presentation titles for professional results.
Event promotions work well with text masking too. Concert posters, wedding invitations, and party announcements become more eye-catching when text contains thematic images.
Preparing Your Workspace
Getting your Canva workspace ready is the foundation for creating professional text masks. A well-organized editor with proper canvas settings will streamline your design process and help you focus on the creative aspects.
Accessing Canva Editor
Users can access the Canva editor by visiting canva.com and signing into their account. The platform offers both free and Pro versions, though basic text masking works with either option.
After logging in, they should click the “Create a design” button in the top right corner. Canva displays popular design types like Instagram Post, Flyer, or Presentation.
For text masking projects, Instagram Post (1080 x 1080 pixels) works well for beginners. This square format provides enough space to experiment with letter positioning and image placement.
The editor opens automatically once they select a design type. New users will see a clean interface with the main canvas in the center and tool panels on the left side.
Setting Up the Canvas
The canvas serves as the foundation for all text masking work. Users should first consider their final output when choosing dimensions and orientation.
Popular canvas sizes for text masking:
- Instagram Post: 1080 x 1080 pixels
- Facebook Cover: 1200 x 630 pixels
- Pinterest Pin: 1000 x 1500 pixels
- Custom dimensions: Any size needed
They can change canvas size by clicking “Resize” in the top toolbar. This option appears after selecting the canvas background.
Setting a background color or image helps visualize the final design. A neutral background like white or light gray works best during the creation process. Users can always change this later once their text mask is complete.
Organizing the Workspace
The left sidebar contains all essential tools for text masking. Users should familiarize themselves with the Elements tab, which houses letter frames and shapes needed for masking effects.
The Text tab provides standard fonts, while Photos contains stock images for filling text shapes. Uploads allows access to personal images and graphics.
Keeping the workspace tidy improves workflow efficiency. Users should delete unnecessary elements and group related items together as they work.
Essential workspace organization tips:
- Use the zoom controls to get precise positioning
- Enable snap-to-grid for alignment
- Lock background elements to prevent accidental movement
- Name layers clearly when working with complex designs
The editor settings panel, accessed through the gear icon, lets users adjust grid visibility and snapping preferences. These workspace optimization techniques help maintain clean, professional results throughout the design process.
Creating a Basic Text Mask in Canva
The process involves adding text with bold fonts, placing images or design elements over the text, and using Canva’s masking tools to blend them together. Users need to work with layers and positioning to achieve the perfect masked effect.
Inserting Text
The first step requires adding text to the canvas using Canva’s text tools. Users should click on the “Text” tab in the left sidebar and select “Add a heading” or choose from preset text styles.
Bold, thick fonts work best for text masking. Fonts like Impact, Anton, or Bebas Neue create clear, readable masks because they have thick letter shapes. Thin or script fonts often don’t show enough detail when masked.
Users should type their desired text and make it large enough to fill a good portion of the canvas. The text needs to be big so the masked image shows clearly inside each letter.
Position the text where it looks best on the design. Center alignment usually works well, but users can experiment with different placements depending on their project needs.
Adding Images or Design Elements
After creating the text, users need to add an image that will appear inside the letters. They can upload their own photos through the “Uploads” tab or browse Canva’s stock images in the “Photos” section.
The chosen image should have good contrast and interesting details. Landscapes, textures, patterns, and colorful photos typically work better than plain or low-contrast images for masking effects.
Users should drag the selected image onto their canvas. The image needs to completely cover the text area to create a proper mask. If the image is too small, it won’t fill all the letters properly.
Design elements like gradients, shapes, or illustrations can also be used instead of photos. These elements offer different creative possibilities and can match specific design themes or brand colors.
Placing Layers for Masking
Proper layer positioning is crucial for successful text masking. The image or design element must be placed above the text in the layer order to create the masking effect properly.
Users should select the image first, then hold Shift and click on the text to select both elements. This selects both layers at once, which is necessary for the masking process.
With both elements selected, users can right-click and choose “Set as Mask” from the menu. Canva automatically clips the image to fit inside the text shapes.
The layers panel shows how elements stack on top of each other. Users can adjust the stacking order by dragging elements up or down if needed. The masked text becomes one combined element that can be moved, resized, or repositioned as a single unit.
After masking, users can double-click on the masked text to adjust the image position inside the letters. This allows fine-tuning of which part of the image shows through the text.
Refining and Customizing Your Text Mask
Fine-tuning opacity levels, experimenting with blending modes, and adding creative text effects can transform a basic text mask into a professional design element. These adjustments help users achieve the perfect balance between text readability and visual impact.
Adjusting Layer Opacity
Layer opacity controls how transparent or solid the masked image appears within the text. Users can access opacity settings by selecting their text mask element and looking for the transparency slider in Canva’s toolbar.
Reducing opacity to 70-80% often creates a subtle, elegant effect. This allows some of the underlying background color to show through the letters. Lower opacity levels work well for text that needs to remain highly readable.
Higher opacity levels around 90-100% create bold, dramatic text masks. These settings work best when the background contrasts strongly with the masked image. Dark backgrounds paired with bright, high-opacity masked images create striking visual impact.
Users should test different opacity levels while considering their design’s purpose. Social media posts often benefit from higher opacity for maximum visual impact. Professional documents might require lower opacity to maintain readability and sophistication.
Applying Blending Modes
Blending modes change how the masked image interacts with elements beneath it. Canva offers several blending options that can dramatically alter the appearance of text masks.
The “Multiply” mode darkens the overall effect by combining colors mathematically. This works well with light-colored images masked into dark text. The result often appears more integrated and professional.
“Screen” mode lightens the combination and works best with darker masked images. This creates an ethereal, glowing effect that stands out against dark backgrounds.
“Overlay” mode increases contrast and saturation within the masked text. This option enhances both highlights and shadows, creating more dynamic visual depth. Users often find this mode particularly effective for landscape images or high-contrast photographs.
Enhancing with Text Effects
Text effects add depth and dimension to completed masks. Canva’s shadow effects create separation between the masked text and background elements. A subtle drop shadow with low opacity helps text masks appear to float above the design.
Popular shadow settings:
- Distance: 2-4 pixels
- Blur: 3-5 pixels
- Transparency: 60-80%
Outline effects can help masked text stand out on busy backgrounds. Thin outlines in contrasting colors improve readability without overwhelming the masked image. White or black outlines typically work best depending on the background color.
Glow effects create dramatic emphasis around masked text. Users can adjust glow color, size, and intensity to match their design theme. Colored glows work particularly well for creative text masking effects in promotional materials.
Combining multiple effects requires careful balance. Too many effects can make text masks appear cluttered or unprofessional. Starting with one primary effect and adding subtle secondary effects usually produces the best results.
Advanced Text Masking Techniques
Once users master basic text masking, they can explore sophisticated methods like animating their masked text, layering multiple images within letters, and applying creative effects that rival professional Photoshop techniques. These advanced approaches transform simple designs into dynamic visual experiences.
Animating Text Masks
Text mask animations in Canva create movement that captures attention on social media and websites. Users can apply entrance effects like Rise, Pan, or Pop to their completed text masks.
To animate masked text, designers first group all letter frames together. They then click the Animate button in the top toolbar and select their preferred effect.
Popular animation options include:
- Fade – Letters appear gradually
- Rise – Text slides up from bottom
- Pan – Creates a zoom-in effect
- Typewriter – Letters appear one by one
Travel photos work well with Pan effects, while product shots benefit from Rise animations.
Users can adjust timing and intensity through the animation panel. Shorter durations create snappy, attention-grabbing effects perfect for Instagram stories.
Combining Multiple Masks
Advanced designers layer different images within the same word to tell visual stories. Each letter can contain a unique photo that relates to the overall theme.
For example, the word “NATURE” might feature forests in the N, oceans in the A, mountains in the T, and so on. This technique requires careful image selection to maintain visual harmony.
Best practices for multiple masks:
- Keep similar color temperatures across images
- Use photos with consistent lighting
- Maintain the same filter style throughout
- Balance busy and simple images
Users should arrange letters with more detailed images at the beginning or end of words. This creates visual weight that guides the viewer’s eye naturally across the design.
The spacing between letters becomes crucial when using multiple images. Tighter spacing creates a unified look, while wider spacing lets each image shine individually.
Using Adjustment Layers for Creative Effects
While Canva doesn’t have traditional adjustment layers like Photoshop, users can simulate similar effects through creative layering techniques. They can place semi-transparent shapes or gradients over their masked text to alter colors and mood.
Creating faux adjustment layers:
- Add a colored rectangle over the text
- Set transparency to 30-50%
- Change blend mode if available
- Duplicate for multiple color effects
Users can also apply Canva’s built-in photo effects to individual letter frames. The Duotone effect creates striking color combinations, while Vintage filters add nostalgic warmth.
For more dramatic results, designers layer multiple transparent shapes with different colors. A blue overlay at 40% transparency combined with an orange overlay at 20% creates complex color grading effects.
Creative text masking techniques often involve experimenting with Canva’s brightness, contrast, and saturation tools on individual letters. This approach mimics the precision control that adjustment layers provide in professional software.
Managing Layers and Exporting Your Design
Once the text mask is complete, proper layer organization keeps the design manageable and makes future edits much easier. The layers panel becomes essential for controlling which elements appear in front or behind others, while the context menu provides quick access to common editing functions.
Organizing Layers Effectively
The layers panel in Canva shows all design elements in a stacked order. Text mask designs often contain multiple letter frames and background images that need careful arrangement.
Users can click and drag layers up or down to change their stacking order. Moving a layer higher in the panel brings it forward in the design, while moving it lower sends it backward.
Grouping related elements keeps the workspace clean and organized. To group layers, users select multiple elements by holding Shift and clicking each one, then right-click and choose “Group” from the menu.
Renaming layers helps identify specific elements quickly. Double-clicking on a layer name allows users to type a new name like “Travel Text” or “Background Image.”
Locking layers prevents accidental changes to finalized elements. The lock icon appears next to each layer in the panel, and clicking it toggles the lock on or off.
Using the Context Menu for Quick Edits
The context menu appears when users right-click on any design element. This menu provides fast access to common editing tools without navigating through multiple panels.
Right-clicking on text mask letters reveals options like duplicate, copy, delete, and arrange. The arrange submenu lets users quickly send elements forward or backward in the layer order.
Users can access transparency settings through “Set transparency” in the context menu. This feature helps blend text masks with background elements for more professional results.
The context menu also includes alignment tools for positioning multiple elements precisely. Users can align letter frames to create perfectly straight text or distribute them evenly across the canvas.
Copy and paste functions work efficiently through the context menu. Users can duplicate successful text mask effects and apply them to other parts of their design.
Exporting and Sharing Your Design
Canva offers several export formats depending on how users plan to share their text mask designs. PNG format works best for designs with transparent backgrounds, while JPG creates smaller file sizes for web use.
The download button appears in the top right corner of the interface. Clicking it opens a menu showing available file formats and quality options.
Social media posts work well at standard quality, but print materials need higher resolution settings for crisp results.
Users can share designs directly to social media platforms through Canva’s built-in sharing tools. The share button provides options for Facebook, Instagram, Twitter, and other popular platforms.
Users should select “PDF Print” for physical materials or “PDF Standard” for digital viewing.
Video exports allow animated text masks to maintain their motion effects. MP4 format works across most platforms, while GIF creates smaller files for web embedding.