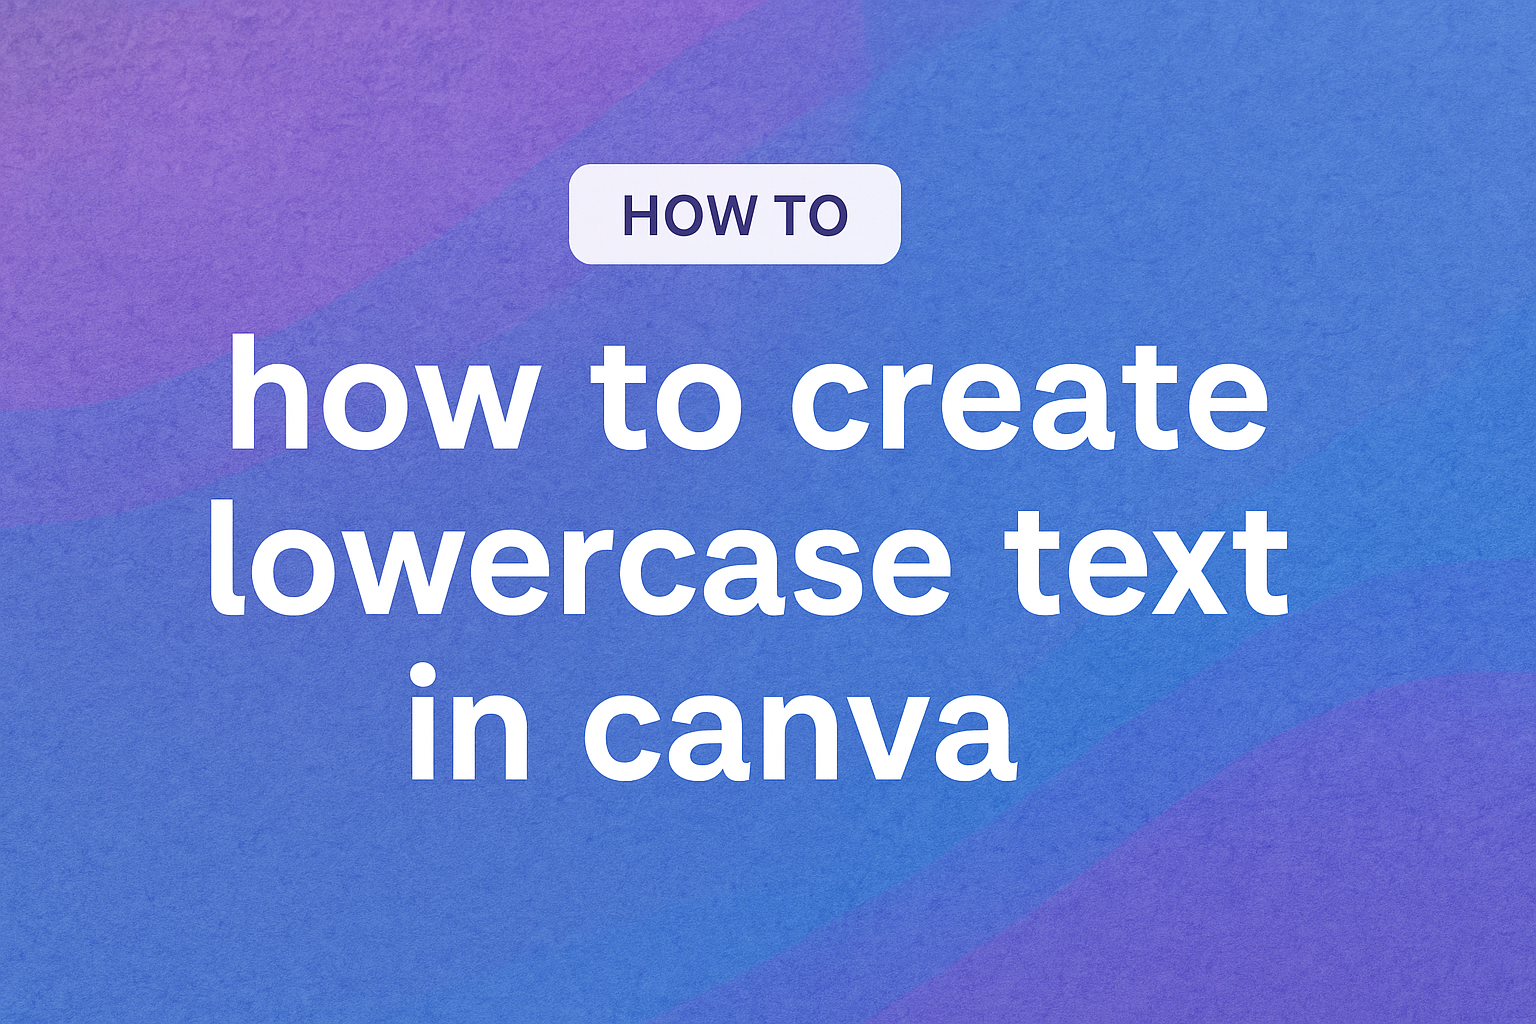
Creating text designs in Canva can be both fun and efficient. This tool offers various text formatting options to make designs look professional and appealing.
One common task is to convert text to lowercase, which can bring a different style and focus to the design.
For those wondering about the easiest way to do this, Canva has a simple feature that lets users switch text to lowercase with just a few clicks.
To change text to lowercase in Canva, select the text you want to modify, go to the text editing panel, and click the lowercase option. This straightforward process allows for quick adjustments and saves time for more creative tweaking.
By understanding how to harness Canva’s text tools, users can enhance their designs with more efficiency.
Whether it’s for presentations, social media posts, or personal projects, being able to customize text quickly is a valuable skill. With this guide, users can navigate these features confidently and use them to sharpen their designs.
Getting Started with Canva
Canva is an intuitive online design tool that makes creating beautiful graphics simple and accessible.
Users can start by creating a new design and familiarizing themselves with the Canva dashboard.
Creating a New Design
To create a new design in Canva, he or she begins by signing up or logging into their account.
Once inside, users are met with several templates to choose from, based on their specific needs. Categories range from social media postings to business cards.
Clicking on their preferred design opens up a new canvas. They can customize the design by selecting dimensions or using pre-set sizes.
Additional elements like text, images, and shapes can be easily dragged and dropped onto the canvas.
The toolbar above the canvas provides options to edit and manipulate these elements, including resizing and layering.
Navigating the Canva Dashboard
The Canva dashboard serves as the command center for all design activities. On the left, users find a panel where they can access templates, photos, and other design components.
The center of the screen displays the current project. Above this is a toolbar providing features for saving, downloading, or sharing designs.
Users can explore a variety of fonts and colors by clicking on the respective options on the toolbar. The search bar allows quick access to specific elements, making design creation efficient.
Understanding Text Elements
In Canva, working with text is crucial for creating visually appealing designs. Discover how adding text and choosing the right font styles can enhance your project.
Adding Text to Your Design
To incorporate text into a design, users should navigate to the text tool. This tool offers options for headers, subheaders, and body text, which can be added by simply clicking the desired option.
Once selected, the text box appears in the design area. Users can click inside this box to type.
Moving and resizing the text box involves dragging the handles on the corners. The flexibility to position text allows for creative layout adjustments and helps align elements with the overall design theme.
Moreover, Canva users have the option to insert ready-made templates that include text elements. These templates are easy to customize and save time, especially for those new to design.
Adding text is fundamental for creating unique and personalized visual content.
Selecting Fonts and Styles
Choosing the right font is vital for setting the tone of a design. With Canva, there is a diverse range of fonts to explore. From classic to modern, fonts convey different moods and messages.
Users can experiment with font styles and weights to find the perfect match for their design’s purpose.
For example, bold fonts can make text stand out, while italic fonts may add a touch of elegance.
In the tools provided, changing text color, size, and alignment helps further personalize designs.
For inspiration, Canva provides a tutorial on typography and layout, where users can learn about font combinations.
By selecting the right blend of fonts and styles, designers can ensure their message is clear and engaging.
Using the Text Toolbox
The Text Toolbox in Canva allows users to change text appearance easily. It provides options to modify the format, alignment, and size of the text. Understanding these tools can enhance design effectiveness.
Accessing Text Formatting Options
To access the text formatting options, first, open your Canva design. Click on the text you want to edit. This action brings up the toolbar, often located at the top of the editor.
Here, users can change the font, color, and spacing of their text.
For those looking to switch between uppercase and lowercase, there’s an “All Caps” option to toggle. Clicking it changes text format as needed.
Combining font choices with size adjustments helps craft impactful designs.
If you are using a desktop, you can use keyboard shortcuts for faster access. To quickly alter case, for instance, press Ctrl + Shift + K on Windows or Cmd + Shift + K on a Mac. This shortcut is a handy tool to navigate the toolbox more efficiently.
Adjusting Size and Alignment
Adjusting text size and alignment is straightforward. Once you select the text, the top toolbar provides size options.
Users can type in a specific number, or use the up and down arrows to adjust text size incrementally. This flexibility ensures text fits perfectly into any design layout.
Alignment tools are equally accessible. They allow text to be left, center, or right-aligned based on design needs.
Simply click on the desired alignment button within the toolbar.
Adjusting alignment helps in organizing text visually, making sure it complements other elements in the design.
For precise positioning, use the grid lines available in Canva. These lines help maintain text alignment relative to other objects or the page itself.
With careful use of size and alignment tools, text can become a seamless part of any creative project.
Transforming Text to Lowercase
Changing text to lowercase in Canva is easy to do. This guide explains two key methods: applying lowercase formatting and editing existing text. Each approach provides a simple way to achieve lowercase lettering in your Canva projects.
Applying Lowercase Formatting
To start, users can select the text they want to change. Canva has a straightforward feature for this.
On the top toolbar, there is a Text tab. Clicking it reveals an option labeled “All Caps.” Users need to turn this off to transform their text to lowercase.
For those who prefer using keyboard shortcuts, there’s a quicker method.
On a Windows computer, pressing Ctrl + Shift + K changes the case. Mac users can use Cmd + Shift + K.
These shortcuts provide a fast way to alter text without navigating menus.
Exploring these options can help users understand how Canva simplifies the process of changing text cases. It’s a helpful feature for anyone looking to make their designs look polished and professional.
Editing Existing Text
Editing existing text is easy in Canva. Users start by clicking the text box they want to edit. Once the text is highlighted, they can proceed with the necessary changes.
If the text contains different cases, it might be tricky to achieve complete lowercase by just using the toolbar option.
In this case, manually typing the text in lowercase might be the solution.
Sometimes users want to change only part of the text to lowercase. Highlighting just that section allows them to adjust it without affecting the rest.
It’s a useful trick for customizing text appearance and ensuring designs meet specific needs.
Styling Lowercase Text
Styling lowercase text in Canva allows for unique customization. You can change colors and opacity and add effects and spacing for a personalized touch.
Customizing Color and Opacity
Changing the color of lowercase text can make it stand out. In Canva, users can choose from a variety of colors by selecting the text and clicking on the text color menu.
Custom colors can be created using the color picker tool. This tool allows users to mix colors and find the perfect hue.
Adjusting the opacity is also an option. This makes the text more transparent, which can add depth and make other design elements more prominent.
By cleverly adjusting colors and opacity, text can be tailored to fit any design theme.
These tools help make text more visually appealing. They provide a way to highlight words without overpowering them. This simple adjustment can have a big impact on the overall design.
Adding Effects and Spacing
Effects can dramatically change how lowercase text looks. In Canva, effects like shadows, glows, and outlines are available.
By adding a shadow, users can give text a 3D effect. This can make text pop and appear more dynamic.
Line spacing and letter spacing are important tools for styling text. Adjusting line spacing can make text easier to read and more visually appealing.
Letter spacing can create a more open or compact look, depending on the desired outcome.
Effects and spacing do more than just improve aesthetics; they can help emphasize key points.
These options offer flexibility in how text is presented, allowing users to convey their message effectively.
Saving and Exporting Your Design
To make sure all the effort in designing is not lost, saving and exporting your project in Canva is essential.
Two key steps in this process include previewing the design for accuracy and choosing the right file type for your needs.
Previewing the Final Product
Before finalizing, it’s important to check your design thoroughly. Canva provides a preview feature that lets users see their project as it will appear when printed or used digitally.
This is crucial for catching any errors or adjustments in layout and color.
Users should also zoom in on different sections to ensure that details are clear and readable.
Taking a moment to review the design from different angles ensures higher satisfaction with the final output.
Exporting Different File Types
Once the design is ready, it’s time to export it. Canva offers multiple file types for different needs.
For printing, users often choose PDF print. For web use, formats like PNG or JPEG are ideal.
To export, users should click on the “Download” button. There, they can select the preferred file type.
Each option comes with settings to adjust quality or size, ensuring the final file meets the specific requirements of the project.
Using these options allows designers to tailor their exports to fit any purpose, whether it’s for a web application or a physical print.