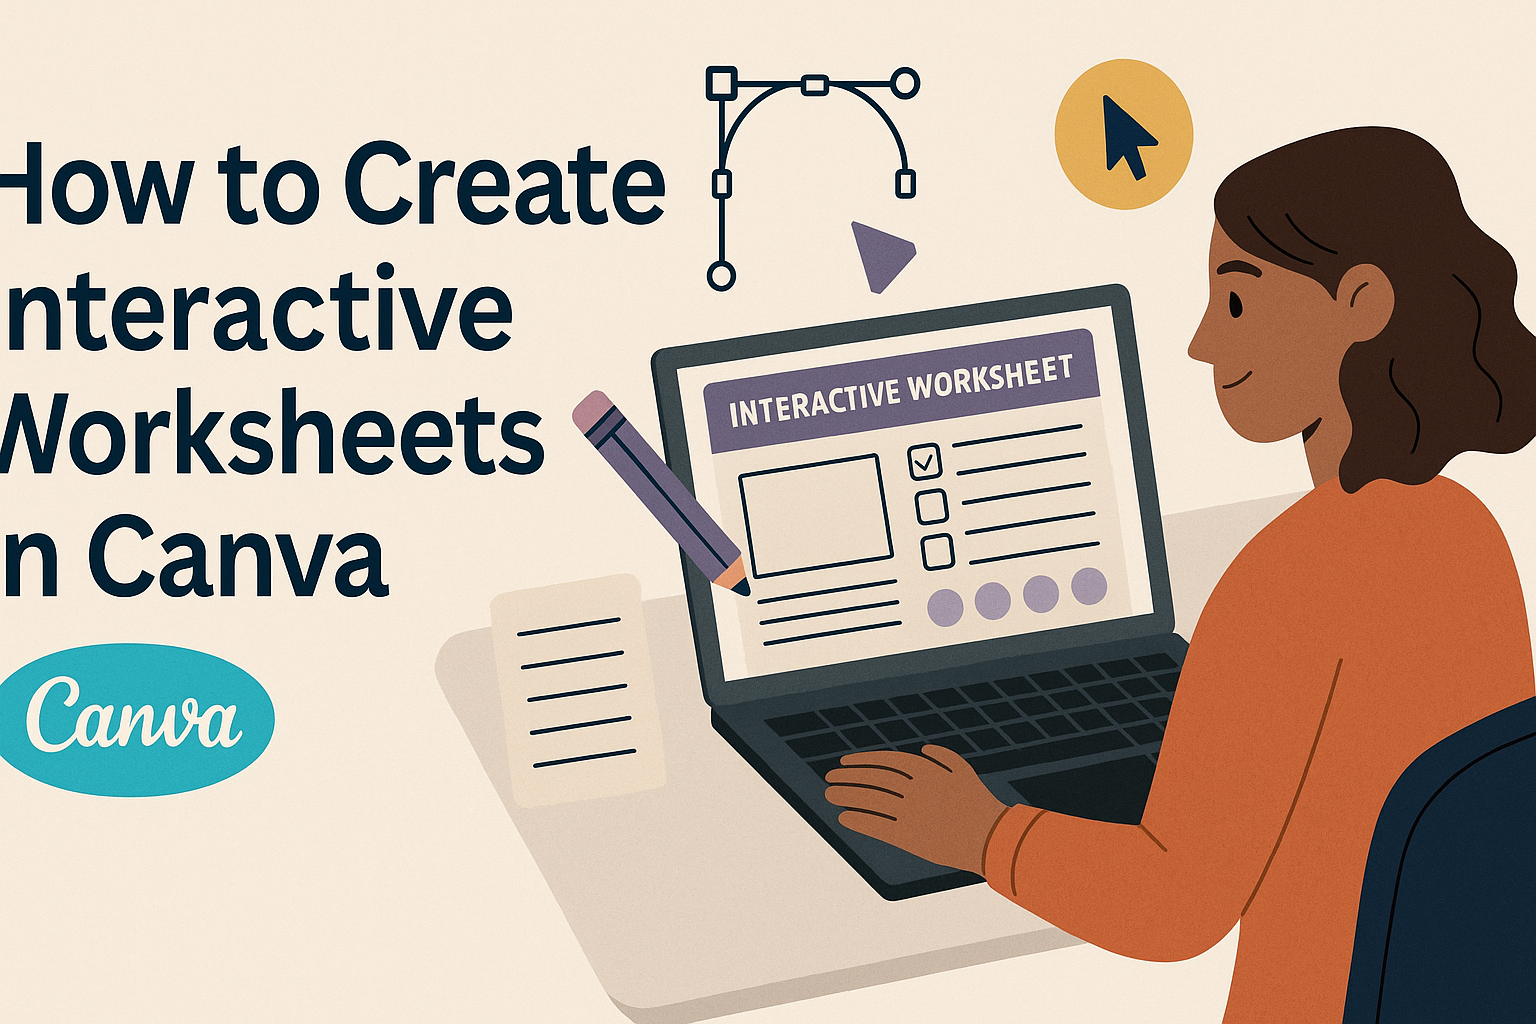
Interactive worksheets transform boring assignments into engaging learning experiences that keep students actively involved. Teachers can easily create these dynamic educational tools using Canva’s user-friendly design platform. By combining Canva’s design capabilities with interactive elements and third-party platforms, educators can build worksheets that include clickable buttons, fill-in-the-blank sections, and automatic grading features.
Creating effective interactive worksheets requires understanding both good design principles and the right tools to make content come alive. Canva offers templates specifically designed for educational use, along with elements that help teachers build visually appealing materials. The platform works especially well when integrated with Wizer and other educational tools.
The process involves selecting appropriate templates, adding interactive components, and connecting with platforms that enable student interaction. With the right approach, any educator can create professional-looking worksheets that boost student participation and learning outcomes.
Understanding Interactive Worksheets
Interactive worksheets transform traditional learning materials into engaging digital experiences that respond to student input. These modern educational tools include clickable elements, multimedia content, and instant feedback features that make learning more dynamic and effective.
What Makes a Worksheet Interactive
Traditional worksheets require students to write answers on paper. Interactive worksheets include multimedia elements like videos, audio clips, and images, plus features that respond to student actions.
Key Interactive Features:
- Clickable buttons and hotspots
- Drag-and-drop activities
- Fill-in-the-blank fields that check answers
- Multiple choice questions with instant feedback
- Embedded videos and audio clips
Students can click, type, or move elements around the screen. The worksheet responds immediately to their actions. This creates a two-way conversation between the student and the learning material.
Some interactive worksheets also include timers, progress bars, and score tracking. These features help students stay engaged and motivated while they work.
Benefits of Interactive Worksheets for Education
Interactive worksheets can be easily customized to meet the needs of individual learners. Teachers can adjust difficulty levels and content for each student’s skill level.
Educational Advantages:
- Instant Feedback: Students know right away if their answers are correct
- Self-Paced Learning: Students can work at their own speed
- Better Engagement: Interactive elements keep students focused
- Easy Distribution: Teachers can share worksheets online instantly
Students remember more when they actively participate in their learning. Interactive worksheets make them think, click, and respond instead of just reading.
Teachers save time on grading because many interactive worksheets score themselves. They can also track which students completed the work and how well they performed.
Popular Types of Interactive Worksheets
Math worksheets often include drag-and-drop number games and interactive calculators. Students can move numbers around to solve problems or click buttons to check their work.
Common Interactive Worksheet Types:
- Quiz Worksheets: Multiple choice and true/false questions
- Matching Activities: Students connect related items
- Fill-in-the-Blank: Text fields that validate answers
- Sorting Games: Drag items into correct categories
Language arts worksheets might include word matching games or story completion activities. Science worksheets can feature interactive diagrams where students label parts or watch experiment videos.
Interactive worksheets can be used for a variety of subjects and topics, from math and science to language arts and social studies. Teachers create different types based on their lesson goals and student needs.
Getting Started with Canva
Setting up a Canva account takes just a few minutes and gives users
Designing Effective Worksheets in Canva
Good worksheet design combines the right template with clear text and visual elements that help students learn. Template selection and text formatting play key roles in creating worksheets that engage students and support learning goals.
Selecting the Right Worksheet Template
Canva offers many worksheet templates for different subjects and grade levels. Teachers can browse templates by category like math, science, or language arts to find designs that match their lesson plans.
The best templates include clear sections for instructions, student work areas, and answer spaces. Templates with too many decorative elements can distract students from the main content.
Teachers should look for templates with good spacing between elements. This makes worksheets easier to read and gives students enough room to write their answers.
Subject-specific templates often work better than generic designs. Math templates might include number lines or grid sections, while reading templates focus on text areas and comprehension questions.
Canva’s worksheet templates help teachers create worksheets that match daily lessons across different subjects. The drag-and-drop interface makes it simple to modify any template without design skills.
Customizing Design Elements
Colors should support learning rather than distract from it. Light backgrounds with dark text create the best contrast for reading. Bright colors work well for headings and important sections.
Teachers can add shapes like circles, rectangles, and lines to organize content. Boxes around instructions help separate them from student work areas. Lines create spaces for student answers.
Images and graphics should connect directly to the lesson content. Simple icons and illustrations work better than complex photos that might confuse students.
Consistent spacing between elements makes worksheets look professional and easy to follow. Using shapes and lines helps create structure and visual interest without overwhelming the content.
The design should guide students through the worksheet in a logical order. Visual cues like arrows or numbered sections help students know where to start and what to do next.
Adding and Formatting Text
Clear instructions tell students exactly what to do for each activity. Short sentences work better than long paragraphs. Action words like “circle,” “write,” or “match” give specific directions.
Font size should be large enough for the target age group. Elementary students need larger text than middle school students. Main headings should be bigger than instruction text.
Bold text works well for important instructions or key vocabulary words. Italic text can highlight examples or special notes. Too much formatting makes text harder to read.
Questions should have enough space for student answers. Multiple choice questions need clear letter options. Fill-in-the-blank questions need lines that show how much students should write.
Text alignment helps organize information on the page. Left-aligned text works best for instructions and paragraphs. Centered text works well for titles and headings.
Making Worksheets Interactive
Canva offers built-in tools for adding interactive elements directly to worksheets, while integration with external platforms can unlock advanced features. Teachers can create engaging materials using clickable areas, checkboxes, and fillable fields to boost student participation.
Incorporating Interactive Elements in Canva
Canva’s native editor provides basic interactive features through its Elements menu. Users can access shapes, lines, and text boxes to create simple interactive components.
The Shapes section contains circles and squares that work well as checkboxes. Teachers can resize these elements and place them next to questions or tasks. Students can then click or tap these areas when completing digital worksheets.
Text boxes allow for fillable fields where students type their answers. The canva editor makes it easy to position these boxes throughout the worksheet. Teachers can adjust the size and formatting of text fields to match their content needs.
Lines and arrows help guide student attention to important areas. These elements create visual pathways that direct students through the worksheet. Simple shapes can also serve as buttons or clickable zones for navigation.
Using Clickable Areas, Checkboxes, and Fillable Fields
Creating effective interactive elements requires careful placement and clear visual cues. Checkboxes should be large enough for easy clicking on both computers and tablets.
For fillable fields, teachers need to leave adequate white space for student responses. Text boxes should contrast with the background color to stand out clearly. Font size must remain readable across different devices and screen sizes.
Clickable areas work best when they have obvious boundaries or borders. Teachers can use contrasting colors or bold outlines to show where students should click. Multiple choice questions benefit from clearly defined answer boxes.
Canva has integrated with Wizer to enhance worksheet creation with advanced interactive features. This partnership allows teachers to import Canva designs and add sophisticated question types like fill-in-the-blank and multiple choice options.
The integration process involves creating the worksheet design in Canva first, then importing it to Wizer for interactive elements. Teachers can then add automatic grading features and detailed student feedback options.
Integrating Canva Worksheets with Other Platforms
Teachers can transform their Canva designs into fully interactive worksheets by connecting with platforms like Wizer and TopWorksheets. These integrations let educators add clickable elements, automatic grading, and engaging activities to their worksheet designs.
Exporting Designs to Wizer
Canva has integrated with Wizer to help teachers create interactive digital worksheets. This partnership allows educators to design beautiful worksheets in Canva and then make them interactive on Wizer.
Teachers start by logging into their Wizer account and clicking Create Worksheet. They then select Import a Canva Design to access Canva’s editor directly within Wizer.
Once in the Canva editor, educators can choose from worksheet templates and customize them with text, photos, and graphics. After finishing the design, they click Publish to return to the Wizer platform.
On Wizer, teachers add interactive elements by clicking and dropping different question types. These include fill-in-the-blank, multiple choice, and open-ended questions. The platform also offers automatic grading features to save teachers time on assessment.
Connecting Canva with TopWorksheets
TopWorksheets collaborates with Canva to let teachers turn their designs into interactive learning materials. Teachers need accounts on both platforms to use this integration effectively.
The process starts with creating a worksheet design in Canva using their templates and design tools. Once the visual design is complete, teachers can export it to TopWorksheets for adding interactive features.
TopWorksheets provides various interactive elements that teachers can overlay onto their Canva designs. These tools help create engaging activities that keep students actively participating in their learning.
The platform supports different subject areas including math, science, and language arts. Teachers can customize the interactive elements to match their specific lesson objectives and student needs.
Sharing Worksheets with Students Online
Canva integrates with learning management systems to make sharing worksheets simple for large groups of students. Teachers can distribute their interactive worksheets through platforms students already use.
Canva for Education provides dedicated classroom spaces where teachers can invite students and other educators. This feature allows easy sharing, reviewing, and managing of worksheet assignments within one organized location.
Teachers can share worksheets in multiple formats depending on their needs:
- PDF downloads for printing or offline use
- Interactive links for online completion
- Embedded files in learning management systems
- Direct sharing through classroom platforms
The sharing process works seamlessly across different devices and platforms. Students can access their worksheets on tablets, computers, or smartphones without compatibility issues.
Tips for Enhancing Engagement and Usability
Creating effective interactive worksheets requires strategic design choices and smart use of available tools.
Design Strategies for Student Interaction
Visual hierarchy plays a crucial role in worksheet effectiveness. Teachers should use contrasting colors to highlight important sections and guide student attention naturally through the content.
White space prevents worksheets from feeling cluttered. Strategic spacing between elements helps students focus on one task at a time without feeling overwhelmed.
Interactive elements work best when they’re intuitive:
- Click zones should be clearly defined
- Instructions must be simple and direct
- Visual cues should indicate where students need to respond
Font choices impact readability significantly. Sans-serif fonts like Arial or Calibri work better for younger students, while older learners can handle more variety.
Color coding helps organize different types of activities. Teachers can use blue for questions, green for examples, and yellow for important notes consistently throughout their worksheets.
Utilizing Canva Pro Features
Canva Pro features unlock advanced design capabilities that enhance worksheet functionality. The premium version provides access to millions of high-quality images and graphics.
Key Canva Pro benefits include:
- Brand kit for consistent colors and fonts
- Magic resize for multiple format creation
- Premium templates designed by professionals
- Advanced animation options
Background remover tools help create cleaner worksheet designs. Teachers can remove distracting elements from images to keep student focus on learning content.
Custom folders organize worksheet collections efficiently. Educators can sort materials by subject, grade level, or teaching unit for quick access.
Team collaboration features allow multiple teachers to work on worksheets together. This saves time and ensures consistency across classroom materials.
Evaluating Worksheet Effectiveness
Student completion rates indicate worksheet success levels. Teachers should track which activities students finish and which ones they abandon.
Measurement strategies include:
- Time spent on each section
- Accuracy of student responses
- Request frequency for help or clarification
- Student feedback through surveys
Digital platforms provide valuable analytics about student interaction patterns. These insights help teachers identify problem areas and successful elements.
Regular testing with small student groups reveals usability issues before full deployment. Teachers can observe students working through activities and note confusion points.
Peer feedback from other educators offers fresh perspectives on worksheet design. Sharing materials helps identify improvements that individual creators might miss.