Many people wonder how to create cell overflow in Canva Sheets to make their text fit better and look cleaner. While Canva doesn’t have a direct text overflow feature like some other tools, users can adjust the size of cells or use workarounds to manage long text.
The best way to handle cell overflow in Canva Sheets is by resizing cells or splitting text across multiple cells. This keeps text readable and organized, especially when working on planners, budgets, or projects.
For more tips on resizing and organizing Canva Sheets, check out this detailed guide.
Understanding Cell Overflow in Canva Sheets
Cell overflow happens when the content inside a cell is too long to fit within its boundaries. This can affect how the spreadsheet looks and how easy it is to read or organize information.
Knowing how Canva Sheets handles cell overflow helps users decide how to format text and cells for better layouts.
What Is Cell Overflow?
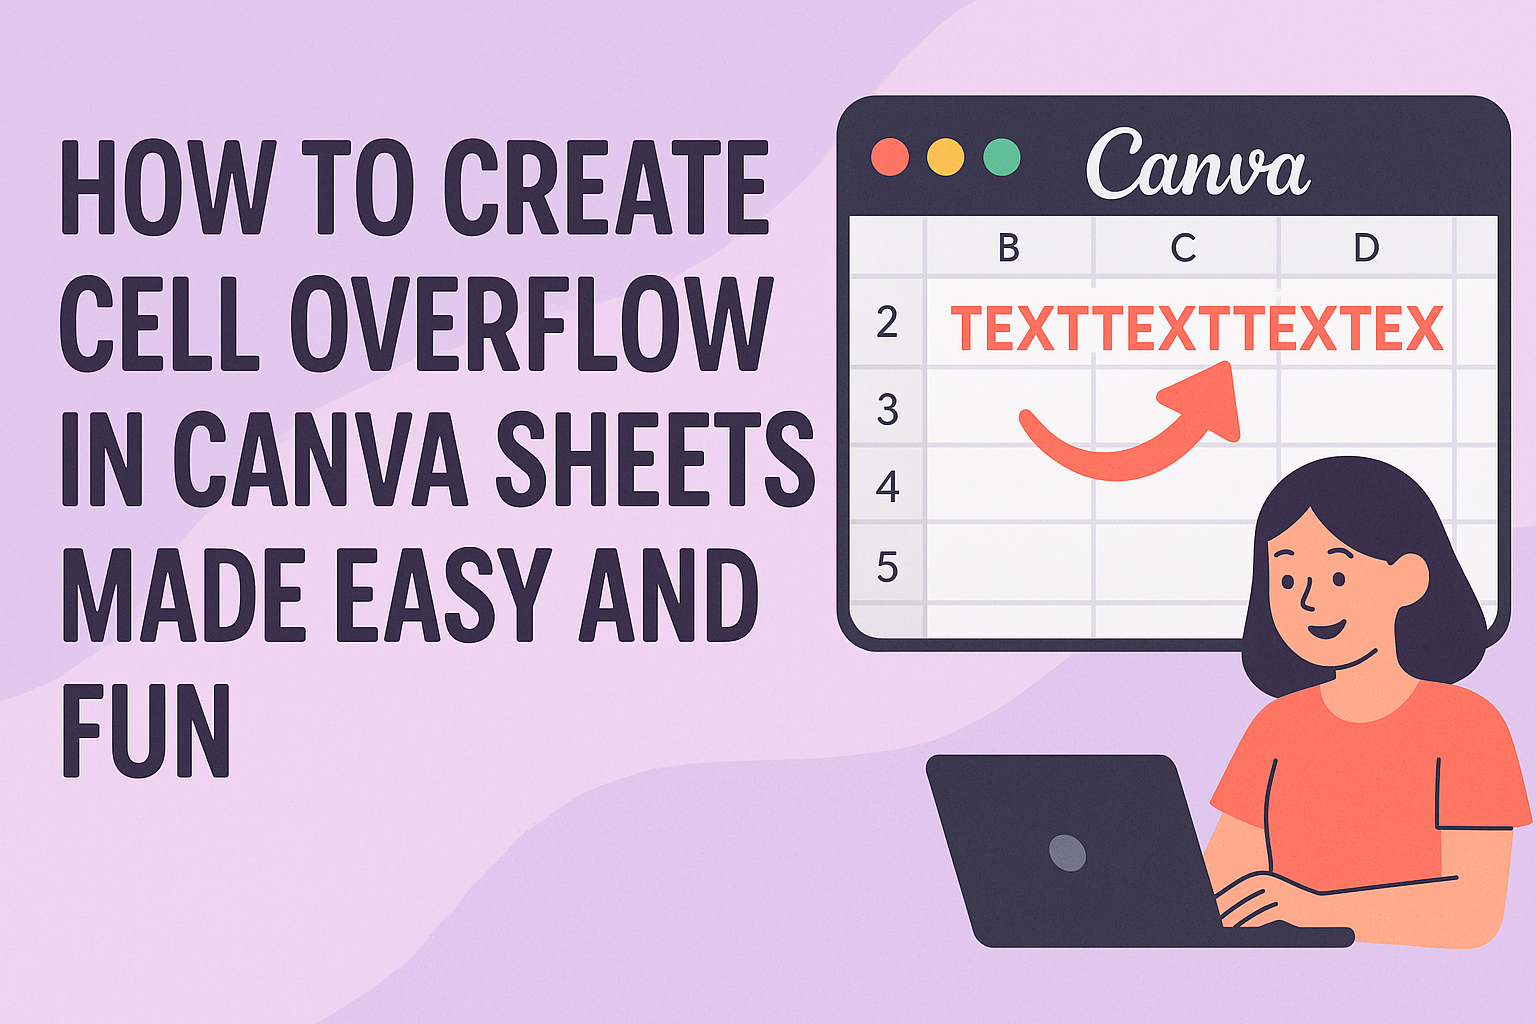
Cell overflow means that text or numbers inside a cell extend beyond the cell’s edge because they don’t fit. In some programs, overflow lets the extra content show up in the next cell, but in Canva Sheets, this works differently.
If the next cell is empty, the overflow might be visible there. But if the next cell has content, the overflow is hidden. This means users need to be careful to avoid overlapping or cutting off important details.
Visual Effects of Cell Overflow
When cell overflow occurs, the visible part of the text may spill into adjacent empty cells. This can make a spreadsheet look untidy, especially if overflow text runs over unexpected places.
If the adjacent cells have their own data, the overflow won’t show at all. That can cause text to appear cut off. Adjusting cell sizes or using smaller fonts can help prevent this problem.
Users can also change cell size to control how much text fits, improving the look and clarity of the sheet.
Default Behavior in Canva Sheets
By default, Canva Sheets does not allow text to flow automatically into other text boxes or pages. Unlike some tools, it doesn’t support advanced overflow options where text continues beyond one cell or box.
If a cell is too small, extra text is hidden unless the cell size is changed. Users can resize cells to fit longer text or edit their layout so content stays fully visible.
For more about working with cells, users can learn to resize and manage data in Canva Sheets through tutorials like how to make larger cells in Canva Sheets.
How to Enable Cell Overflow
To make text overflow visible in Canva Sheets, users need to find the right settings and adjust cell size carefully.
Locating Relevant Settings
The first step is to open Canva Sheets and select the cells where overflow is likely. Canva does not have a specific “text overflow” toggle, but adjusting settings like alignment and cell size can control how text displays.
Users should click on the cell or range of cells they want to change. Then, explore the toolbar or right-click menu to find options related to text alignment, wrapping, or resizing. These controls help manage how the text behaves when it exceeds the cell boundary.
Adjusting Cell Widths and Height
Changing the size of the cells is essential for handling overflow. Making the cell wider or taller lets more text fit without cutting off.
To adjust width, users can click and drag the cell border horizontally. For height, drag the border vertically. It’s also possible to enter exact measurements in the settings if precise control is needed.
Larger cells reduce the chance of text spilling over nearby cells.
Preserving Content Visibility
When enabling overflow, it’s important that all text stays visible. If cells are too small, text can get hidden or overlap other cells. To avoid this, users can use options such as text wrapping or increasing cell size.
Users can also tag collaborators or leave comments in Canva Sheets to remind others about cell size and layout rules.
More tips on working with sheet content and tasks can be found in Canva’s guide on creating and editing spreadsheets.
Customizing Overflow Appearance
Adjusting how text looks when it overflows in Canva Sheets helps keep spreadsheets clear and easy to read. This involves setting where the text sits inside a cell and tweaking the cell’s style to suit the content better.
Changing Text Alignment
Text alignment controls where the text sits inside a cell. Users can choose to align text to the left, center, or right horizontally. Vertical alignment options place the text at the top, middle, or bottom of the cell.
Aligning text properly prevents overflow from looking messy. For example, centering text can make overflow appear balanced, while left-aligned text is easier to scan in lists.
To change alignment, select the cell or range, then find the alignment buttons in the toolbar. These buttons show icons like horizontal lines or vertical bars that represent text positions.
Cell Formatting Options
Beyond alignment, cell formatting influences how overflow looks and behaves. Users can adjust font size to fit more text inside a cell or get overflow to stand out.
Changing the background color or adding borders can highlight overflow cells. Bold or italic text styles can also make overflowed text easier to see.
Text wrapping isn’t the same as overflow, but combining these helps manage cell appearance. Canva Sheets lets users customize these settings to make their data clear and neat. For help with these features, see how to create and edit spreadsheets in Canva.
Troubleshooting Cell Overflow Issues
Cell overflow in Canva Sheets can cause text to be hidden or cut off if not managed properly. Adjusting text settings and understanding how content behaves within cells helps keep your sheets clear and readable.
Text Clipping and Truncation
When text is too long for a cell, Canva Sheets may clip or cut off the content instead of showing it fully. This often happens if the cell width is too narrow or if the text formatting does not allow the content to expand.
To fix clipping, try these steps:
- Increase the cell width manually by dragging the column border.
- Use smaller font sizes to fit more text inside the cell.
- Avoid merging cells in ways that restrict text display.
If text still looks cut off, check for hidden formatting or overlapping cells, which can block visibility.
Handling Wrapped Text
Text wrapping lets content flow onto multiple lines inside a cell, so nothing gets lost. Canva Sheets automatically wraps text based on cell width, but sometimes users need to adjust settings for better display.
To manage wrapped text:
- Enable or check for the text wrap option in the formatting toolbar.
- Resize the row height to fit all wrapped lines.
- Use line breaks manually (pressing Enter) if specific breaks are needed.
Properly wrapped text improves readability and prevents hidden content without resizing columns excessively. Adjusting both column width and row height keeps data visible and organized. For more tips, see troubleshooting text display in Canva.
Best Practices for Managing Overflow
Managing overflow in Canva Sheets means keeping data clear and visually balanced. It helps users understand the information without confusion or clutter. Paying attention to data layout and design consistency makes working with overflow easier.
Organizing Data for Readability
To keep data easy to read, users should limit text length in each cell. Using shorter phrases or breaking info into multiple cells can prevent overflow. Adjusting column widths also helps control how much text fits without spilling over.
Using bold headers and clear labels separates sections and guides the eye. Users can freeze header rows or columns to keep important info visible while scrolling.
Adding comments or notes is a good way to include extra details without crowding cells. Canva Sheets supports leaving comments, so additional context can live outside main cells.
Tips for Consistent Design
Consistency keeps the sheet neat and predictable. Using the same font size and style in all cells avoids visual noise. Canva Sheets lets users set text formatting for multiple cells at once, which saves time.
Alignment matters too. Left-aligning text in cells usually improves readability for words, while numbers might be right-aligned for better comparison.
Color coding or shading cells based on categories or status can make overflow areas easier to navigate. But colors should be subtle to avoid distraction and should follow a clear pattern.
For more on Canva Sheets features, check how to create and edit spreadsheets in Canva.
Advanced Techniques for Cell Overflow
To manage cell overflow in Canva Sheets, users can try adjusting cell size carefully. Making cells wider or taller often helps text fit better without spilling over into other cells.
Another tip is to use text wrapping. This keeps the text inside the cell by moving extra words to the next line. It helps keep the layout clean and easy to read.
If users want to control overflow more precisely, they can fill empty cells with related content automatically. Canva Sheets uses AI to suggest what might fit best, saving time and avoiding blank spots.
For people comfortable with coding, tools like Google Sheets offer scripts to control overflow more strictly. Although Canva doesn’t support scripts yet, looking at those methods might inspire ways to organize data better.
Some simple tricks include:
- Reducing font size
- Using abbreviations
- Splitting long text into multiple cells
More details on managing cell size and content are available on this advanced resizing guide.