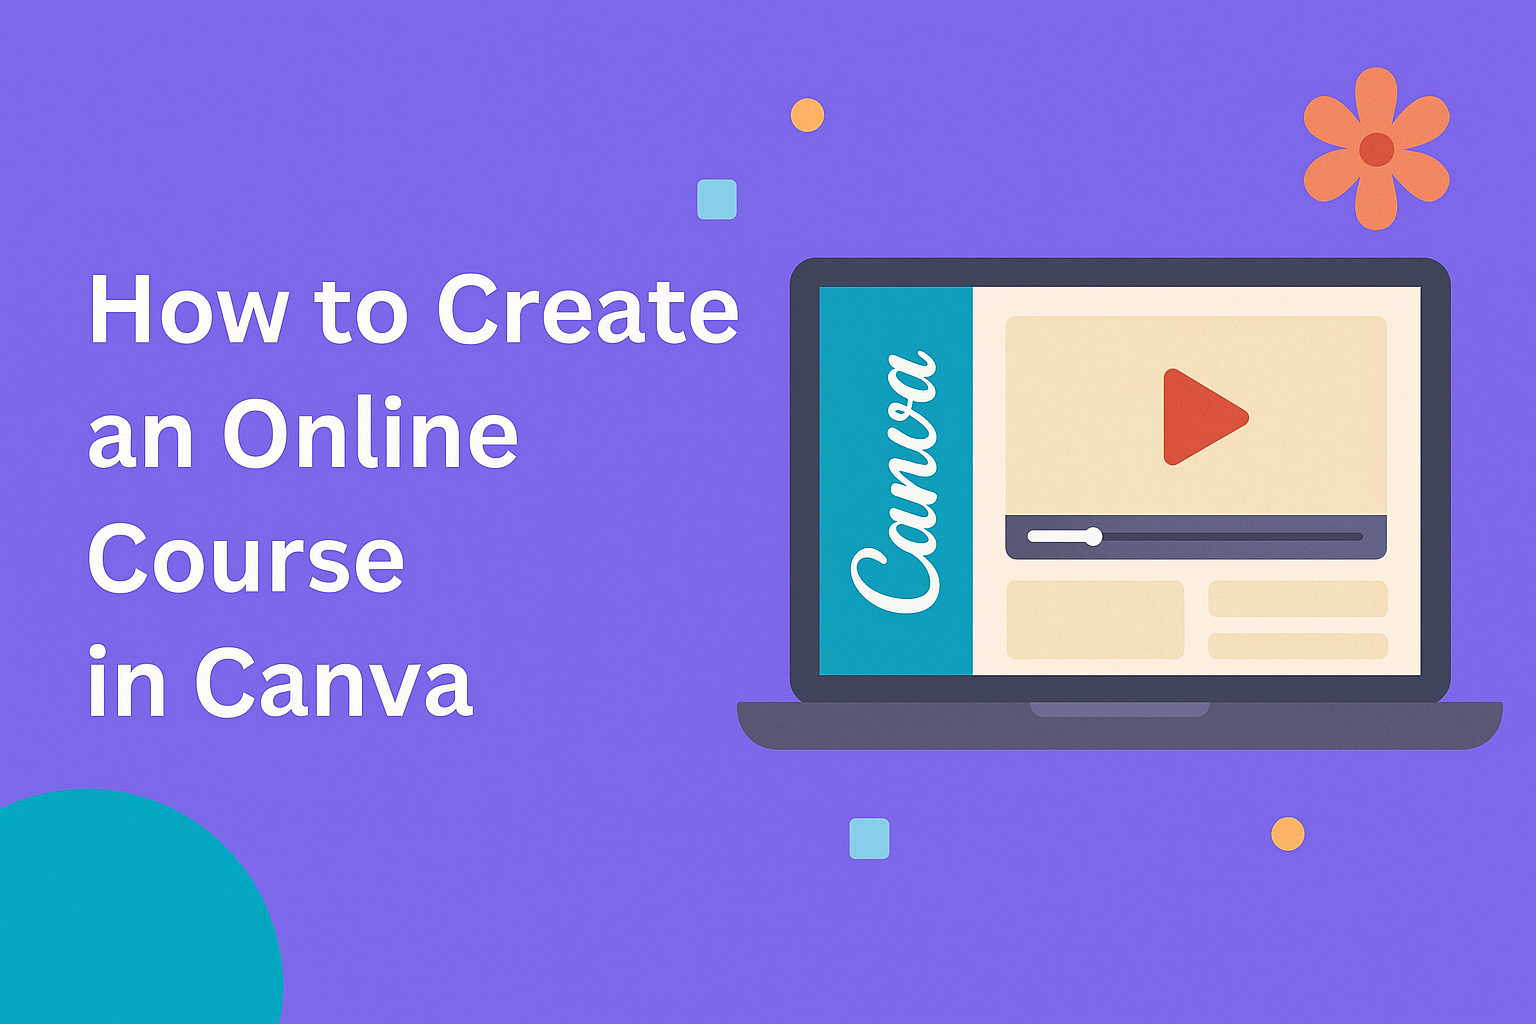
Creating an online course can be an exciting and rewarding venture. Many people want to share their knowledge and skills with others, and Canva offers a great platform to help bring that vision to life.
To create an engaging online course in Canva, one can choose from a variety of templates designed specifically for educational content.
Canva’s user-friendly interface makes it easy for anyone to design visually appealing materials. From lesson plans to class schedules, users can customize templates to fit their unique teaching style.
By leveraging the tools available, they can create courses that not only inform but also inspire learners.
The process of building a course in Canva involves straightforward steps that anyone can follow. With just a little creativity and the right resources, they can transform their ideas into a structured online program that resonates with students.
Exploring the features of Canva can unlock the potential for creating something impactful and effective in online education.
Getting Started with Canva
To begin creating an online course in Canva, it’s important to set up an account and understand the interface.
These steps will help users navigate the platform smoothly and maximize their design experience.
Creating an Account
To start using Canva, one must create an account. Users can sign up for free using an email address, Google account, or Facebook account.
After creating an account, users can choose between Canva Free or Canva Pro. While the free version offers many templates and tools, the Pro version provides additional features like premium templates and advanced collaboration options.
Once the account setup is complete, users can easily log in and start designing. Canva also provides a simplified onboarding process that helps new users get acquainted with the platform quickly.
Overview of Canva Interface
The Canva interface is designed to be user-friendly and intuitive. On the left-hand side, users will find a toolbar with various options.
This includes templates, uploads, elements, text, and backgrounds. The center area shows the active design, while the top bar features essential tools like undo, redo, and design options.
Users can easily search for templates by typing keywords in the search bar. Canva also allows for drag-and-drop functionality, which makes adding images and other elements straightforward.
Familiarizing oneself with the layout will enhance the design experience and make creating an online course much easier.
Designing Your Course Layout
Creating a clear and engaging course layout is crucial. Proper design helps learners navigate content easily. This section focuses on selecting the right template and customizing elements to make a course visually appealing.
Selecting a Template
Choosing the right template sets the tone for the course. Canva offers a variety of templates under the “Education” category, specifically made for online courses.
He or she can explore options like “Course,” “Lesson Plan,” and “Class Schedule.” These templates provide structured layouts that include headings, images, and spaces for content.
When selecting a template, consider your course’s subject and audience. A clean, professional layout works well for academic subjects, while a fun and colorful design suits creative topics.
Once a template is chosen, it’s easy to adjust and fit personal style.
Customizing Elements and Backgrounds
After selecting a template, customizing the elements helps tailor the course to specific needs. Users can change colors, fonts, and images to match their branding or theme.
Highlight key points with bold text or contrasting colors. To keep the layout consistent, he or she should choose a limited color palette.
Backgrounds also play a significant role. A simple background ensures that the text remains readable. Canva provides options to use colors, patterns, or images for backgrounds.
He or she can ensure that these choices enhance the learning experience without overwhelming the viewer. This approach creates a visually balanced and engaging course layout.
Adding Content to Your Course
When creating an online course in Canva, it is essential to thoughtfully add content. This section covers how to effectively incorporate text, use images and videos, and embed quizzes. Each of these elements enhances the learning experience.
Incorporating Text and Headings
To make information clear, use text and headings effectively. Begin with clear headings that define each section. Headings should be concise, helping learners navigate the material easily.
Text should be engaging and free of jargon. Use bullet points to highlight key concepts. This makes it easier for the learners to grasp important information quickly.
Canva allows users to select different fonts. Choose a font that is legible and aligns with the course’s theme. Keep the font size consistent for a clean look, using larger sizes for headings and smaller ones for body text.
Using Images and Videos
Images and videos add visual appeal and help explain concepts. Canva offers a variety of options to choose from.
Start by selecting relevant images that illustrate the course material.
Using high-quality visuals is crucial. They should complement the text rather than distract from it. Include captions for images to provide context.
Videos can be a powerful tool. Canva allows for easy video integration, so users can add clips that explain complex ideas.
Aim for videos that are short and focused, keeping learners engaged without overwhelming them.
Embedding Quizzes and Interactive Activities
Incorporating quizzes encourages engagement and helps assess understanding. Canva allows users to create simple quizzes. They can be embedded directly into the course, providing instant feedback on learners’ performance.
Use varied question types like multiple-choice and true/false. This keeps learners interested and allows them to test their knowledge in different ways.
Interactive activities are also valuable. Including drag-and-drop elements or scenario-based questions can enhance participation. Make sure these activities are relevant and tied to the lesson’s goals. This approach keeps learners active and reinforces essential concepts.
Publishing and Sharing
After creating an online course in Canva, the next important steps are publishing and sharing it effectively. This process allows creators to deliver their content to students or team members seamlessly.
Exporting Your Design
To publish a course, it first needs to be exported from Canva. Users can select the Download option found in the top right corner.
Canva offers various file formats, including:
- PDF for document-style courses.
- MP4 for video presentations.
- PNG or JPEG for images.
Selecting the appropriate format depends on how the course will be used. For example, a PDF is excellent for text-heavy courses, while an MP4 works best for video lessons.
Once the format is chosen, simply click Download to save the course to the device.
Sharing Options for Your Course
Sharing the course with students or team members is simple and flexible.
After exporting, users can invite others directly through Canva. This can be done by choosing the Share button and entering email addresses of those who should have access.
Another option is to create a shareable link.
Users can select Copy link and send it via email or other messaging platforms. This feature makes it easy to reach larger groups without the hassle of individual invitations.
For teams using Canva for Education, it’s possible to assign the course to specific classes.
This allows tailored access and management, enhancing the learning experience for everyone involved.