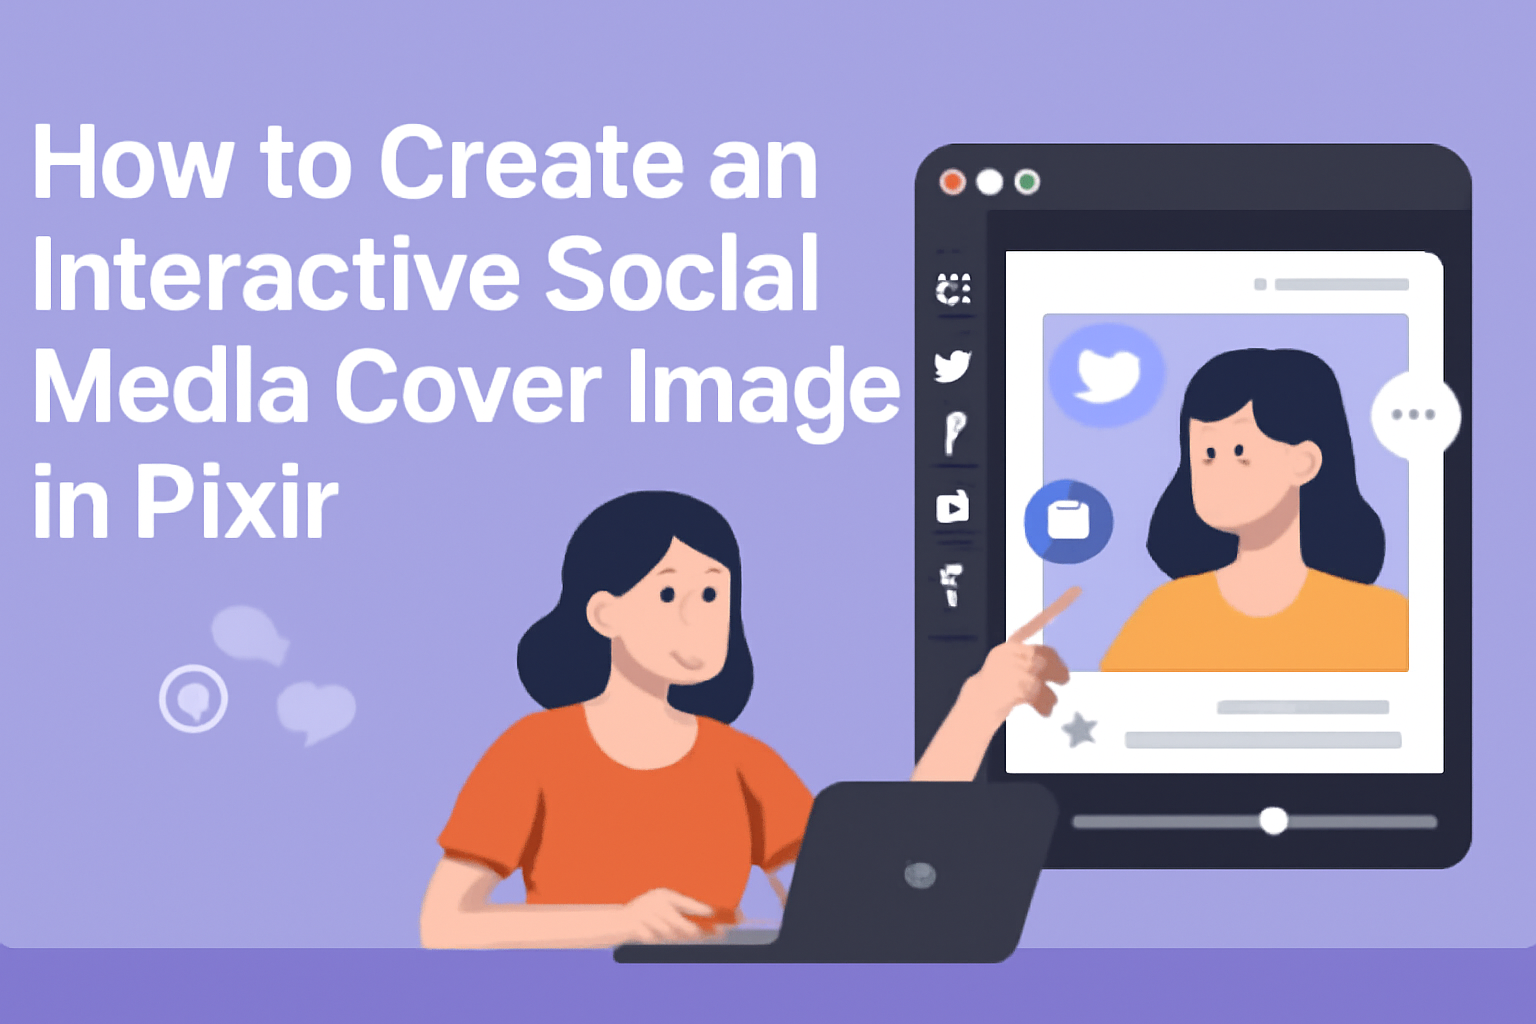
Creating an interactive social media cover image can greatly enhance online engagement. Using Pixlr, anyone can design a vibrant and eye-catching cover that invites followers to connect and interact. This powerful tool offers a range of features that make the process simple and enjoyable.
As social media continues to evolve, standing out in a crowded space is crucial. A well-designed cover image not only represents a brand but also encourages users to delve deeper into content.
With Pixlr’s user-friendly templates and design capabilities, it’s easier than ever to craft something truly special.
Getting Started with Pixlr
Starting with Pixlr is a simple process that allows users to create engaging designs. Understanding the interface and setting up the workspace efficiently can help in making stunning graphics quickly.
Overview of Pixlr Interface
The Pixlr interface is designed to be user-friendly. When users first open Pixlr, they will notice a clean layout with essential tools easily accessible.
On the left side, there are icons for various tools like the selection tool, brush, and text.
The top menu includes options like file management and editing features.
The right panel displays layers, which is crucial for organizing different elements in a design. Users can add, delete, or adjust layers easily, helping them manage their project efficiently.
Setting Up Your Workspace
To set up the workspace, it’s helpful for users to customize their layout. They can adjust the arrangement of panels for easy access to tools and features.
First, users should choose their preferred dimensions for the project. Selecting the right canvas size is vital, especially for social media cover images.
Additionally, users can save their workspace settings for future projects. This saves time and allows for a more streamlined design process later on.
By adjusting the workspace to individual preferences, designers can enhance their productivity while using Pixlr.
Design Principles for Social Media Covers
Creating an effective social media cover image involves understanding the right dimensions and the importance of visual hierarchy. These principles help in making a cover image that is both eye-catching and functional.
Understanding Social Media Dimensions
Every social media platform has specific size requirements for cover images. For example, Facebook recommends a cover photo size of 820 x 312 pixels. Twitter uses 1500 x 500 pixels, while LinkedIn suggests 1584 x 396 pixels.
Designing within these dimensions is crucial to ensure that images display correctly across devices. It prevents cropping that could lose important parts of the visual.
Using correct dimensions helps maintain a professional look that aligns with branding.
To make the most of these dimensions, Pixlr provides tools to easily adjust and crop images. Users can create templates tailored to each platform for consistent branding.
Importance of Visual Hierarchy
Visual hierarchy guides the viewer’s eye to the most important parts of the cover image. It uses size, color, and layout to emphasize key elements.
For instance, a larger logo or headline will catch the eye first, making it essential to place important information where it stands out. Color contrast also plays a role; bold colors against a muted background can attract attention.
Incorporating visual cues, such as arrows or lines, can help direct viewers’ focus. This structured approach ensures that the message is clear and engaging, enhancing the overall impact of the cover image.
Creating Your Cover Image
Creating a compelling cover image can greatly enhance a social media profile. This process involves selecting a template, editing images, adding text, and applying the right effects to make the cover stand out.
Choosing a Template or Starting from Scratch
Selecting a template saves time and provides a professional look. Pixlr offers various templates tailored for social media covers, which can be customized.
Users can browse through categories that fit their brand or style.
If a user prefers a unique design, starting from scratch is also an option. This allows complete control over every aspect.
To do this, select the canvas size recommended for the specific social media platform. This ensures the cover fits perfectly when uploaded.
Adding and Editing Images
Images are key to a visually appealing cover. Users can upload their own images or choose from Pixlr’s library.
After adding an image, it can be resized and positioned on the canvas.
Editing options allow users to enhance images as needed. Basic adjustments include cropping, rotating, and changing brightness or contrast.
Using the adjustment tools helps ensure the image aligns with the overall aesthetic.
Incorporating Text and Branding
Text adds a personal touch and conveys important information. Users can add their name, tagline, or any relevant details.
Pixlr provides a variety of fonts and styles to choose from.
It’s also vital to consider branding elements. Adding a logo or specific color scheme reinforces brand identity.
Keeping the text clear and readable against the background is essential, so contrast should be adjusted accordingly.
Applying Filters and Effects
Filters and effects can elevate a simple cover image. Pixlr offers numerous filters to enhance colors or create a specific mood.
Users can try different effects to see which suits their design best.
In addition, subtle effects like shadows or glows can add depth. These should be used sparingly to maintain a clean look.
Experimentation with these tools lets users find a perfect balance that enhances the overall design.
Interactive Elements and Final Touches
In this section, he or she will learn how to enhance the cover image with clickable areas, ensure it is accessible for all users, and properly preview and save the final design.
Adding Clickable Areas
To make the cover image interactive, adding clickable areas is essential. These areas can lead viewers to specific pages or content.
Using Pixlr, one can create buttons or hotspots by selecting shapes with the shape tool.
Next, customize the buttons by changing colors and adding text. For example, a “Learn More” button is effective.
These buttons should be clearly visible and relevant to the content.
Linking these areas is also crucial. After creating a button, he or she can add a link by using the appropriate feature in Pixlr. This transforms a static image into an engaging experience.
Ensuring Accessibility
Accessibility should never be overlooked. This means making sure all users can interact with the cover image without challenges.
Choosing colors that contrast well helps viewers distinguish elements easily.
Additionally, all text in the image should have alt text. This allows screen readers to describe the image to visually impaired users, ensuring everyone can understand the content.
Using fonts that are readable across devices is also key. Choose simple, clear fonts in a size that is easy to read.
Following these steps creates an inclusive environment for all viewers.
Previewing and Saving Your Cover Image
Before finalizing the cover image, previewing is important. This allows one to see how the interactive elements function together.
Use the preview feature in Pixlr to click on the buttons and check the links.
Once satisfied, saving the cover image properly is the next step.
Pixlr allows saving in formats suitable for social media. Opting for formats like PNG or JPEG is usually best for online use.
He or she should also pay attention to the dimensions, ensuring the cover image fits the platform’s requirements.
A well-prepared cover image captures attention and encourages interaction.