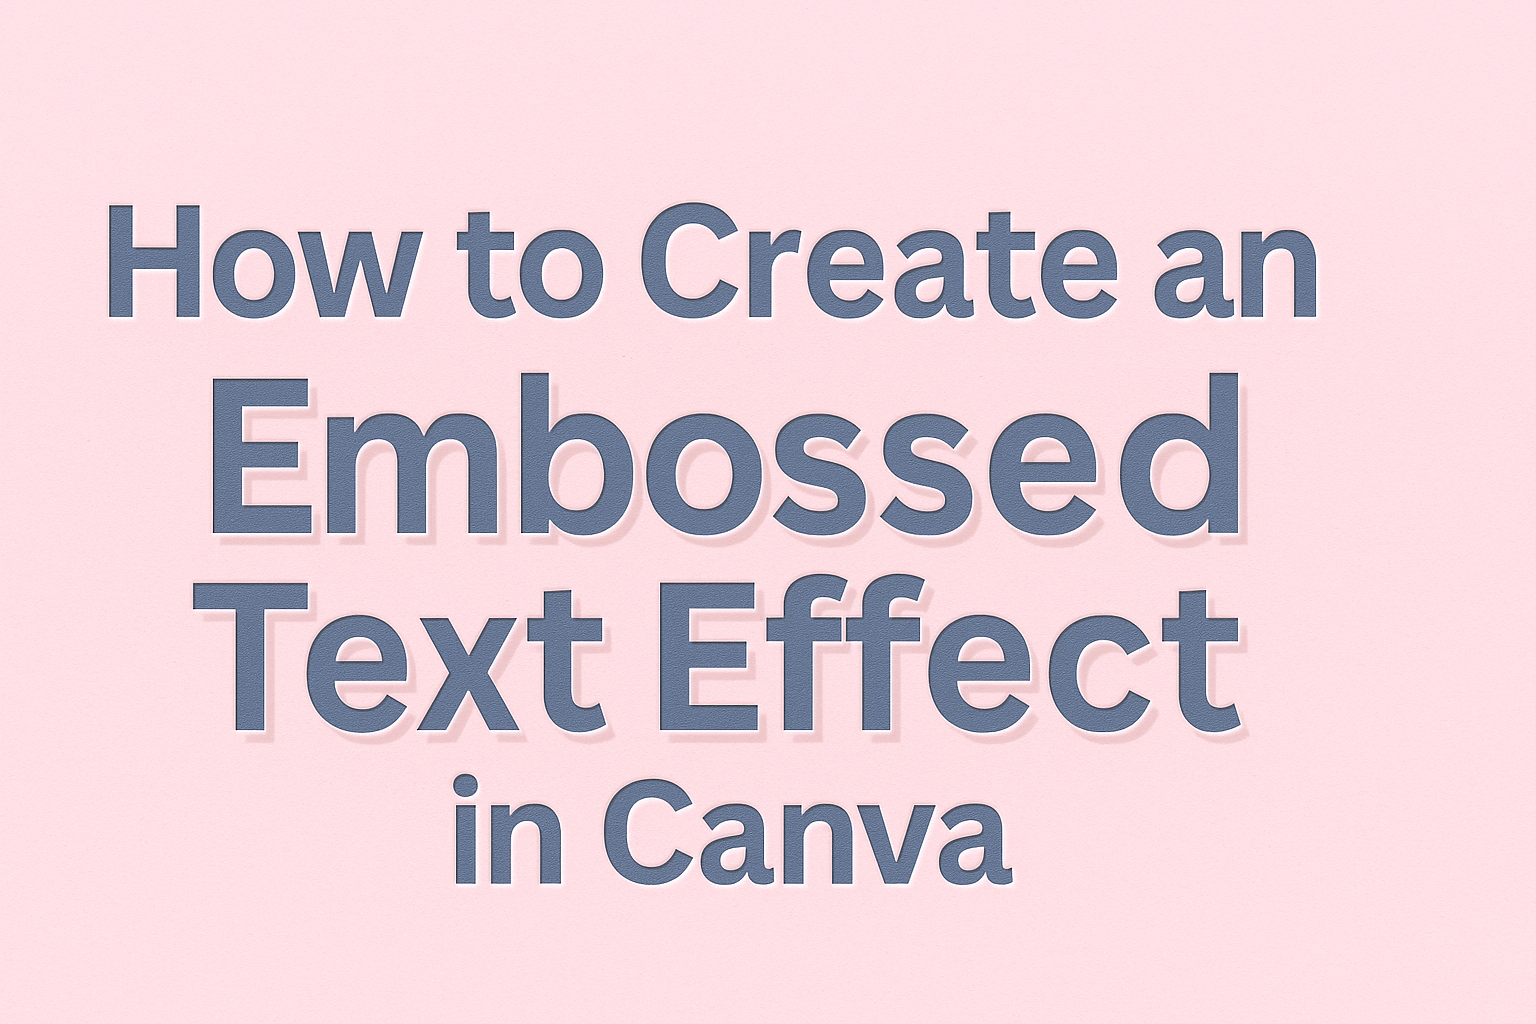
Creating an embossed text effect in Canva is a fun way to enhance designs and make text stand out. With just a few simple steps, anyone can master this effect, adding depth and interest to their graphics.
This tutorial will guide readers through an easy process to achieve professional-looking results.
Canva offers a user-friendly platform for those who want to explore their creativity. By following the clear instructions provided, users can turn their ordinary text into eye-catching elements.
They can elevate their projects, whether for personal use or to impress clients.
This technique is perfect for beginners and those looking to refine their design skills. Readers will discover how to bring their text to life, making their designs memorable and unique.
Getting Started with Canva
Canva is a user-friendly design platform that simplifies creating stunning graphics. Understanding how to create a new design, learn tools, and choose the right font is essential for anyone starting out.
Creating a New Design
To begin, the user needs to create a new design. After logging into Canva, they will see a button labeled “Create a design” on the homepage.
By clicking this button, a dropdown menu appears, offering various options like “Presentation,” “Social Media,” or “Custom Size.”
Choosing the right option depends on the intended project. For instance, selecting “Instagram Post” sets the canvas to the ideal size for social media.
Once selected, a blank workspace opens, ready for design elements. Users can start from scratch or use templates available in Canva’s library.
Familiarizing with Canva Tools
Canva features several tools to enhance designs. The left-hand panel shows the main options: Templates, Elements, Text, Photos, and Backgrounds. Each tool serves a specific purpose and can be accessed easily.
Users can drag and drop elements onto their canvas. Furthermore, the top toolbar allows for adjustments such as changing colors, resizing items, and layering elements.
It is essential to explore these tools to utilize Canva fully. Familiarity with the layout speeds up the design process and enhances creativity.
Selecting the Right Font
Choosing the right font is crucial for effective design. Canva offers a wide variety of fonts to suit any project. Users can browse the font library by clicking on the “Text” tool.
It is helpful to consider the mood and style desired. For example, bold fonts may convey strength, while script fonts often feel elegant.
Mixing fonts can create a unique look, but it’s essential to maintain readability. Users may want to avoid using more than two or three different fonts in one design to ensure a cohesive appearance.
Designing Your Text
Creating an embossed text effect starts by carefully designing the text. This involves adding the text to the canvas, choosing the right size, and aligning it perfectly.
Adding Text to Your Canvas
To begin, users should open their Canva project and select the “Text” tool from the left sidebar. From there, they can choose from various text options, such as headings, subheadings, or body text.
Once they pick a style, it’s easy to click on the canvas to add the text. Users can then type in their desired words.
It’s important for them to experiment with different fonts to find one that fits the theme of their design. After selecting a font, they should consider also adjusting the text color to make the effect more visible later.
Adjusting Text Size and Alignment
After adding the text, the next step is to adjust its size.
Users can do this by clicking and dragging the corners of the text box or entering a specific font size in the toolbar. Finding the right size is crucial for the overall look of the design.
Alignment is also essential. Users can center their text by using the alignment options in the toolbar.
It’s helpful to ensure that the text is not only centered but visually balanced within the overall design. Proper alignment contributes to a more polished and professional appearance.
Applying the Embossed Effect
Creating an embossed text effect in Canva involves careful choices and techniques. This section guides readers through selecting colors, layering for depth, and making final adjustments to achieve a stunning outcome.
Choosing Colors and Shades
To start, selecting the right colors is key. The text color should be a light shade, while the duplicate layer should be a slightly darker tone. This contrast creates depth and gives the illusion of embossing.
A good rule of thumb is to choose colors that complement each other. For instance, using a soft blue for the original text and a deeper navy for the shadow adds dimension.
Experimenting with different color combinations can lead to unique results. Remember to keep the shades subtle for a more realistic embossed look.
Layering and Shadowing Techniques
Layering is essential when creating the embossed effect. First, duplicate the original text layer. Then, adjust the duplicate to align slightly down and to the right of the original. This creates the shadow.
Next, applying a shadow effect can enhance the embossing. In Canva, users can access shadow settings in the Effects tab.
Adjust the blur and transparency to achieve the desired depth.
For better results, consider using a gradient for the background. This can help make the embossed text stand out even more.
Final Touches and Adjustments
Final adjustments are crucial for a polished look.
Start by reviewing the alignment of the text layers.
Minor tweaks in positioning can greatly improve the overall appearance.
Next, inspect the shadow settings.
Adjusting the opacity and blur can refine the effect further.
If needed, users can also change the background for added contrast.
Lastly, zooming out to see the complete design ensures that the embossed effect looks great in context.
Save different versions to compare and choose the best one.

