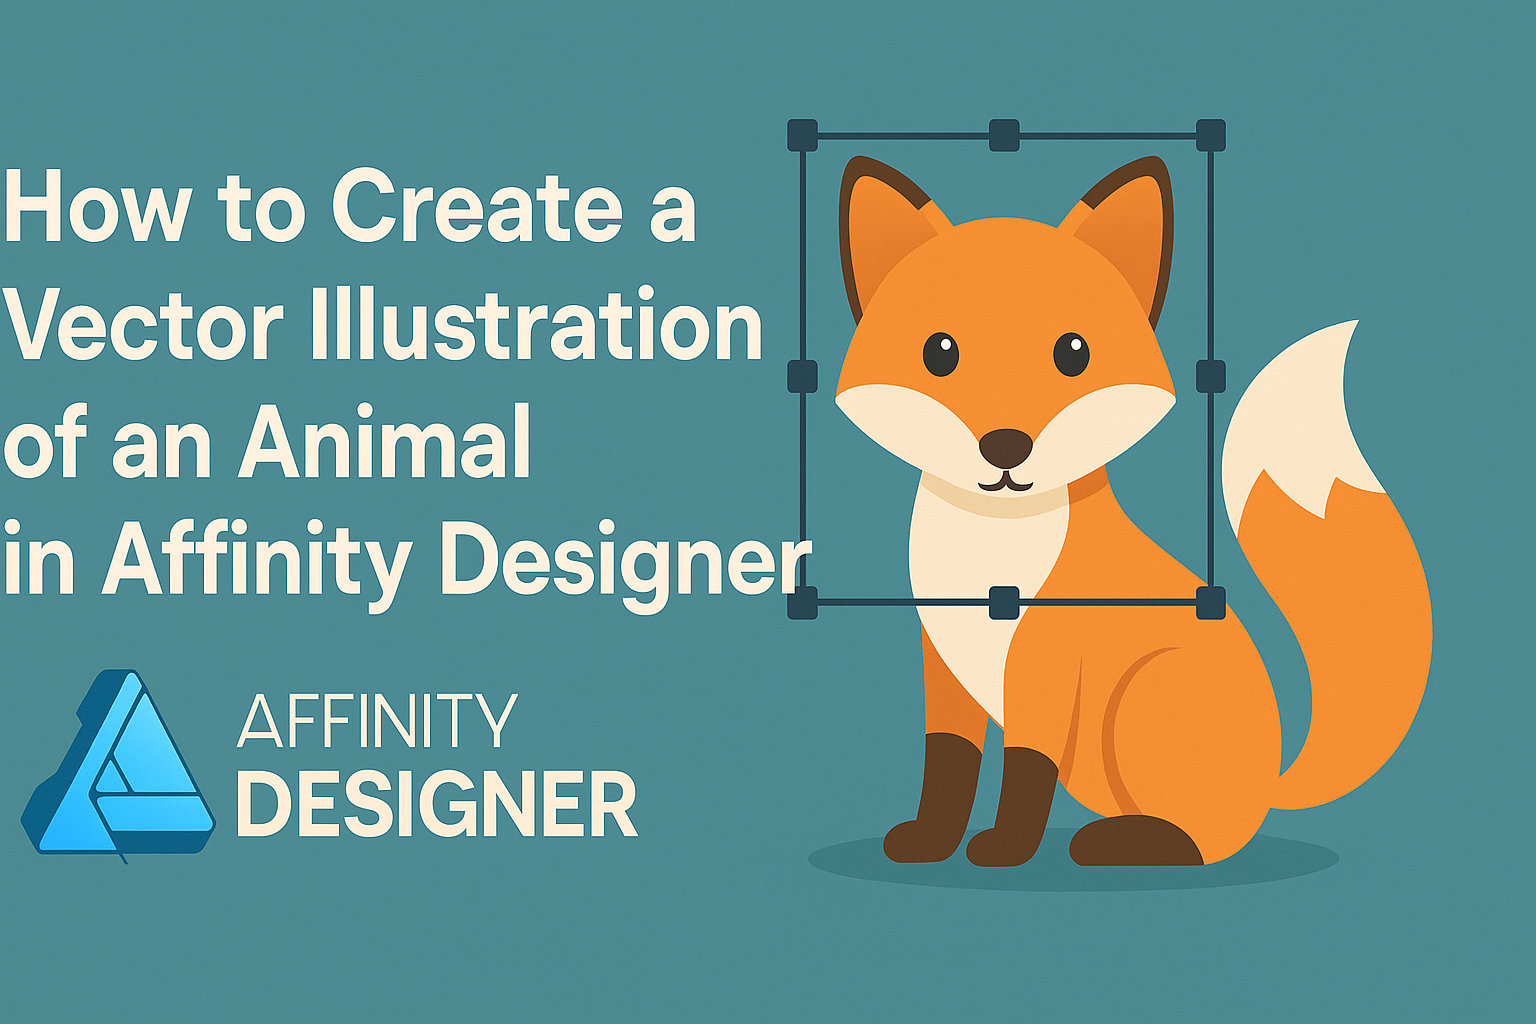
Creating a vector illustration of an animal in Affinity Designer can be a fun and rewarding project.
With the right tools and techniques, anyone can bring their animal character to life using simple shapes and vibrant colors.
This guide will walk through the steps to make the process easy and enjoyable for all skill levels.
For those new to graphic design, Affinity Designer offers a user-friendly platform to get started. They can learn how to use various vector tools to outline, color, and detail their chosen animal, resulting in a unique and engaging piece of art.
Whether it’s a cute dog or a majestic bird, the possibilities are endless!
As they embark on this creative journey, they’ll discover tips and tricks to enhance their illustrations. From selecting the perfect color palette to mastering shading techniques, each step will help elevate their skills. By the end, they will feel accomplished and inspired to tackle even more complex designs.
Getting Started with Affinity Designer
Affinity Designer is a powerful tool for creating vector illustrations. Learning how to navigate the interface, set up documents, and choose the right tools is essential for success.
Understanding the Interface
When using Affinity Designer, the interface includes key areas like the toolbar, color panel, and layers panel.
The toolbar contains essential tools such as the selection tool, pen tool, and shape tools.
The color panel is important for selecting and editing colors. Layers help organize artwork by allowing users to create, delete, and arrange elements easily.
Familiarizing oneself with these components makes it easier to work efficiently. Users can customize the workspace to suit their preferences, leading to a smoother design process.
Setting Up Your Document
Starting with the correct document setup is crucial.
When creating a new document, users should select a size that fits their project needs. Common options for animal illustrations include A4 or custom sizes.
Setting the DPI (dots per inch) is also important. A standard setting is 300 DPI for print and 72 DPI for web images.
Users should be sure to choose the right color format, such as RGB for digital and CMYK for print. This ensures colors appear as intended.
Using the option to create artboards can help manage multiple designs.
Selecting the Right Tools for Vector Illustration
Choosing the right tools is essential for creating detailed vector illustrations.
The Pen Tool is perfect for drawing precise paths and curves. It allows users to create complex shapes.
The Shape Tools like rectangles, ellipses, and polygons are great for adding basic forms. They can be customized and combined to build more intricate designs.
The Brush Tool offers various effects and textures. Users can access custom brushes for unique styles. The Fill and Stroke options let users adjust colors, gradients, and outlines.
Selecting the best tools makes the design process more enjoyable and productive. With practice, using these tools effectively will become second nature.
Sketching Your Animal Outline
Creating a strong outline is essential for a successful vector illustration. Focusing on the steps to sketch the animal will help in building a solid foundation for the digital artwork.
Creating a Rough Sketch
To start, they should use a pencil or a simple brush tool in Affinity Designer to create a rough sketch.
This sketch doesn’t need to be perfect; it should capture basic shapes and proportions. Starting with simple forms helps define the animal’s posture and movement. They can use light strokes so adjustments are easy.
It’s helpful to think in shapes like circles and ovals for the body, head, and limbs. This method provides a framework to branch out from. Once satisfied with the rough shapes, they can refine these lines as they proceed.
Refining Your Sketch
After laying down the rough sketch, it’s time to refine the image. This involves going over the initial lines to add detail and accuracy.
They should focus on defining key features like the ears, tail, and facial expressions.
This stage is crucial because these details bring personality to the animal. They can adjust proportions and shapes to better match the animal’s anatomy. It might be useful to look at reference images for inspiration.
Taking breaks during this phase helps to view the work with fresh eyes. As they refine, zooming in can assist in focusing on smaller details, making it easier to create a polished sketch.
Using Shapes to Build the Base of Your Animal
Using basic shapes is a great way to build the animal’s base in Affinity Designer.
They can create layers for different body parts, such as the head, body, and legs. This organizes the work and allows for easy adjustments.
Using rectangles, triangles, and circles can establish a solid structure. They should ensure that the shapes align well and mimic the animal’s proportions.
Once the shapes are in place, they can begin to merge and modify them to develop a smoother outline. This method not only simplifies the drawing process but also helps them visualize the completed design more clearly.
Adding Colors and Effects
Color and effects are essential when creating a vector illustration of an animal. They enhance the design and bring it to life. This section explores color palettes, gradients, shading, and how to add textures and patterns for a polished look.
Working with Color Palettes
Choosing the right color palette sets the mood for any illustration. To start, it helps to think about the animal and its environment.
They can use tools like Adobe Color or Coolors to generate color schemes. These tools allow users to pick complementary colors that work well together.
When applying colors, start with a base color for the animal. From there, add shades and tints to provide depth. Using a limited palette can create harmony, making the illustration look professional.
Applying Gradients and Shading
Gradients and shading can give the animal a three-dimensional look.
To apply a gradient, select the object and choose the gradient tool from the menu.
Users can adjust the direction and color stops to blend colors smoothly. This technique works great for adding volume to features like fur or feathers.
Shading can be done by adding darker colors on one side of the animal. This adds dimension and realism. Using the opacity tool lets them blend colors effectively, creating soft transitions.
Creating Textures and Patterns
Adding textures and patterns can make the illustration more interesting.
Affinity Designer allows users to incorporate textures easily. They can import textures or use built-in options.
Using patterns can also add a unique touch. They might offer a fun way to represent aspects like fur, scales, or spots. To apply these, simply select the object and use the fill options to add the chosen texture or pattern.
Experimenting with different textures and patterns can enhance the artwork and showcase creativity.
Finalizing and Exporting Your Illustration
After completing a vector illustration, it’s important to refine and prepare the work for sharing. This involves adding details, choosing the right export settings, and organizing files effectively. Each step ensures the artwork looks polished and meets the needs of various platforms.
Adding Finishing Touches
To give the illustration a professional feel, adding finishing touches is crucial. This can include adjusting colors, adding gradients, or applying shadows.
- Double-check proportions to ensure everything looks natural.
- Use group layers to manage components easily.
A final review helps spot any minor mistakes. Consider adding texture or highlights for a more dynamic look. These small adjustments can make a significant difference in how the illustration is perceived.
Exporting Your Artwork for Different Media
Export settings differ based on where the artwork will be used. It’s essential to consider the final platform—whether it’s for print or digital use.
- For print, use CMYK color mode at a minimum of 300 DPI. This ensures high quality.
- For web use, choose RGB color mode with 72 DPI for faster loading times.
Affinity Designer allows saving in various formats like PNG, JPEG, or PDF. Each format serves different needs. Utilize the export dialogue to select the right size and resolution for each platform.
Saving and Organizing Your Files
Proper file management is vital after finishing an illustration.
- Use clear naming conventions to identify files easily.
- Create folders for different projects or versions to maintain organization.
It’s good practice to save working files in Affinity format for future edits.
When finished, consider saving copies in various export formats. This ensures accessibility whether for personal use or sharing with clients.
Staying organized will streamline the process for future projects and help in maintaining a clean workspace.