Creating a thank you graphic for subscribers is a great way to show appreciation and strengthen connections.
To craft a personalized thank you graphic in Easil, one can start by selecting a template that suits their style and message. This simple act not only acknowledges the support from subscribers but also enhances engagement and loyalty to the channel or platform.
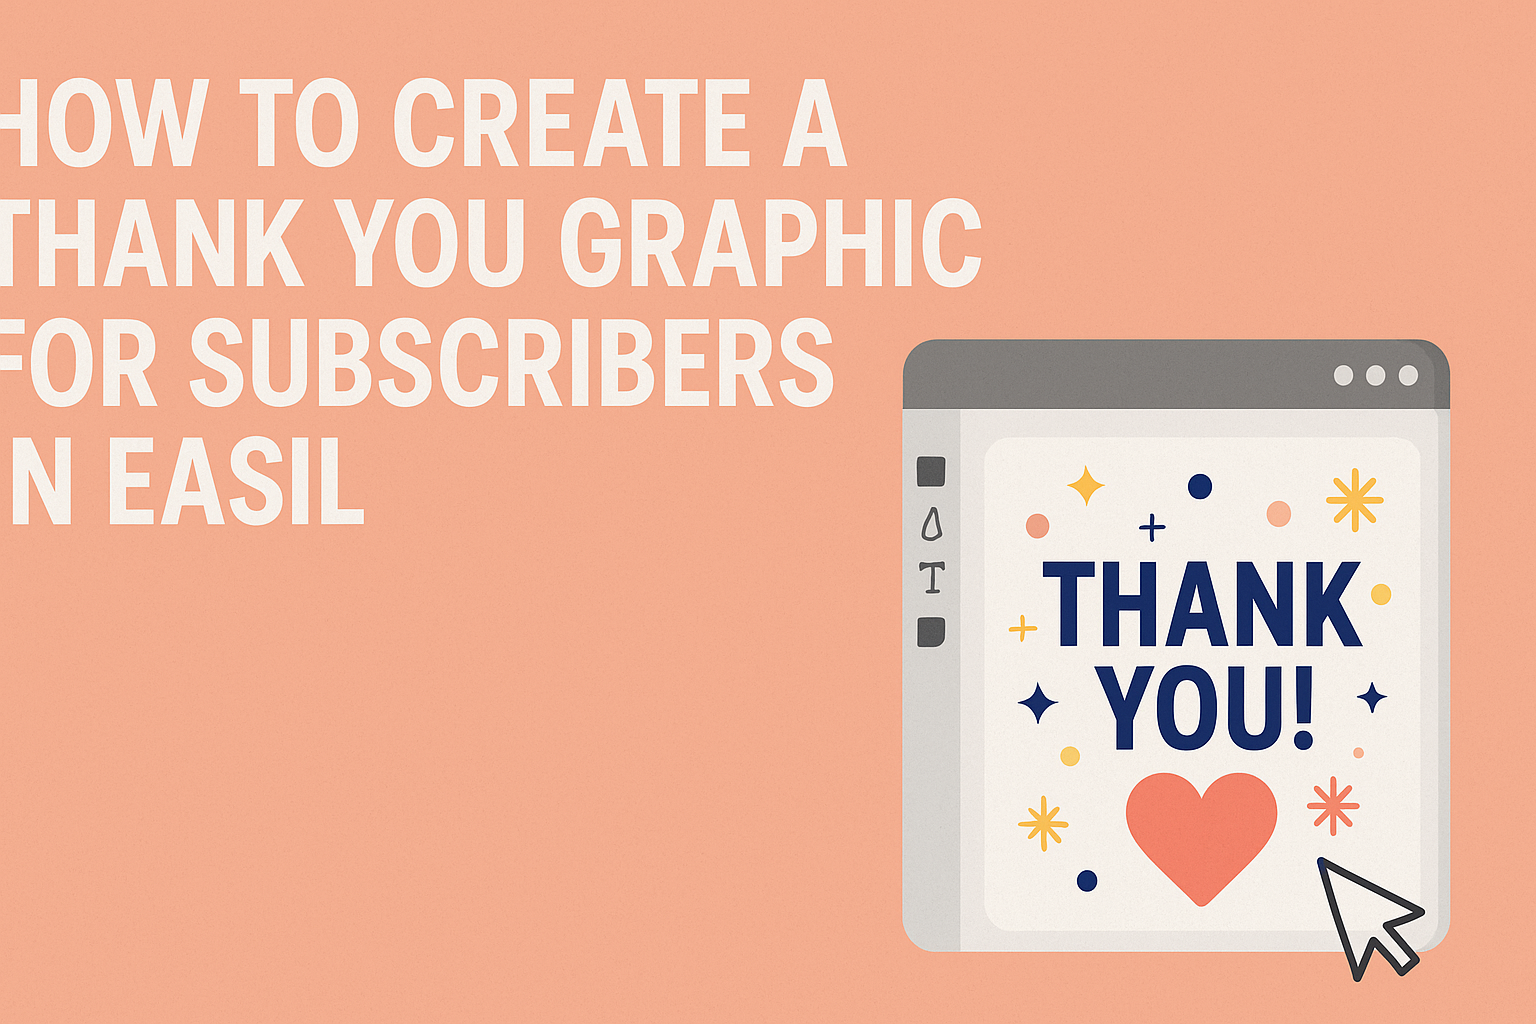
Easil offers a variety of customizable templates that make the design process fun and easy.
By using Easil’s tools, anyone can adjust colors, fonts, and images to create a graphic that truly reflects their brand voice. With just a few clicks, one can turn a basic design into a unique expression of gratitude.
Whether for social media posts, newsletters, or other creative projects, a thank you graphic is a fantastic way to leave a lasting impression. Crafting this kind of graphic can help build a positive relationship with an audience, making them feel valued and connected. With Easil, unleashing creativity has never been easier.
Getting Started with Easil
To begin designing thank you graphics for subscribers in Easil, the first steps involve setting up an account and familiarizing oneself with the interface. This will create a solid foundation for using the platform effectively.
Setting Up Your Account
Creating an Easil account is simple and quick.
First, visit the Easil website and click on the “Sign Up” button. Users can choose to sign up with an email address or use social media accounts for convenience.
After entering the required information, a confirmation email will be sent. Clicking the link in the email will activate the account.
Once logged in, users can customize their profile with preferred settings and explore the robust design tools available.
Navigating the Easil Interface
The Easil interface is designed to be user-friendly.
On the homepage, users will find a variety of templates categorized for easy access. This makes it simple to find suitable layouts for thank you graphics.
On the left side, there is a menu with options like “Templates,” “Graphics,” and “My Designs.” Clicking on these options lets users explore pre-designed elements or start with a blank canvas.
Additionally, a top toolbar provides essential tools like text editing, image uploads, and background changes. This layout helps streamline the design process and ensures users can create stunning graphics easily.
Designing Your Thank You Graphic
Creating a thoughtful thank you graphic requires attention to detail. Choosing the right template and customizing it effectively will help convey appreciation in a visually appealing way. Using brand colors and elements adds a personal touch and strengthens brand identity.
Selecting the Right Template
When designing a thank you graphic, selecting the right template is crucial. Easil offers many templates tailored for different occasions. Users can browse options related to events like holidays, birthdays, or business milestones.
Consider the size and orientation that suits the intended use. Whether it’s for social media, email, or print, the template should match the platform’s requirements. Look for designs that resonate with the audience and reflect the message of gratitude. A well-chosen template sets the tone for an effective thank you graphic.
Customizing with Text and Fonts
After choosing a template, customizing it with thoughtful text is essential. The message should be simple yet sincere, effectively expressing appreciation. Short, heartfelt phrases usually work best.
Fonts play a significant role in the graphic’s overall feel. Using a combination of fonts can help highlight the main message. For example, bolding “Thank You” can make it stand out. It’s important to keep readability in mind, ensuring that font sizes and styles are clear and accessible.
Incorporating Brand Colors and Elements
Incorporating brand colors and elements helps create a cohesive look. Consistent use of color reinforces brand identity and makes the graphic recognizable.
Users should select colors that align with their branding and evoke the right emotions.
Adding logos and other familiar elements also strengthens the connection with subscribers. They could include a watermark or a small logo in a corner of the graphic. This not only personalizes the graphic but also maintains professionalism. Consistency in branding makes the thank you graphic more memorable.
Enhancing Your Graphic
Enhancing a thank you graphic can make it stand out and leave a lasting impression. With a few simple tweaks, the design can achieve a professional and appealing look. Important techniques include adding visual effects and exploring advanced design features.
Adding Visual Effects and Filters
To give the graphic a polished touch, visual effects and filters are key. They can improve the image’s depth and appeal. For example, a subtle shadow effect can add dimension, making elements pop off the page.
He or she can experiment with different filters to set the right mood. A soft blur can create a calming effect, while a vibrant filter can energize the design. Using opacity adjustments also helps to highlight specific areas without overwhelming the overall look.
A few steps to follow include:
- Select the element to enhance.
- Choose the desired effect or filter.
- Adjust the intensity to match the graphic’s theme.
Using Advanced Design Features
Advanced design features allow for more creativity and customization. Tools like layering, masking, and grids can transform a basic graphic into something unique.
Layering elements helps to create an organized design. It allows important details to shine through while keeping everything balanced. Using masking can turn ordinary shapes into creative images, providing flexibility in design.
Grids are also useful. They help align elements neatly and maintain consistent spacing. This brings harmony and professionalism to the thank you graphic.
Sharing Your Graphic with Subscribers
After creating a thank you graphic, sharing it effectively with subscribers is essential. Using the right methods and platforms can help maximize engagement and appreciation.
Exporting Your Design
Before sharing, exporting the graphic correctly is crucial.
In Easil, click on the “Download” button on the top right of the design editor. Select the format that suits your needs, such as PNG for high-quality images or JPEG for smaller file sizes.
It’s also helpful to choose the right dimensions. For social media, stick to recommended sizes like 1080×1080 pixels for Instagram or 1200×630 pixels for Facebook. After exporting, make sure to save the file where it can be easily accessed. This will streamline the sharing process when the time comes.
Best Practices for Social Media Sharing
When sharing the graphic on social media, timing and content matter. Schedule posts when your audience is most active, often during lunch hours or evenings.
Use engaging captions to encourage interaction, like “Thank you for joining our community!”
Consider tagging subscribers or using relevant hashtags to widen reach. For example, hashtags like #thankyou or #grateful can attract more viewers.
It’s also smart to share the graphic across multiple platforms to maximize visibility. Regularly engaging with comments and messages will build a strong relationship with subscribers over time.